
Origami for Plying
/
Since I started seriously learning to spin, I have been monogamous spinner. Just one bump of fiber on the spindles at a time, thank you. I don’t want to confuse my hands with wildly different fibers and jump between lace and worsted weight all in the same day. So when I pick some fiber to spin, I see it through to the end and don’t start something new until the yarn is drying on the rack. For the past few weeks my default spinning project has been a lovely bunch of lace weight singles which are be chain plied for some self-striping goodness. The time had finally come to ply the first singles a few days ago but I only had one plying ball and two singles. I didn’t want to wrap both singles around the same ball since I wouldn’t know where one ended and another began. One single went on the ball and I wrapped the second around a box of sewing pins. That box kept the singles orderly but it wasn’t quiet about it. “Oh, you need more singles? I shall play you the song of my people.”
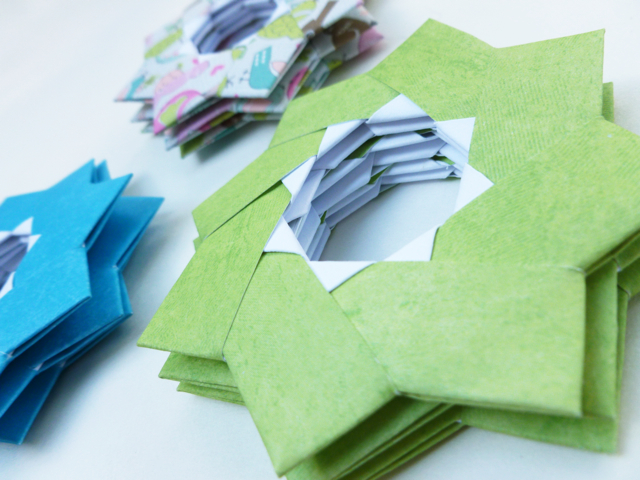
Until I get around to knitting up a few more plying balls, origami to rescue. I love making modular origami where a bunch of simple folded pieces combine to create something wonderful and complex. Stars are a particular favorite. In the rare moments of silent plying, I remembered the Gudrun Star over on GoOrigami.com. I’ve made them before and they seemed perfect for holding bits of handspun. The stars are simple to make, easy to memorize, and don't take up much space. I made these units listening to podcasts and watching movies.
I know I could have just cut out a few squares of card board instead of folding stars but there is a method to my madness. The extra points make it easier to wrap and secure the yarn. Plus, I’m going to be using these stars a lot and I’d rather look at them than a drab piece of cardboard or an advertisement on the back of a cereal box.
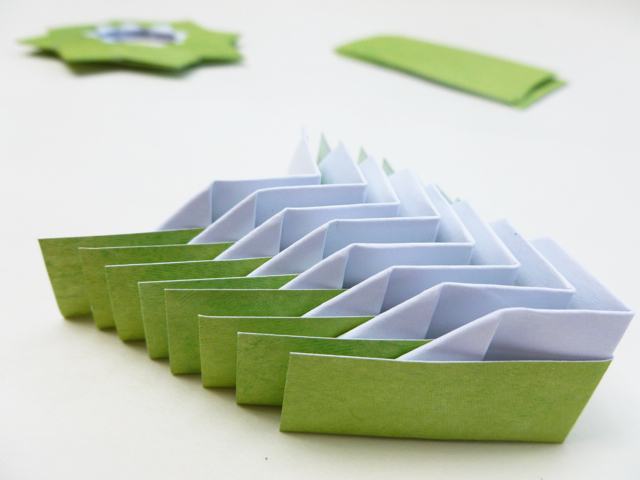
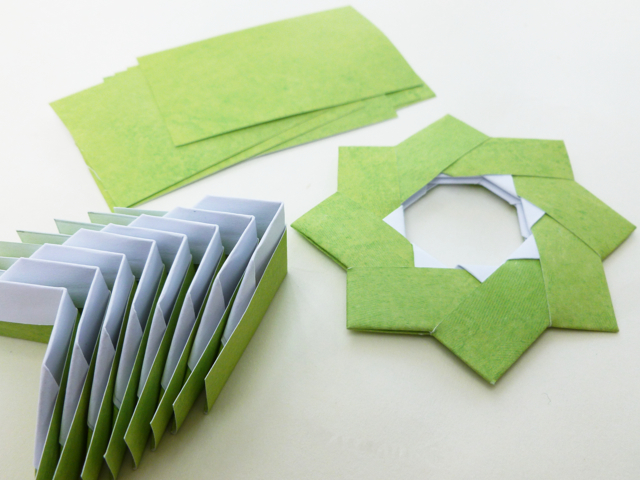
To make your own stars, you’ll need the Gudrun Star diagram from GoOrigami.com and a sheet of scrapbook paper cut into 2 x 3” rectangles. Scrapbook paper is thicker than origami paper but still easy to fold and makes a sturdy star too. One sheet is enough to make 3 stars 3.25” across. FYI, the diagram is in German but the illustrations are clear without the words. Don’t forget that Google Translate is your friend if you need it.
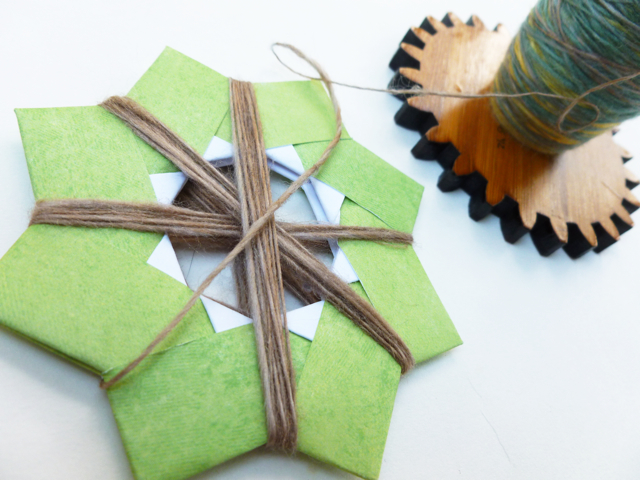
Once you’ve made your stars, they’re ready for yarn. Hold the end in a valley and wrap the yarn around the opposite side of the star 3 or 4 times. Rotate and repeat. When you can’t see the points anymore, you can wrap the yarn just like on any other ball.
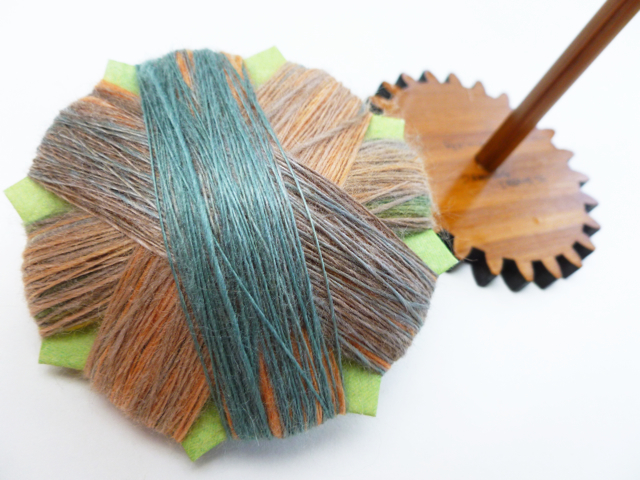
Wrapped and ready to go! Time for some plying that won’t outdo the television speakers.

