
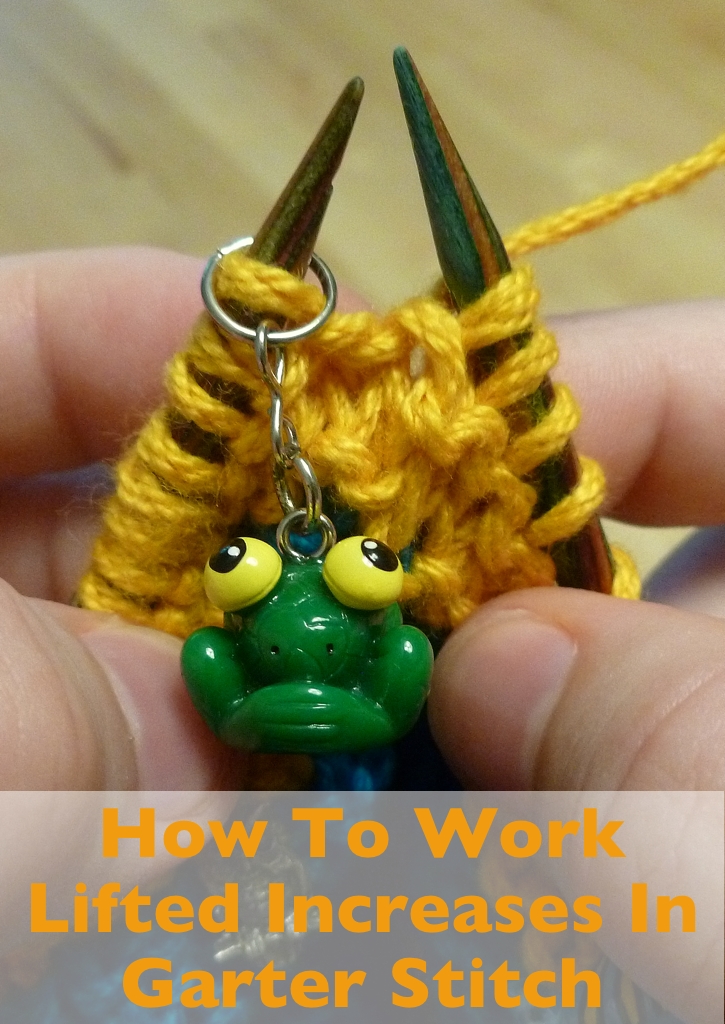
How To Work Lifted Increases In Garter Stitch
/
This the second tutorial for the Cuddly Chevron Baby Blanket. The first tutorial is 5 Ways To Use Stitch Markers.
Lifted increases have been my favorite way to add stitches to my knitting since I first heard about them in New Pathways For Sock Knitters. (Thank you, Cat Bordhi!) When working in stockinette, lifted increases, specifically LLinc and LRinc, are easy to work, not fiddly, and don’t create big holes or blemishes in your knitting. Over the years I’ve experimented with them in other stitche patterns and lifted increases work just as well in garter stitch as they do in stockinette. So, when I was swatching for the Cuddly Chevron Baby Blanket, LLinc and LRinc were the first increases I tried and they worked wonderfully. LLinc is an abbreviation for Leaning Left Increase while LRinc stands for Leaning Right Increase. Use them together and you get matched, symmetrical increases which makes my designer’s brain happy.
I’m trying something new for this tutorial. The increases will be shown with BOTH step-by-step instructions AND a gif demonstrating the technique. Happy stitching!
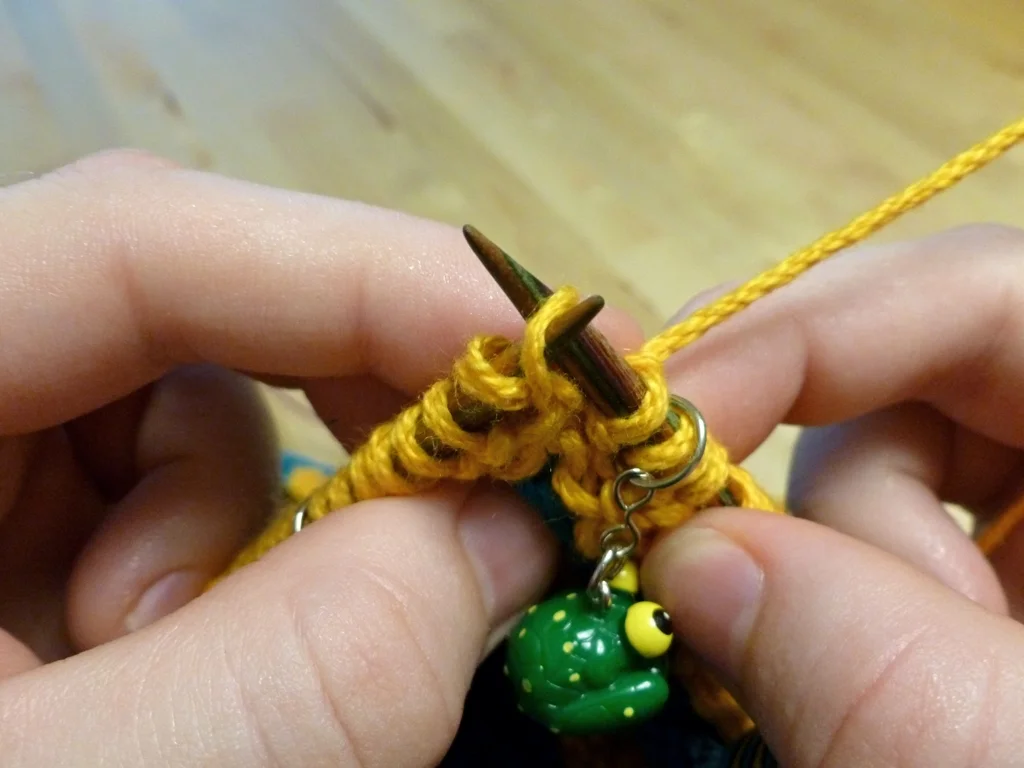
How To Work LLinc In Garter Stitch
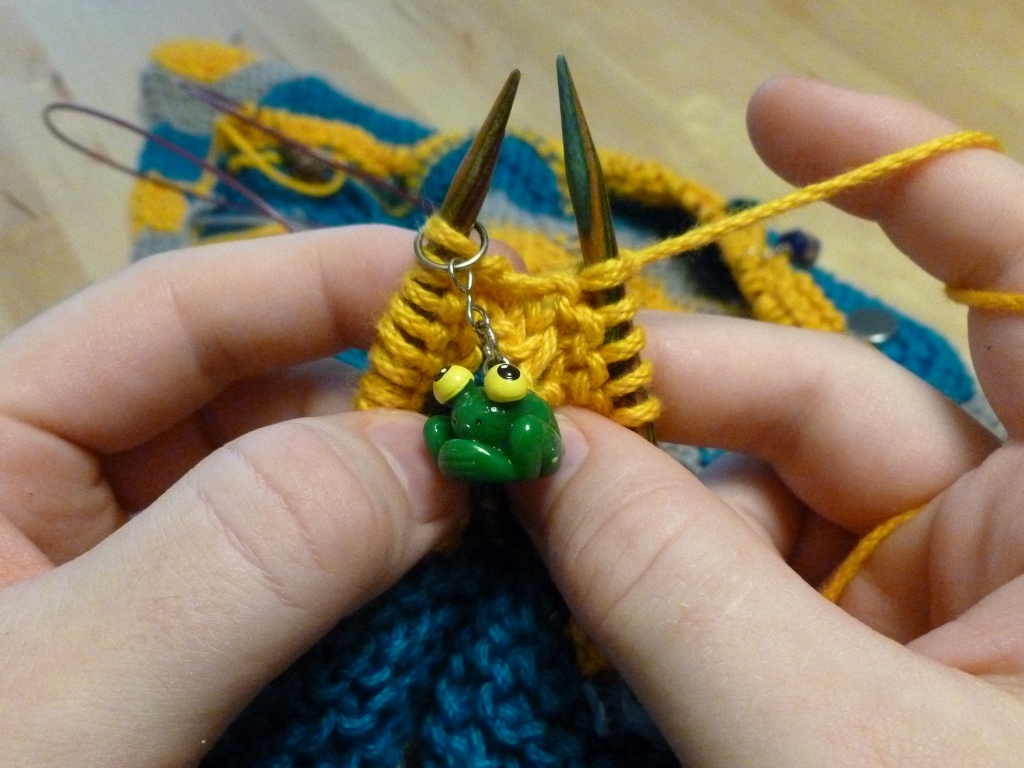
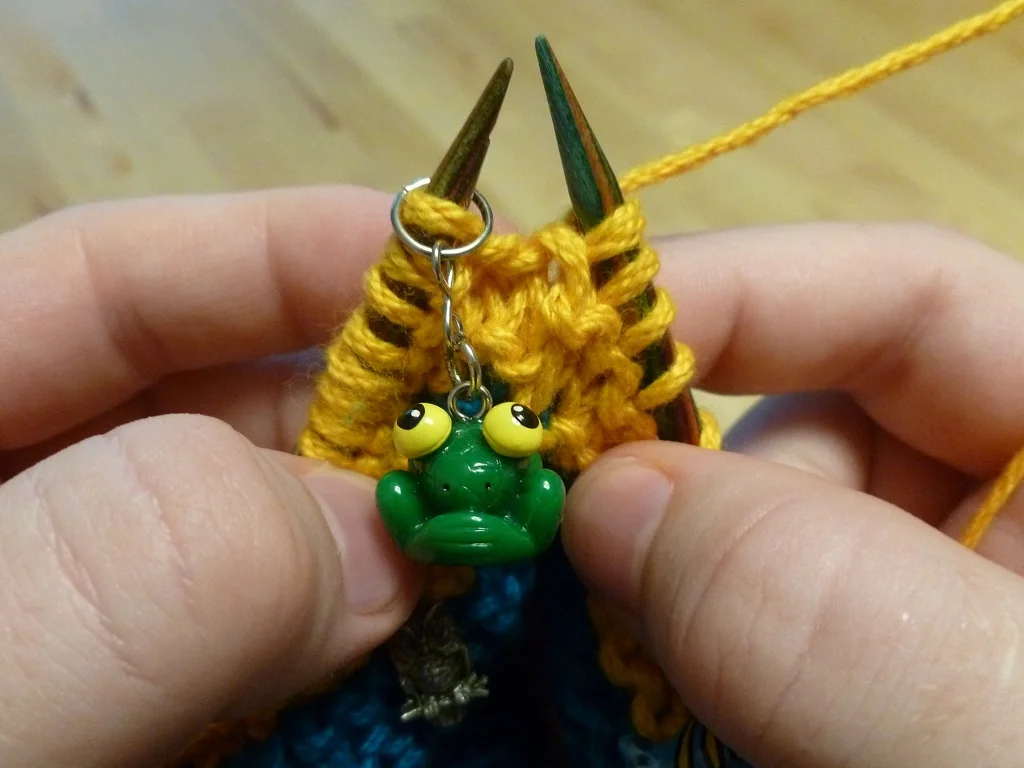
Knit to the spot where your pattern says to increase.
Insert the left needle up into closest bump directly under the right needle.

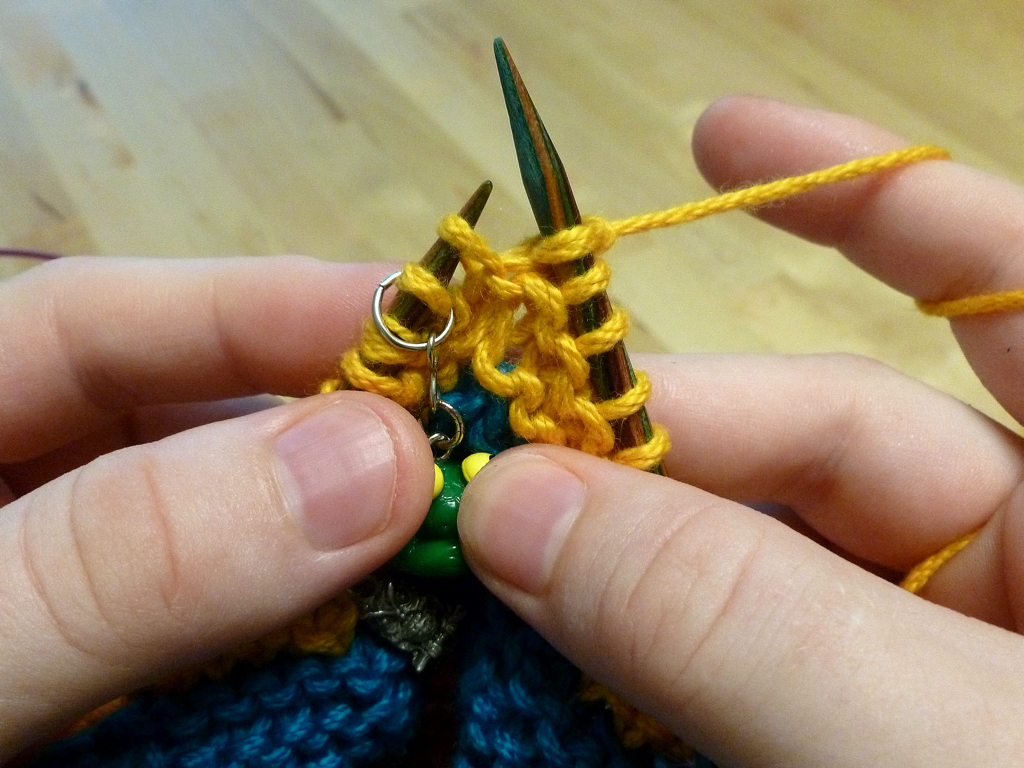
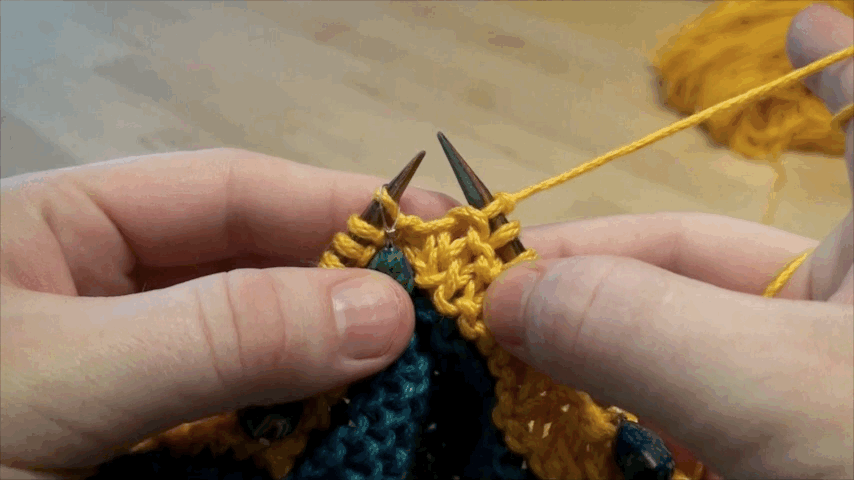
Insert the right needle just like a regular knit stitch.
Wrap the yarn around the needle and work it the same as a regular knit stitch.
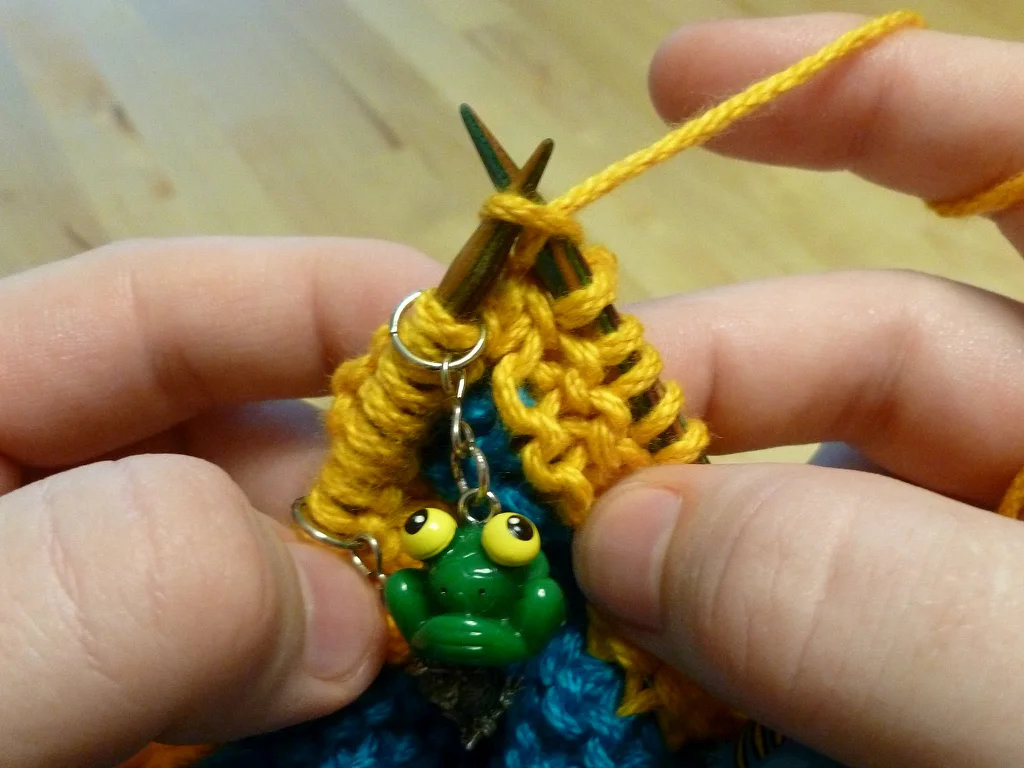
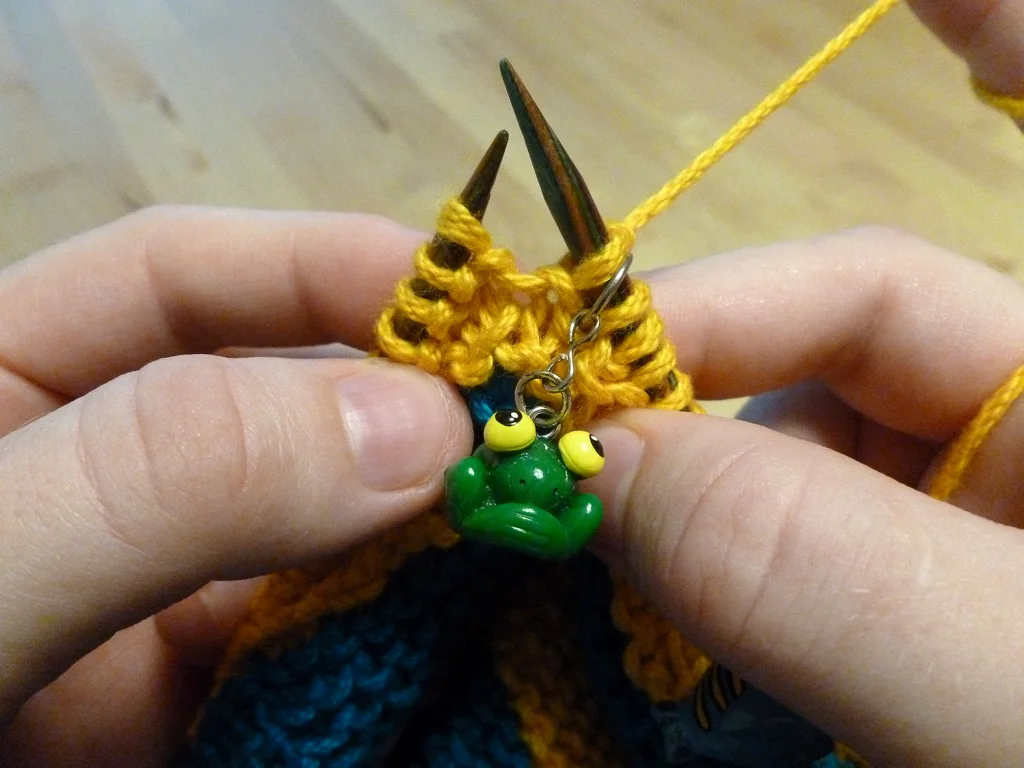
Ta-da! One new stitch on the needles.
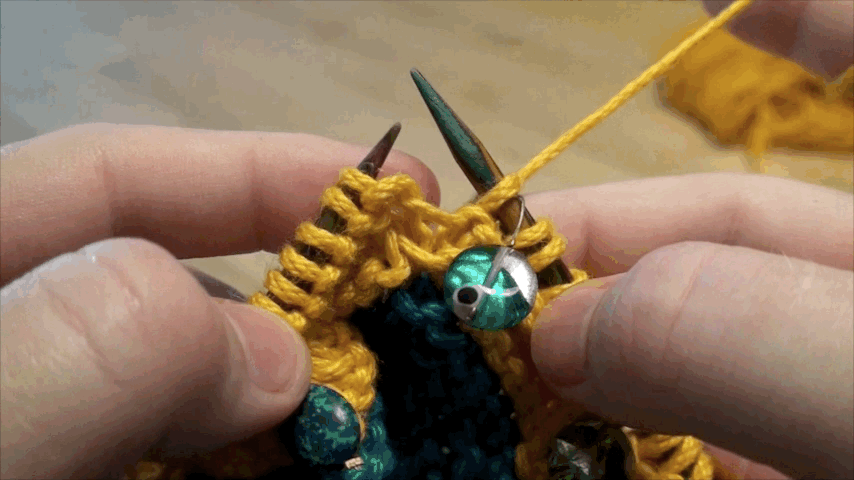
How To Work LRinc in Garter Stitch
Knit to the spot you need to increase.
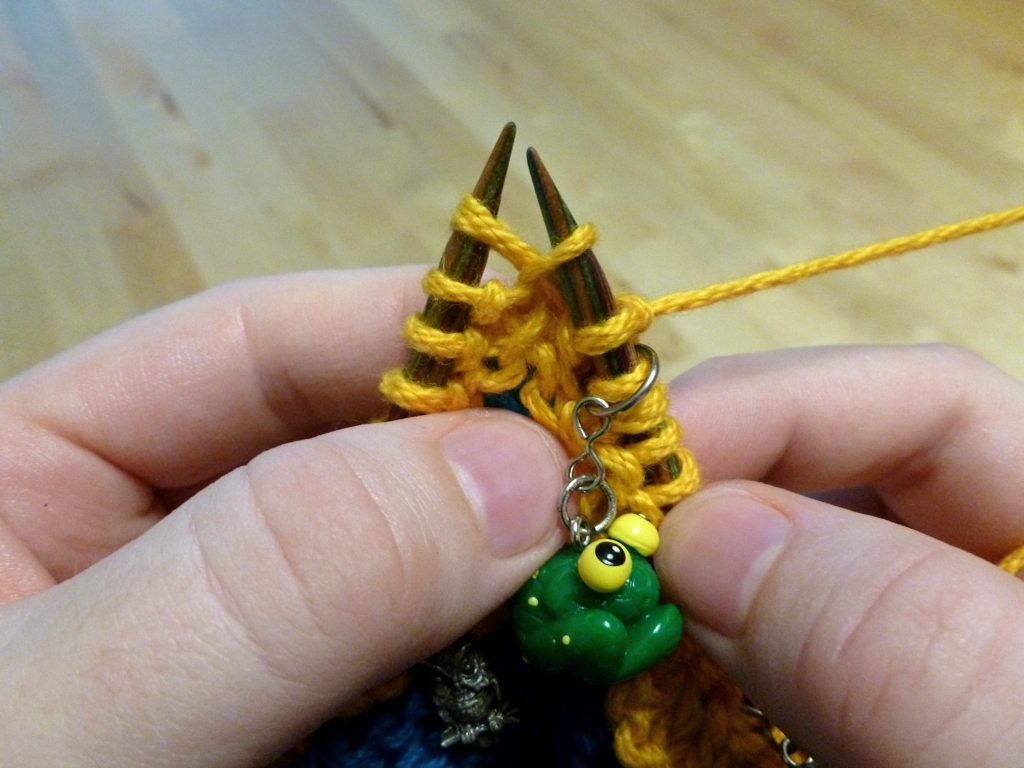
Insert the right needle up into the first garter bump directly under the left needle.
Slip the stitch onto the left needle and move the right needle behind the left. Wrap the yarn around the needle and work the stitch the same way as knitting through the back of stitch.
Check back February 3rd for the next Cuddly Chevron Baby Blanket Tutorial, Weaving In Ends As You Knit. No tapestry needle required!

