
5 Ways To Use Stitch Markers
/
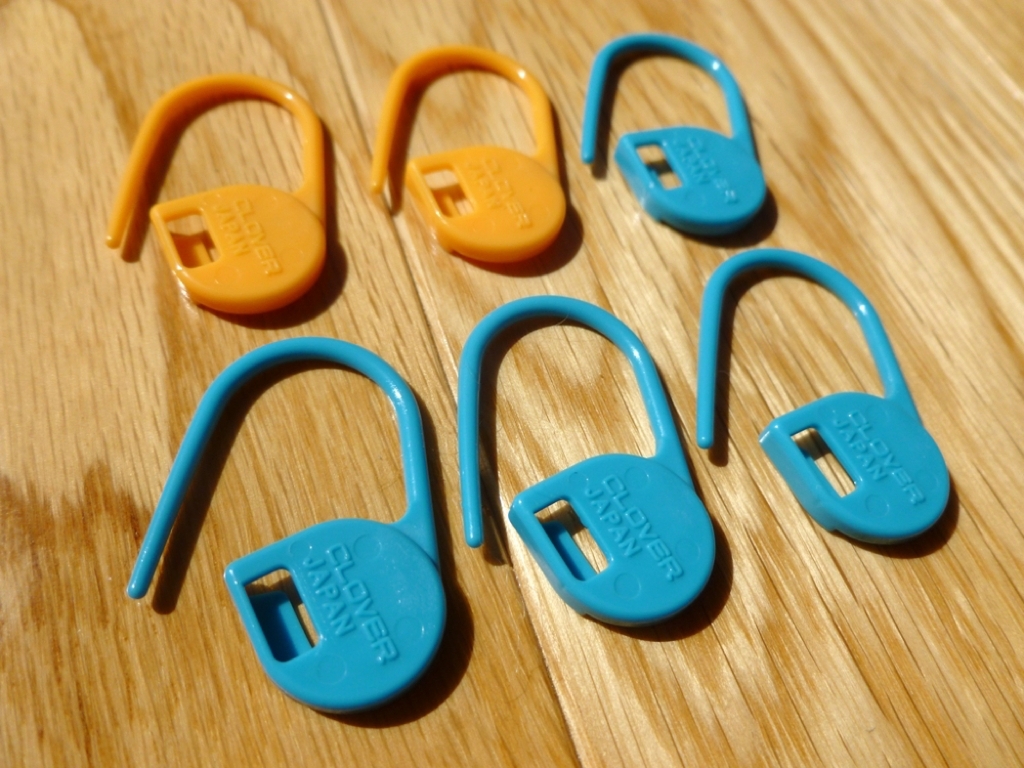
Stitch markers come in lots of shapes, sizes, and materials. They can be flexible rubber rings, simple metal triangles, intricate jeweled baubles, or cute beads on wire. You can even make them on the spot from small pieces of leftover yarn, paper clips, rubber bands, or hair ties. Stitch markers can be one continuous piece or able to be opened up and “locked” on a specific stitch. These little tools can do a lot to help with your knitting even if they are easy to lose between couch cushions.
Use them to mark the Right Side of your work. When you first cast-on for a garter stitch project, it can be hard to tell the Right Side from the Wrong Side when you pick it up after a break. Take a stitch marker, different from the rest if you’re using a lot of them, and put it a stitch or two in from the starting edge of the Right Side. Pick up your needles and don’t see the marker near the tip? Then you’re on the Wrong Side of your work.
Stitch markers can be used to mark more than just stitch repeats. On the Cuddly Chevron Blanket, I placed a marker every time I had to increase or decrease. It kept me from having to count (or miscount) every stitch and left my mind free to listen to podcasts or watch a movie while I knit.
Lockable stitch markers are great for tracking your progress. When you’re working on a big project and it starts to feel like a slog, start your knitting for the day by putting a locking stitch marker on a just knit stitch. When you’re done, you’ll easily see how much you’ve accomplished. This trick is great for seeing progress on sleeves, sweaters, and socks, but can be a bit discouraging if you’re knitting a blanket from the center out.

Stitch markers are also great for counting rows. Here’s also where locking stitch markers come in handy again. When you’re starting a new section of knitting and need to knit a certain number of rows/rounds, say for the ribbing on a pair of toe-up socks, put a locking stitch marker on the first row and count from there. You could also put a marker every 5 or 10 rows so you can see how many rows you’ve knit at a glance.
Stitch markers are really helpful when you’re casting on a large number of stitches. I can count 20 stitches without losing my place much easier than I can count 400. So, after you cast on 20 sts, place a marker and repeat until you have the required number for your pattern. No miscounting here.
P.S. Here’s one last tip for all the hand spinners out there. Locking stitch markers make it much easier to measure the yardage of skeined handspun.
Cuddly Chevron Baby Blanket Tutorials
1. Tips for Using Stitch Markers
2. Working lifted increases in garter stitch (January 27th)
3. Weaving in ends as you go without a tapestry needle (February 3rd)

