How To Knit Cables Without A Cable Needle
/
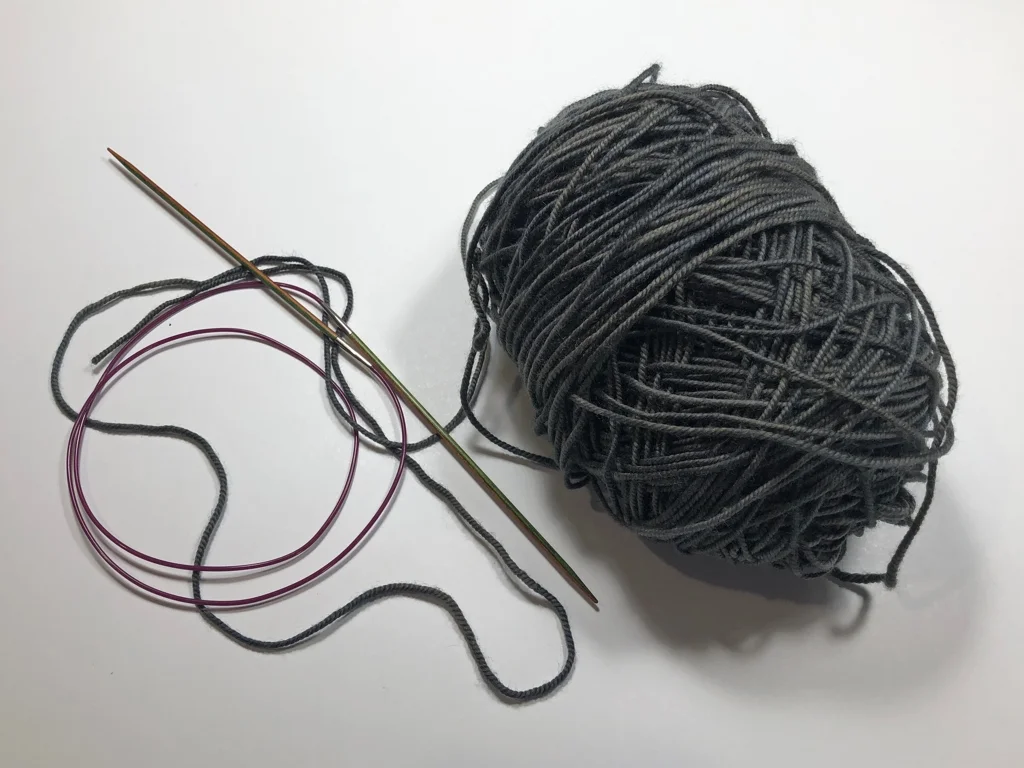
I love the complexity and depth and texture that cables create. I love small simple cables and big complicated cables. For complicated cables and reversible cables, cable needles are my best friend, but for small cables - 6 stitches or smaller - I skip the cable needle. It makes the knitting faster and and there’s one less thing to fiddle with.
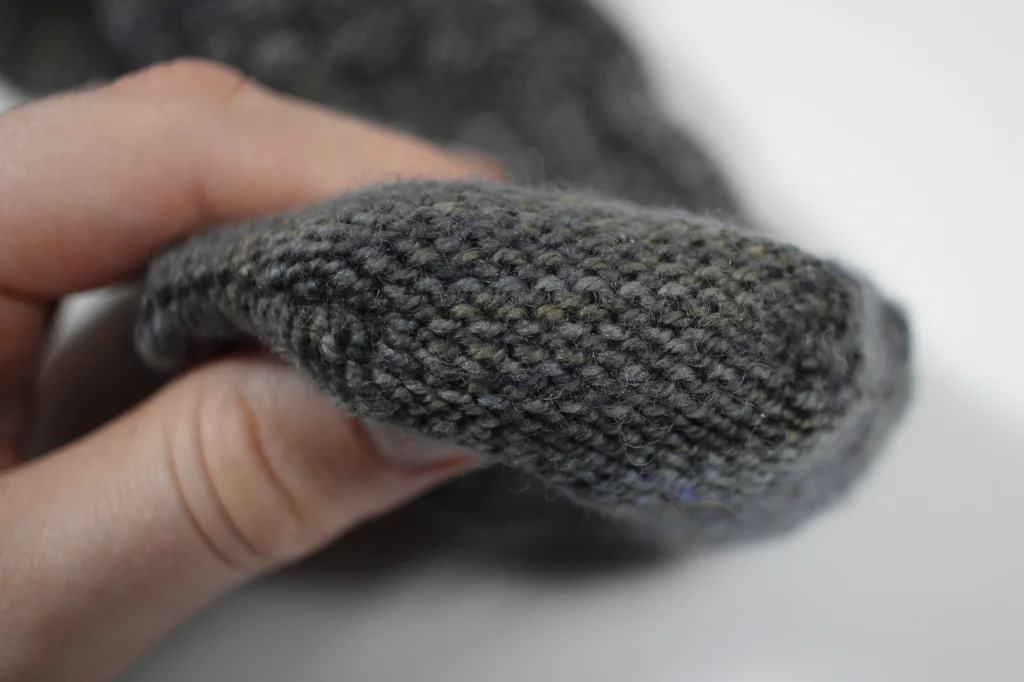
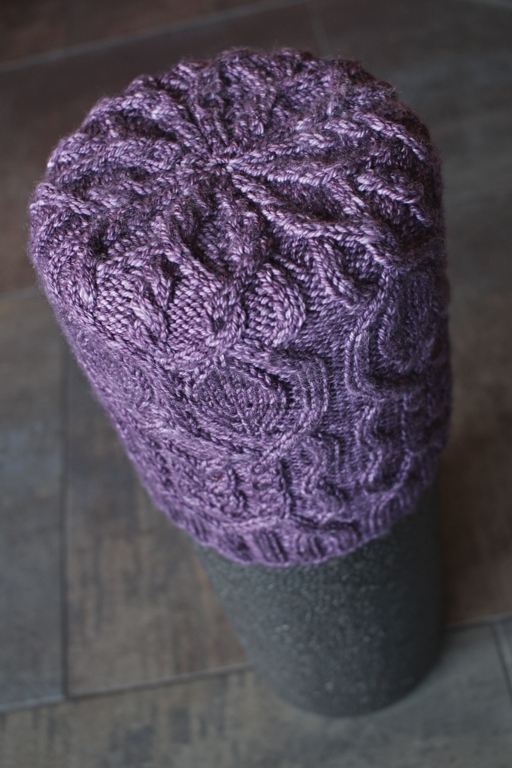
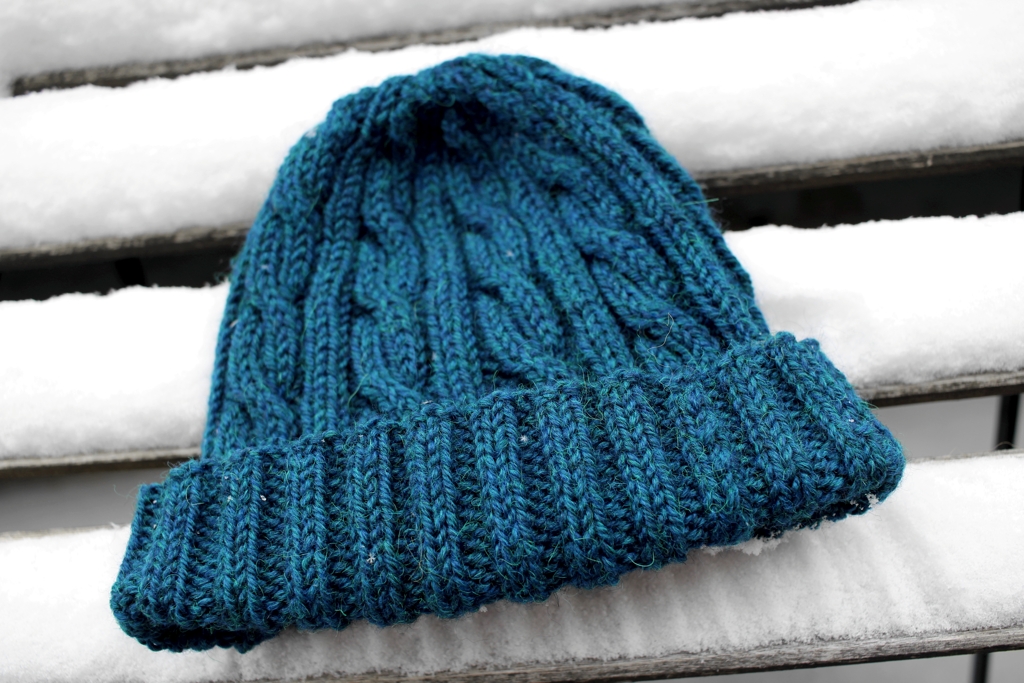
I knit the Old Friend hat without a cable needle which helped make the project a quick, easy knit.
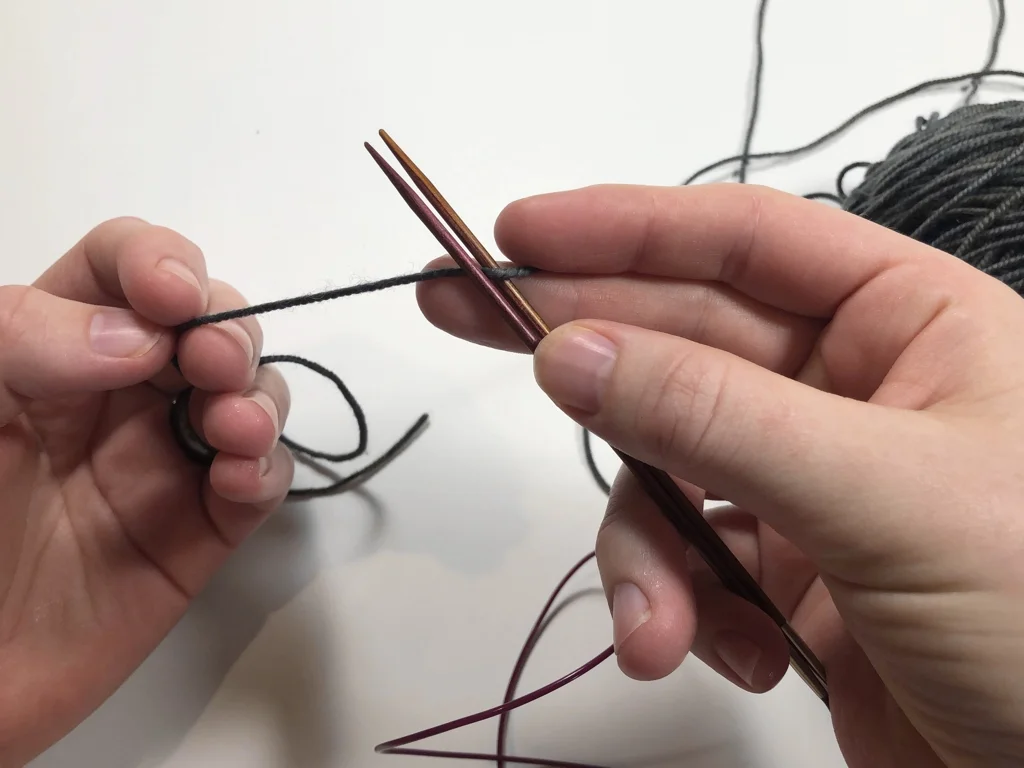
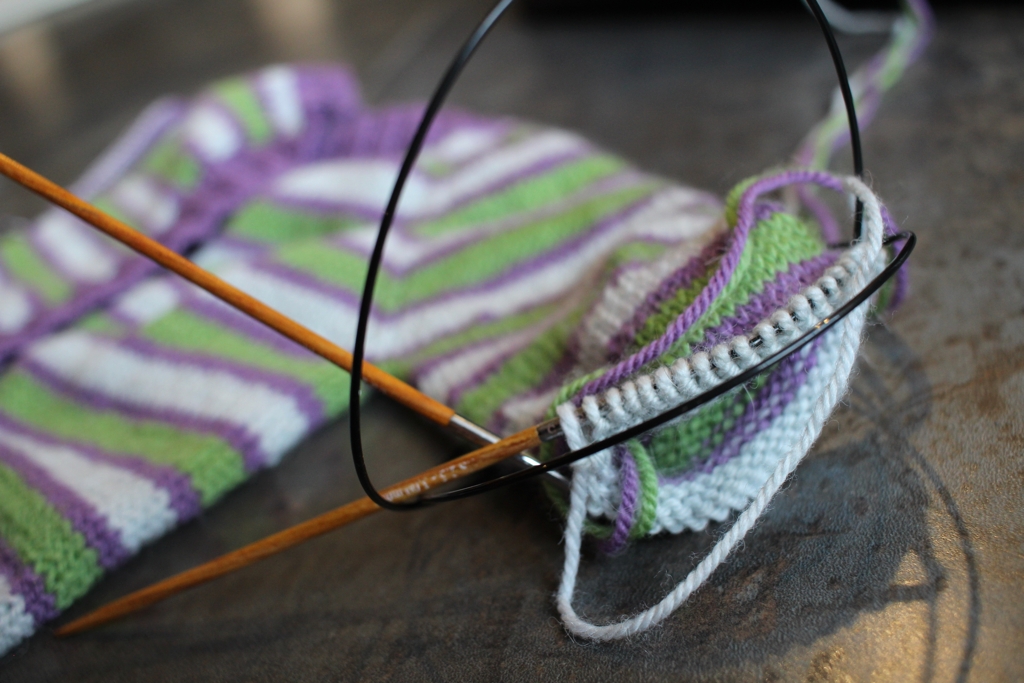
Front Cross Cable
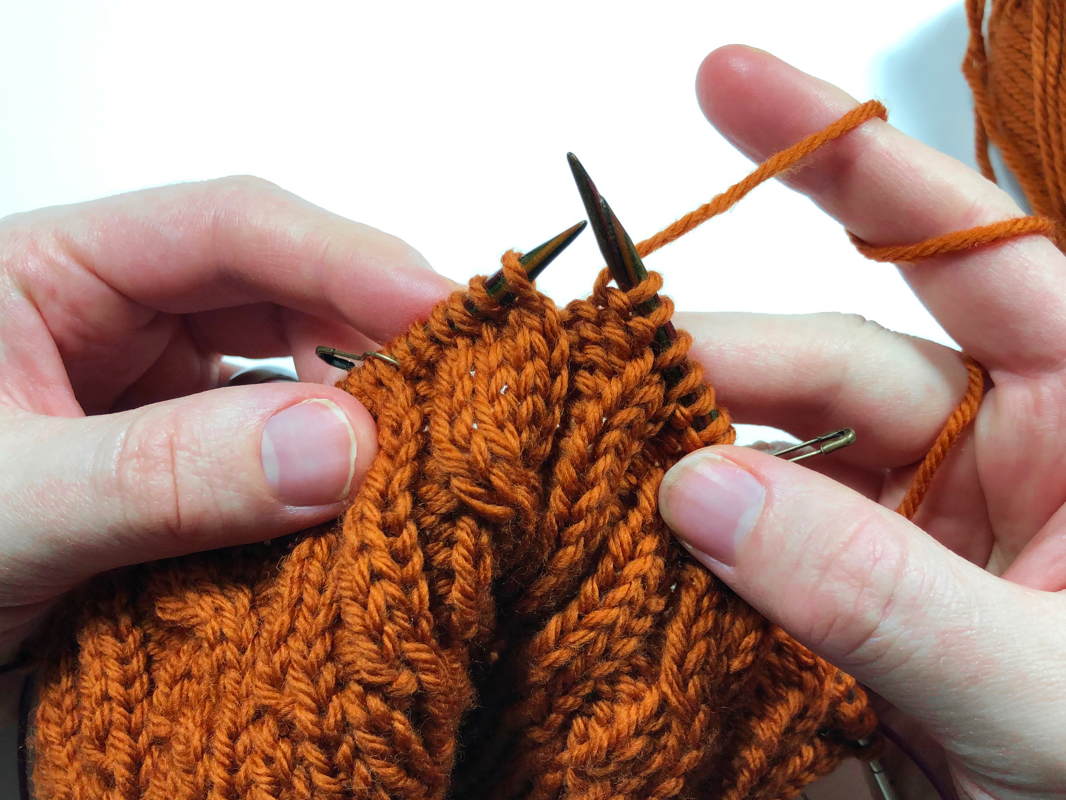
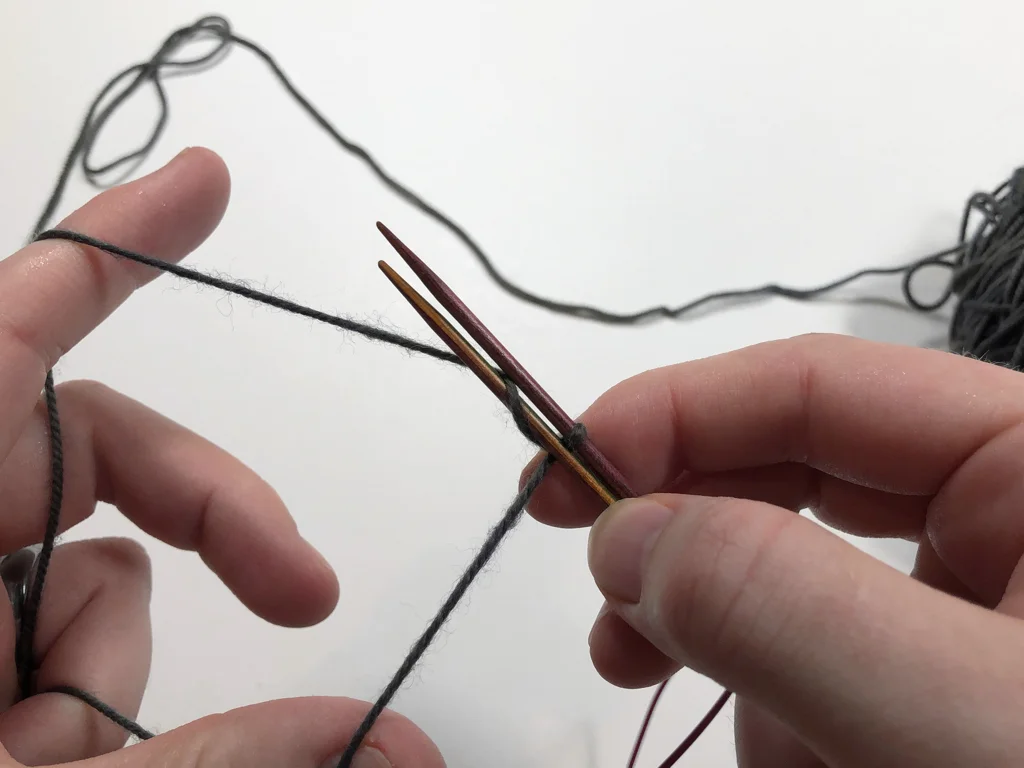
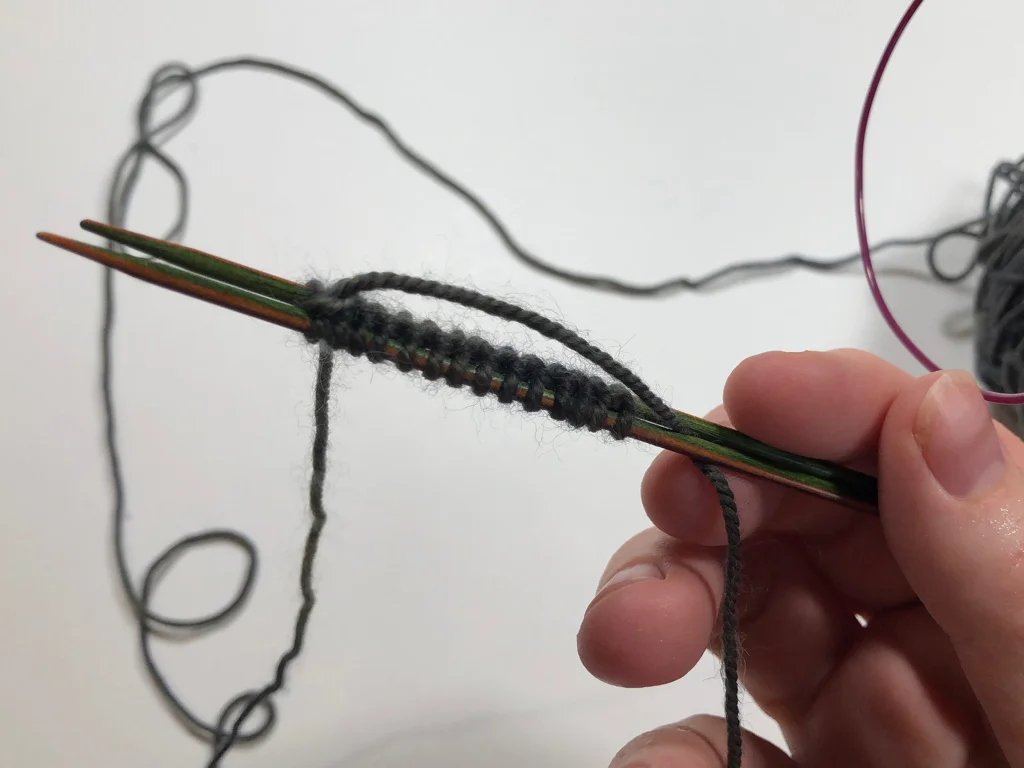
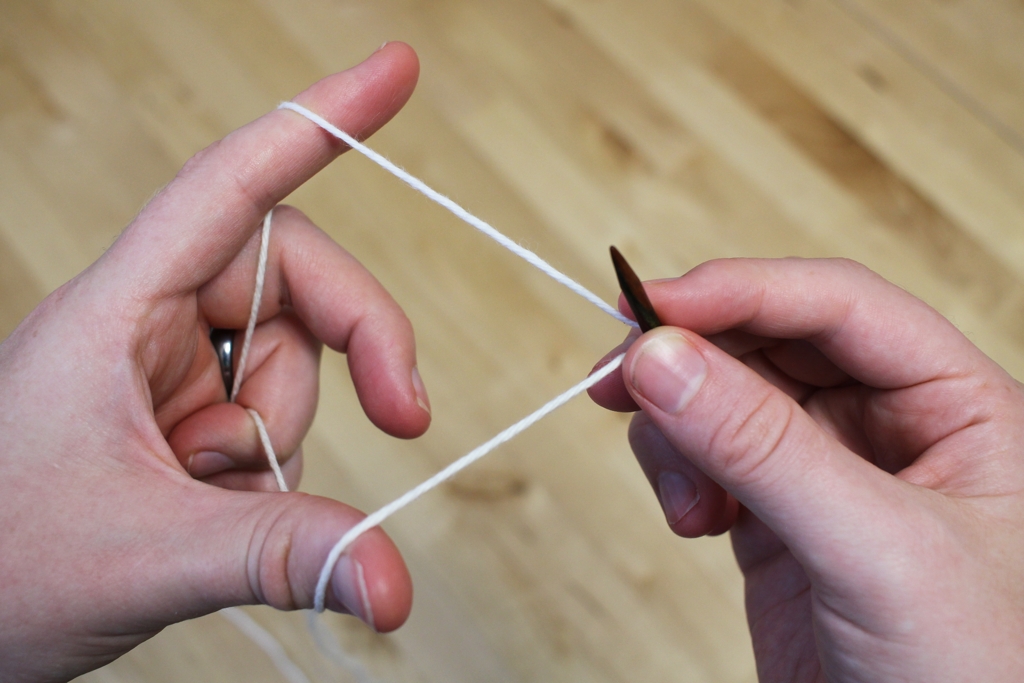
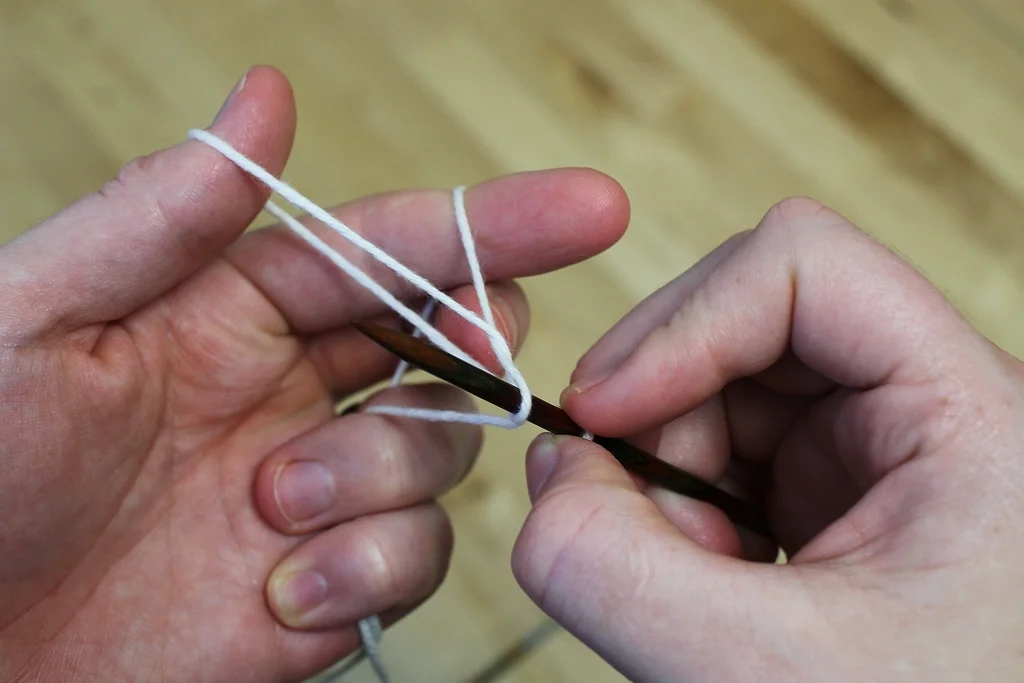
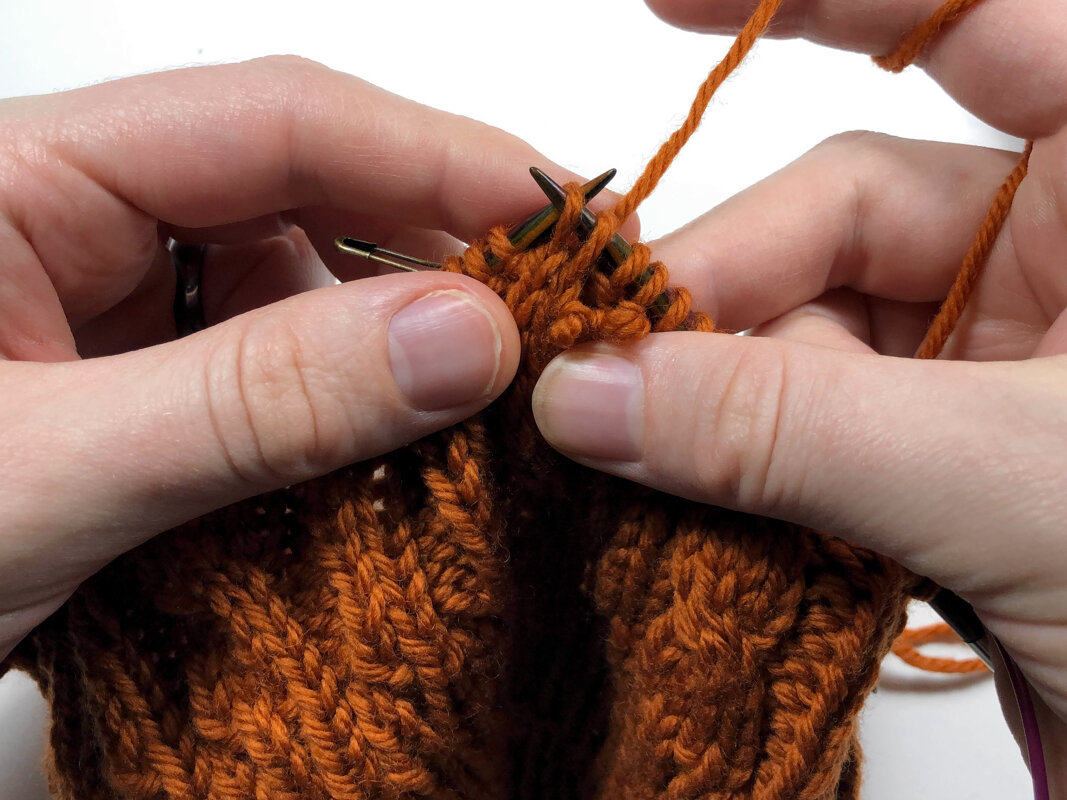
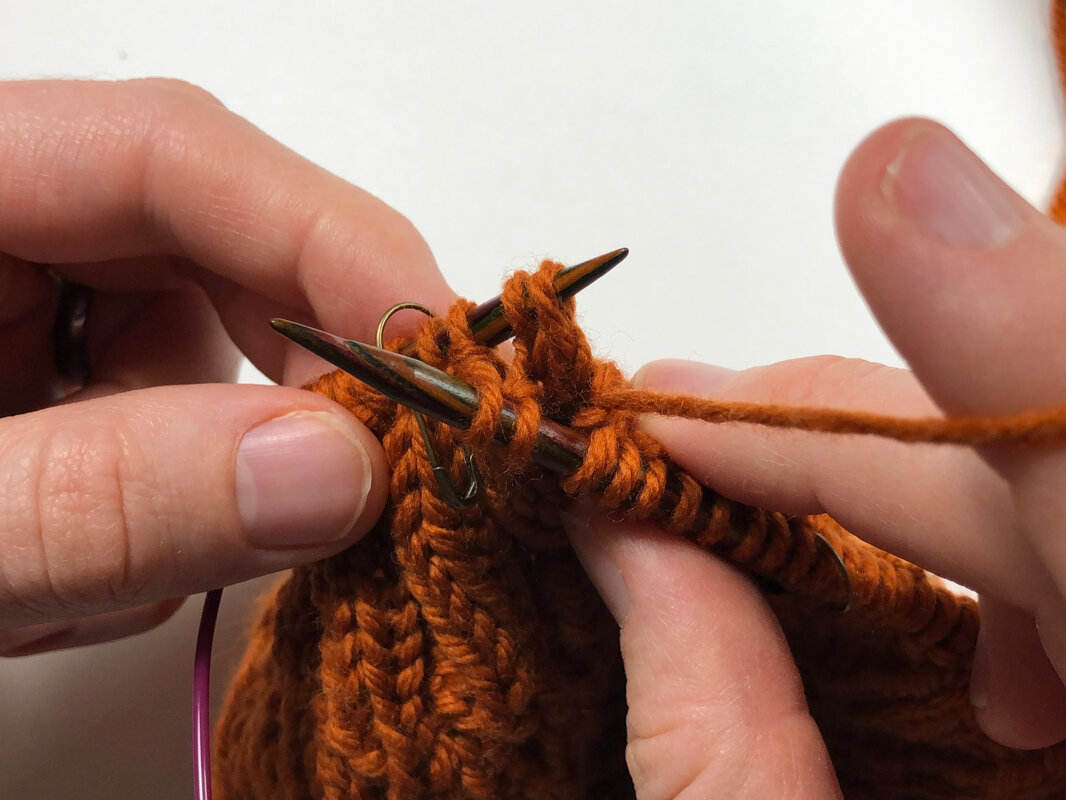
In the photo above, I’m ready to work a front crossing cable, also called a left cross cable, across the next 4 stitches on the left needle. This means that the 2 right-most stitches will be crossing in front of the 2 left stitches.
The first step is to slip the 2 right (front) stitches closest to the needle tip off the needle.
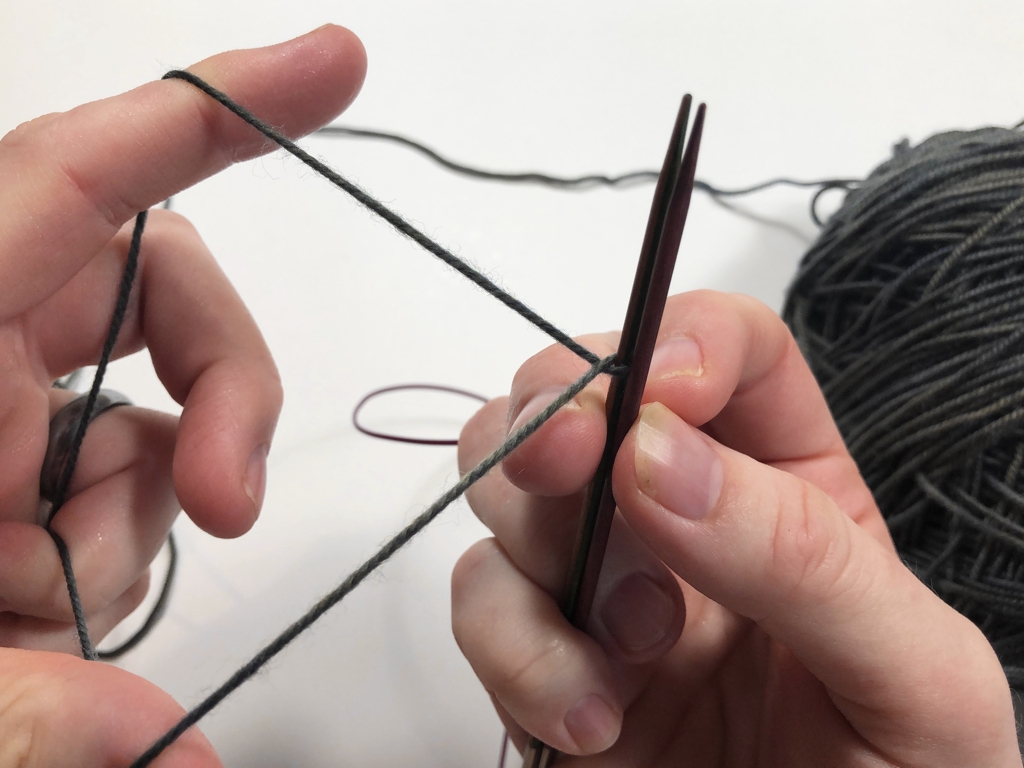
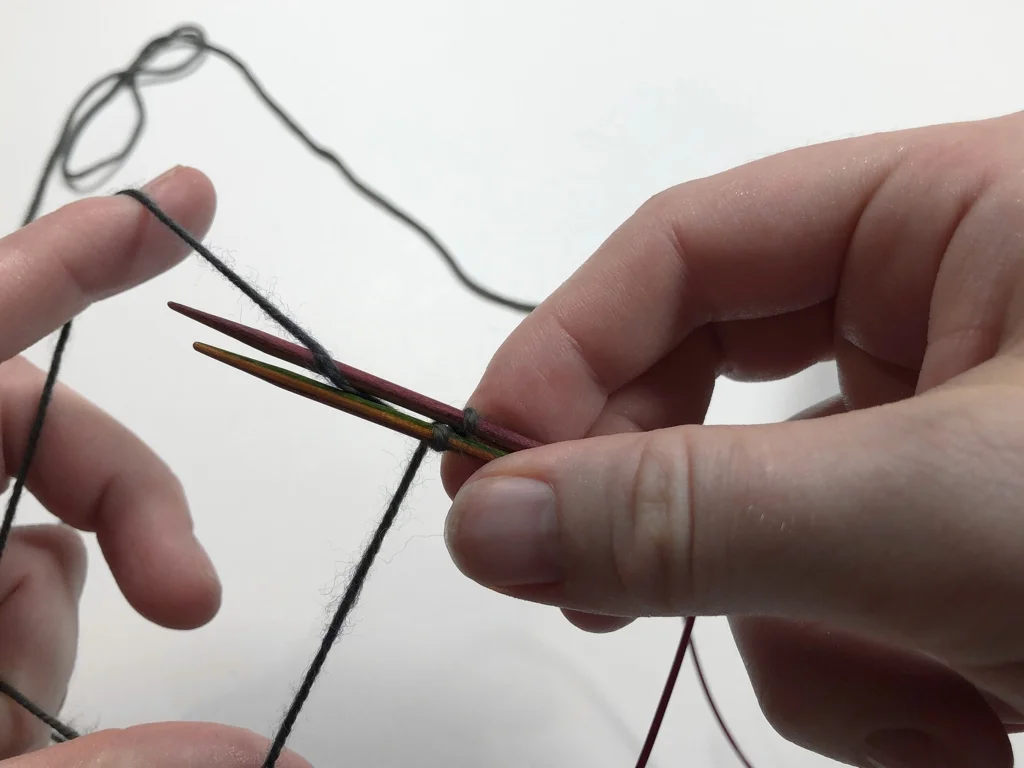
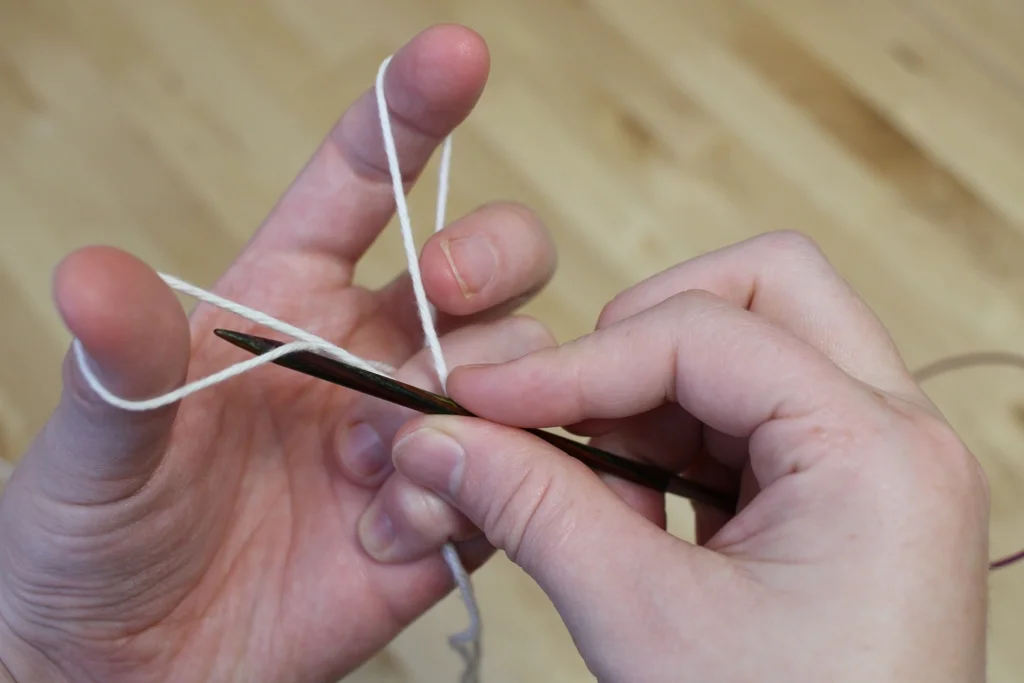
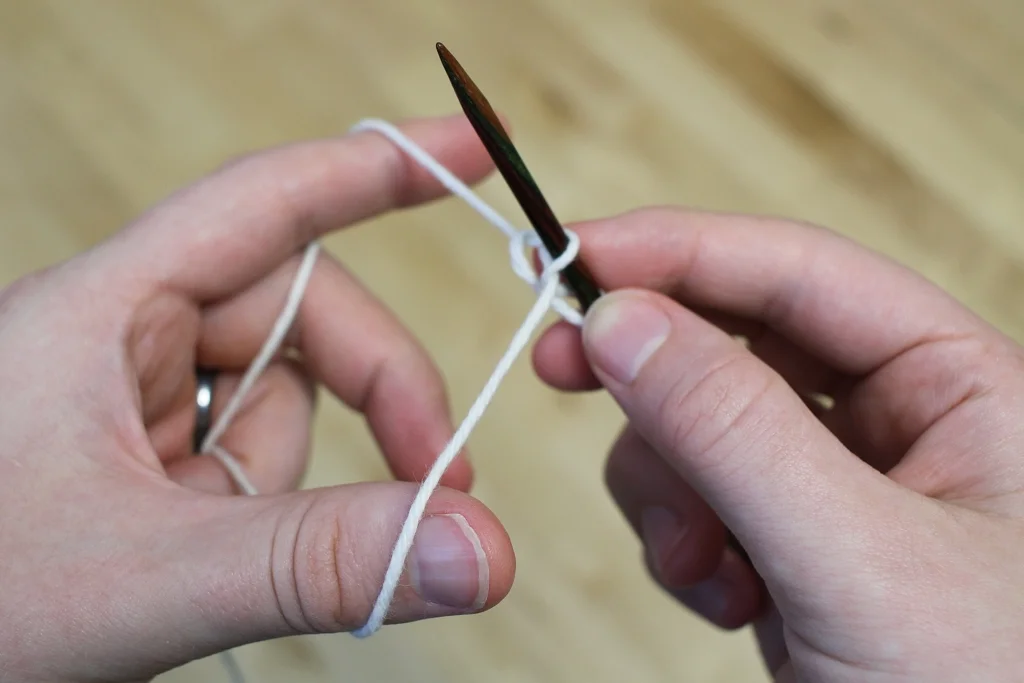
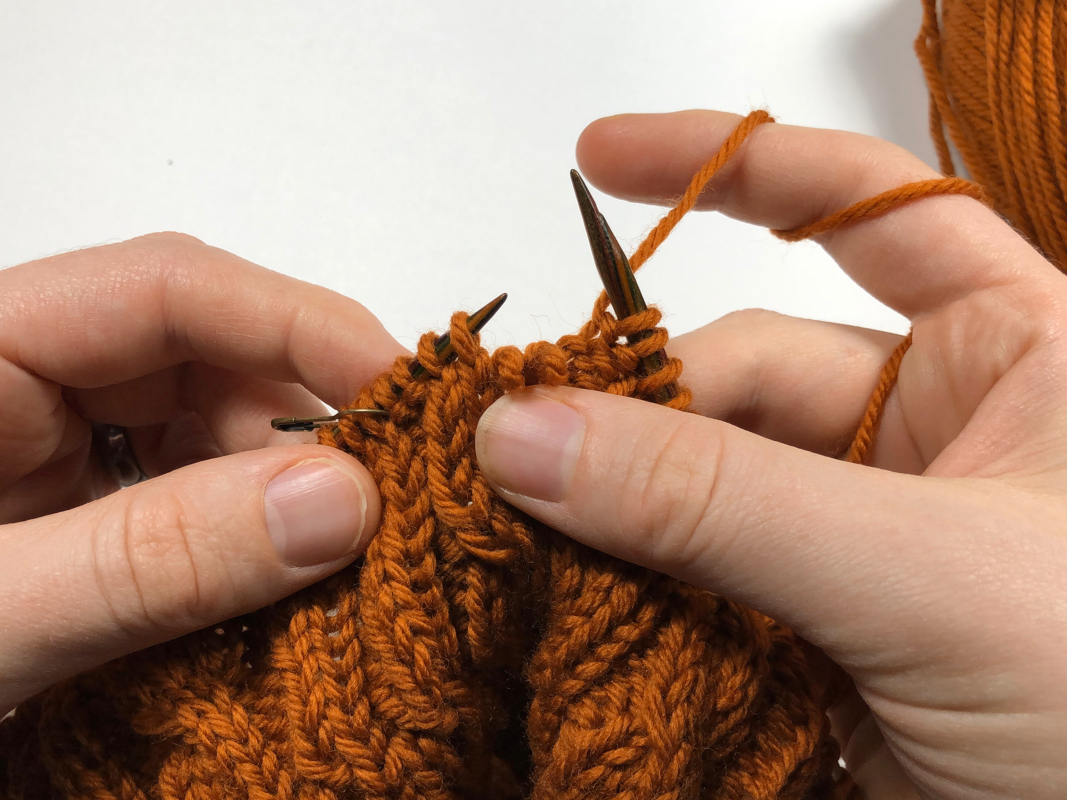
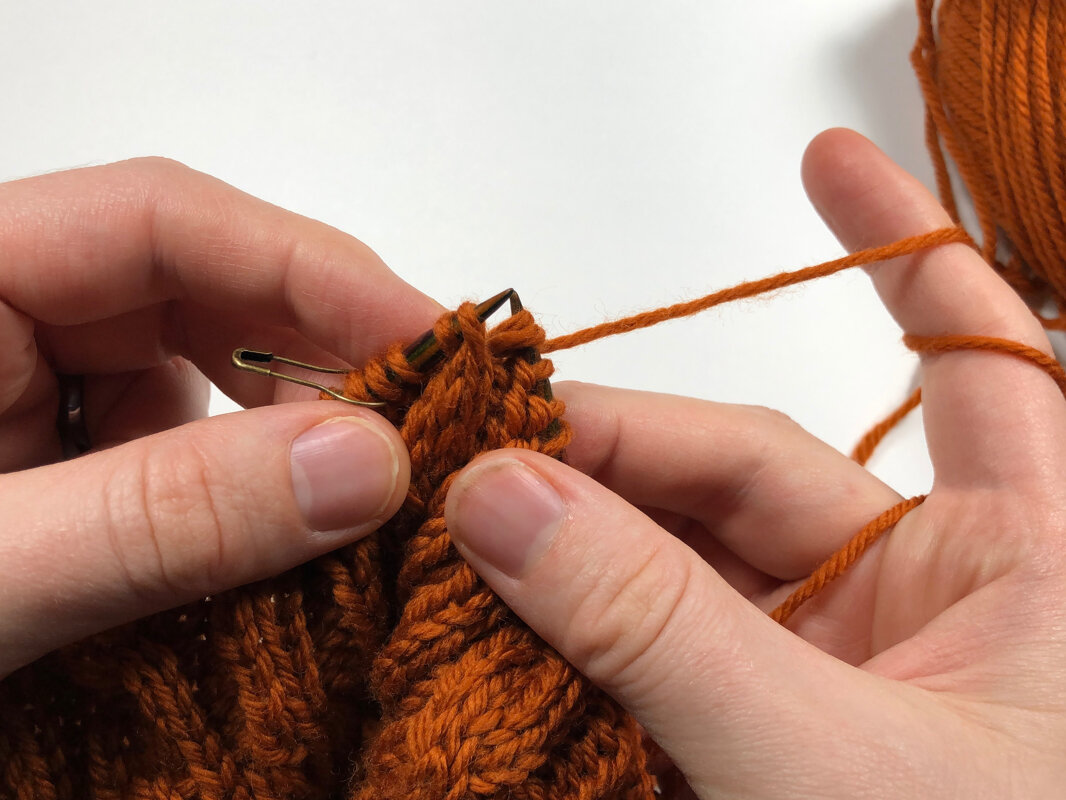
Next slip the 2 left stitches purl-wise from the left needle to the right needle. The hanging stitches will stay in the front and you can hold them in place with your thumb.
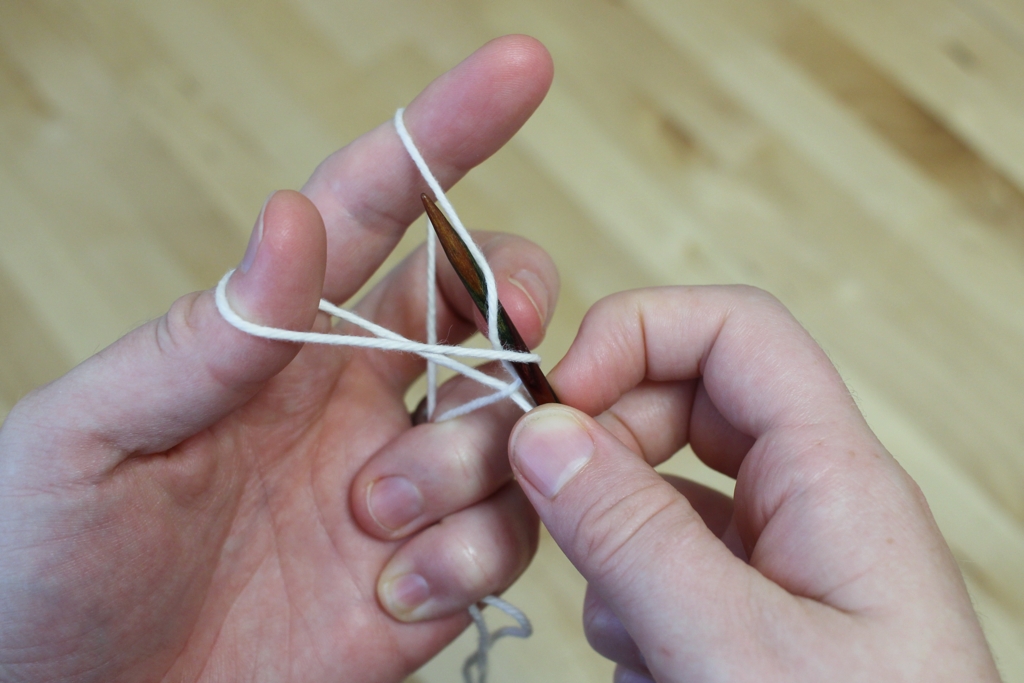
Slip the hanging stitches on to the left needle purl-wise.
Slip the 2 cable stitches on the right needle back to the left needle. Now the hard part is done, and the cable is crossed.
Knit (or purl as the pattern requires) across the cable stitches. You’re ready to keep working across the row.

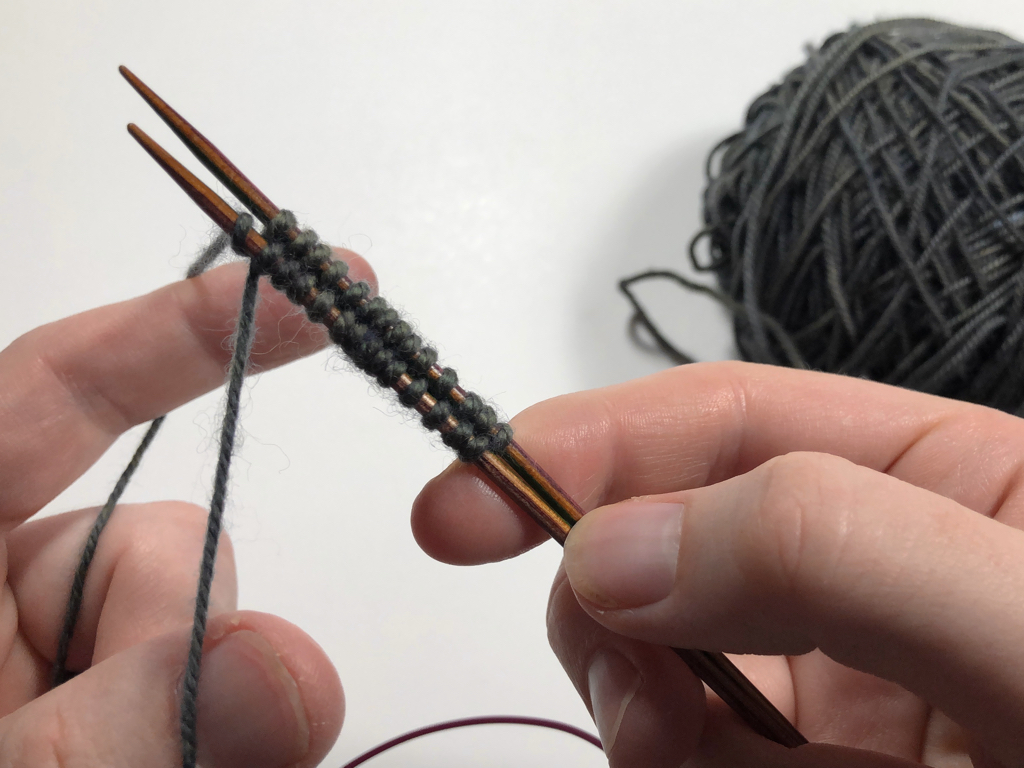
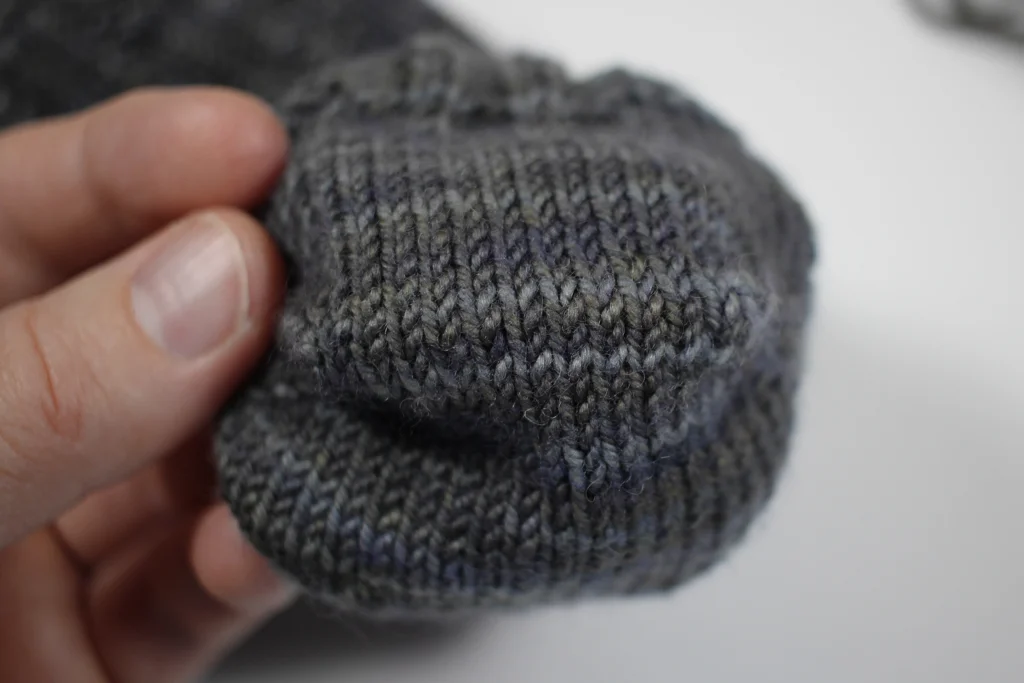
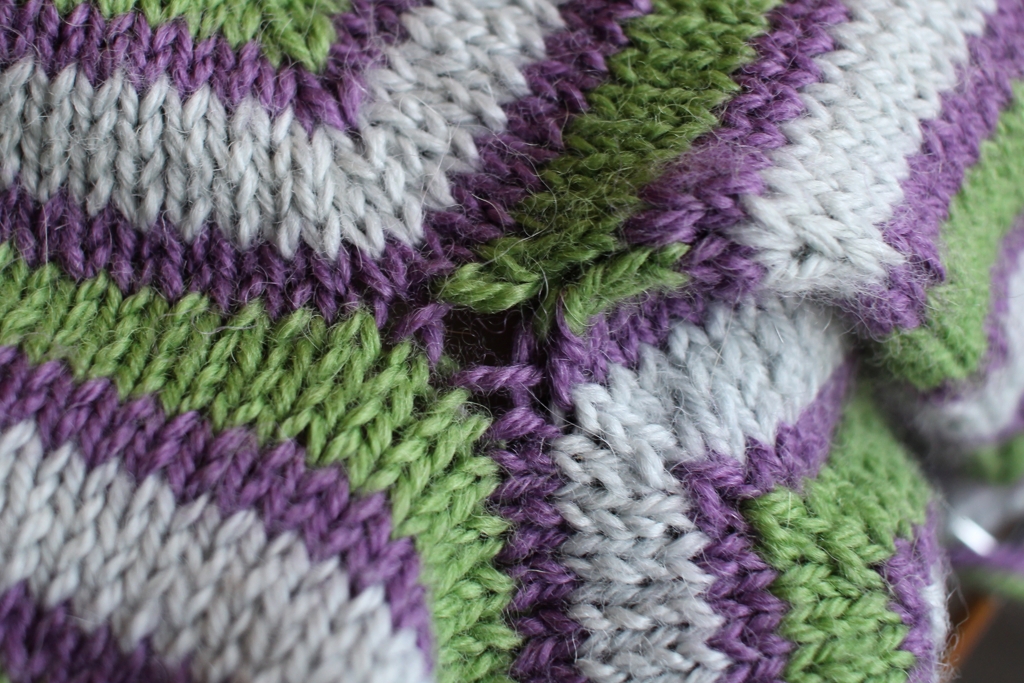
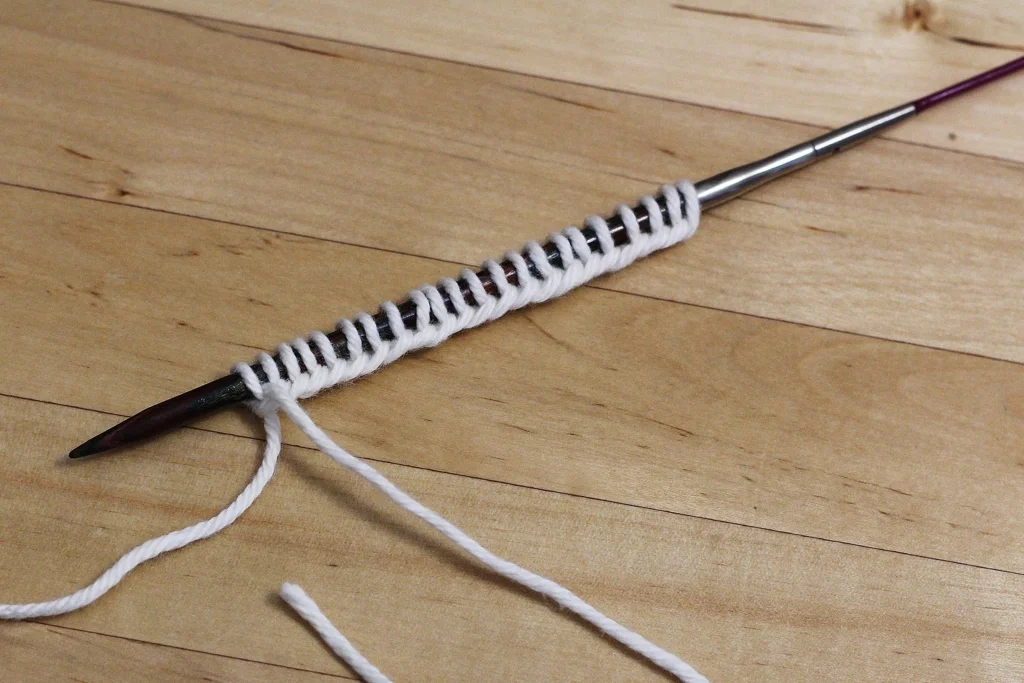
Here’s what the knitting looks like after working the cable cross.
Back Cross Cable

Now I’m ready to work a back crossing cable, also known as a right cross cable - which means that the 2 right-most stitches will be crossing behind the 2 left stitches. The first step is to slip the 2 right stitches off and hold them behind the needle.

Next slip the 2 left stitches purl-wise from the left needle to the right needle. The hanging stitches will stay in the back which is why you can’t see them in this photo.
Slip the hanging stitches on to the left needle purl-wise.
Slip the cable stitches on the right needle back to the left needle and work across. Now you’re ready to keep knitting to your next cable.
Even Faster Cable Knitting
Now that you’ve seen the basics, are you ready to work cables even faster? Here’s a demo with a front crossing cable, but the basic process will be the same for a back crossing cable as well.

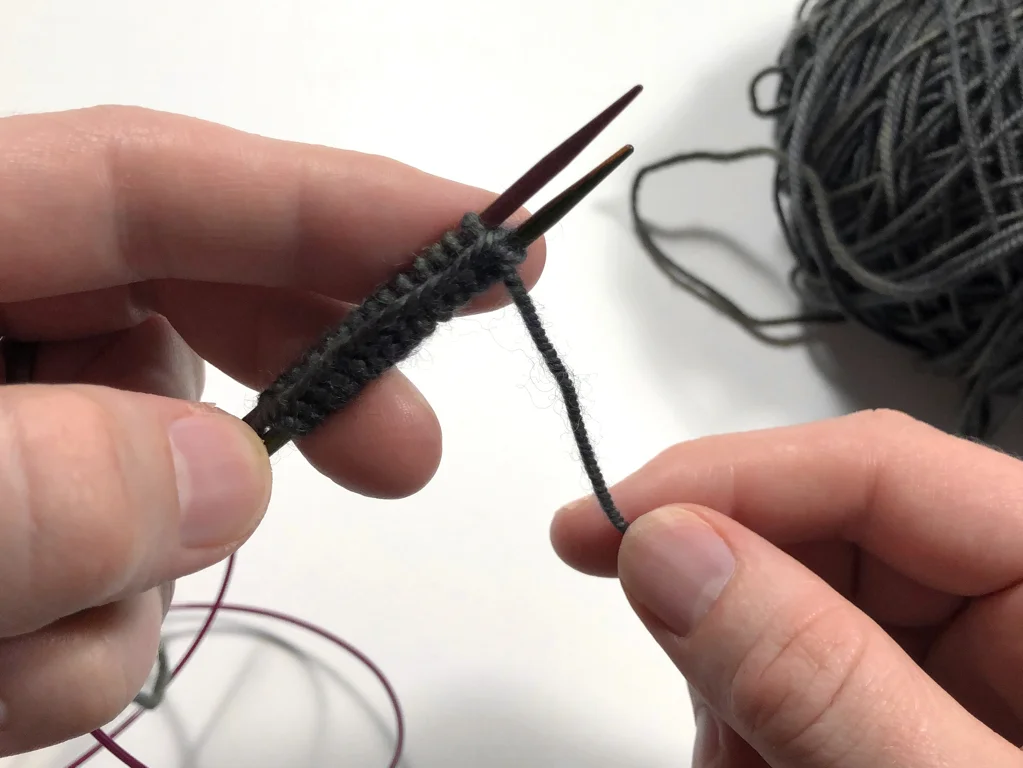
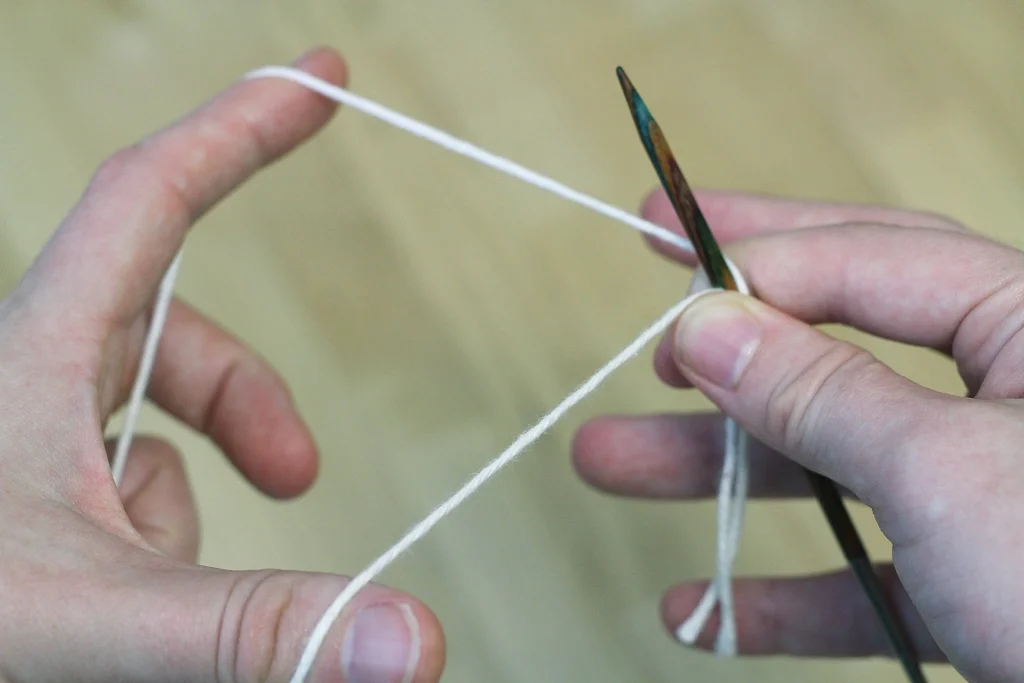
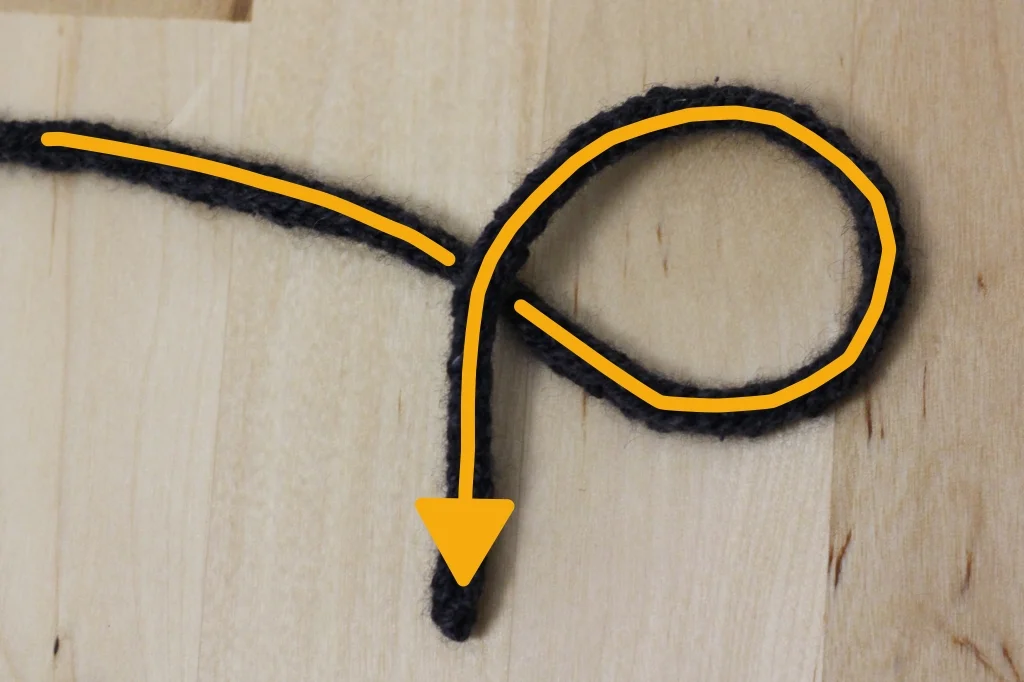
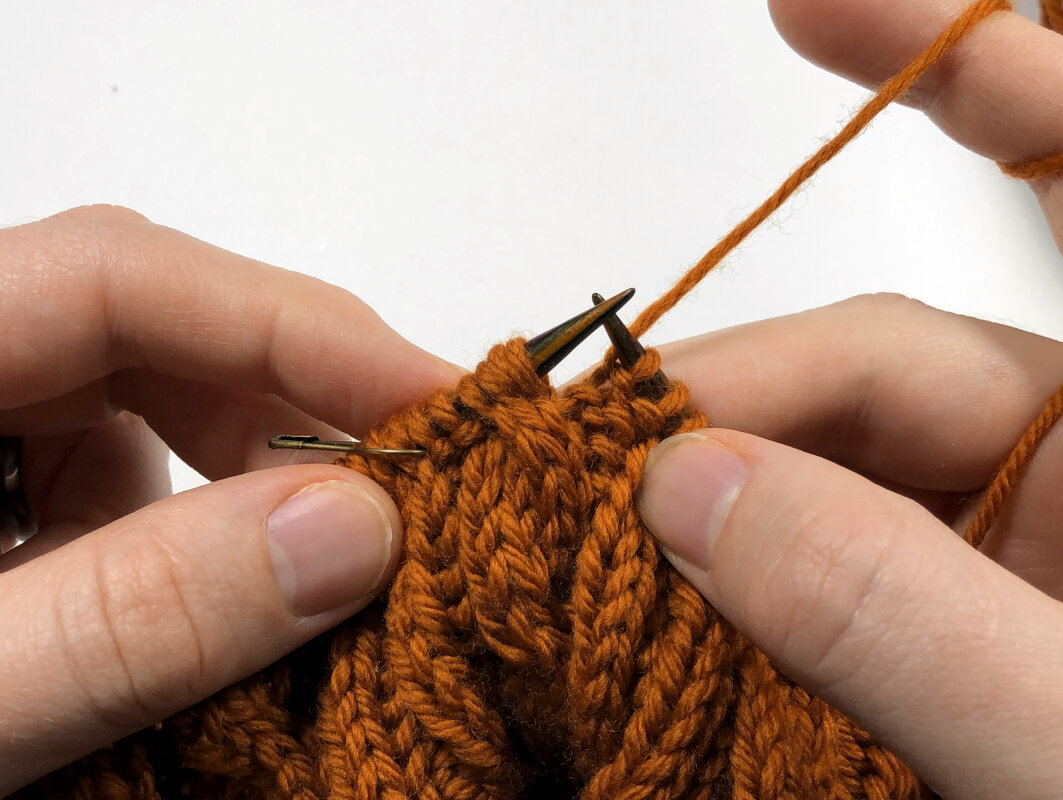
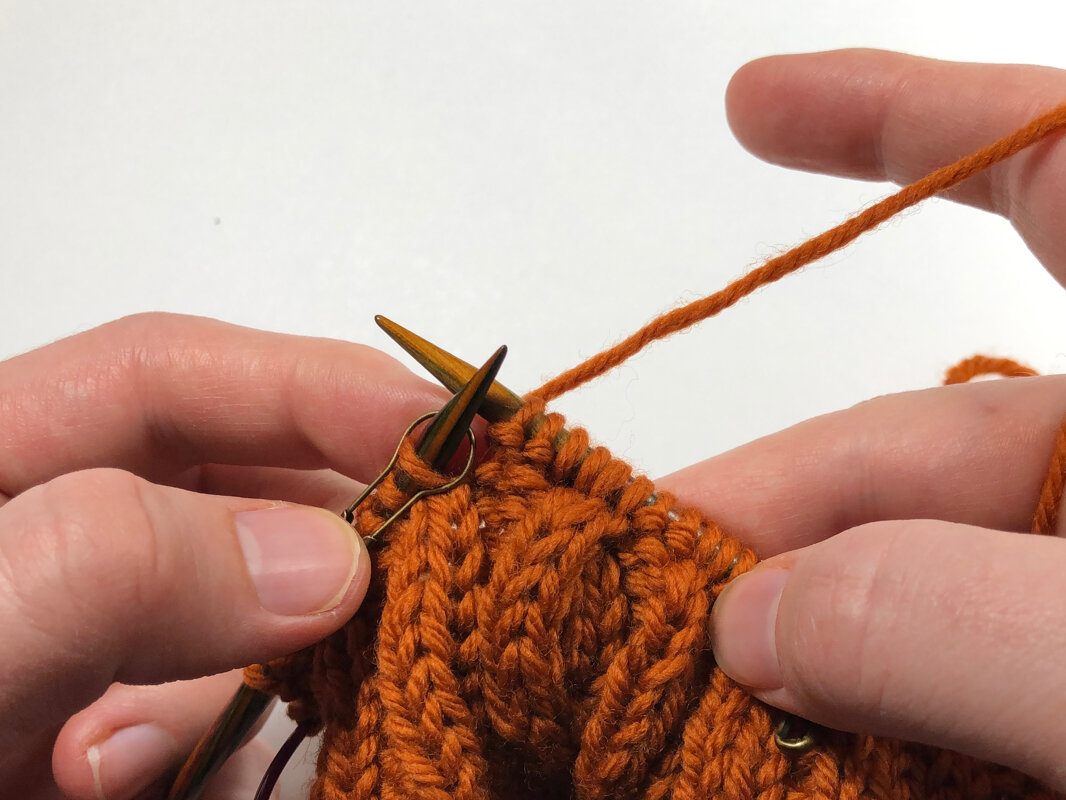
Slip the right needle purl-wise into the left half of the cable stitches from behind.

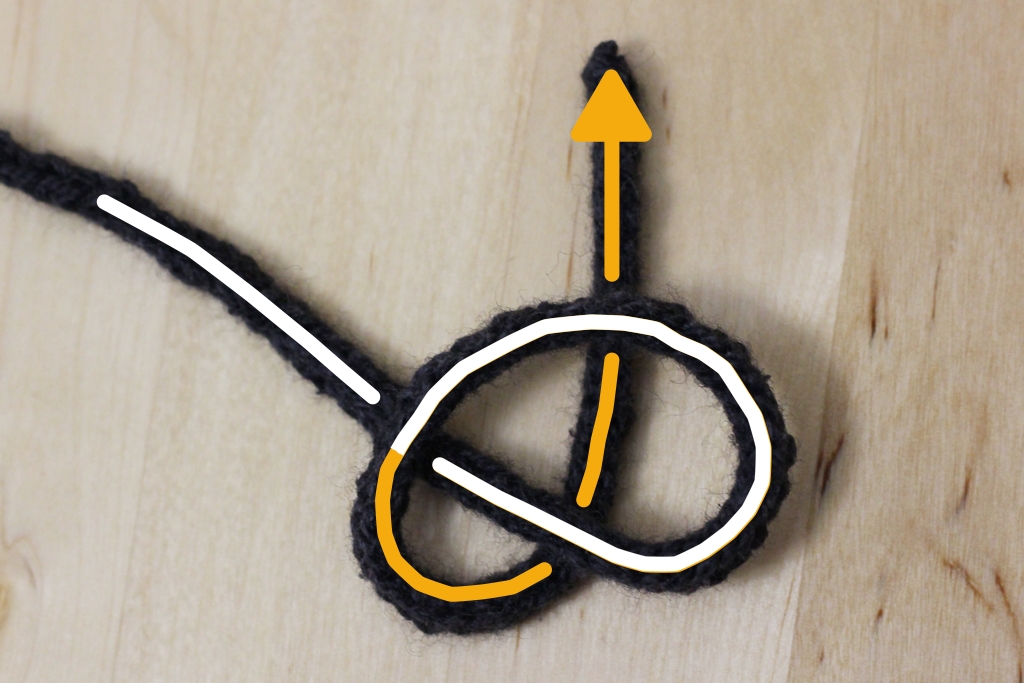
Pull the left needle out of the cable stitches. The two left stitches will be on the right needle with the other two stitches hanging out in front.
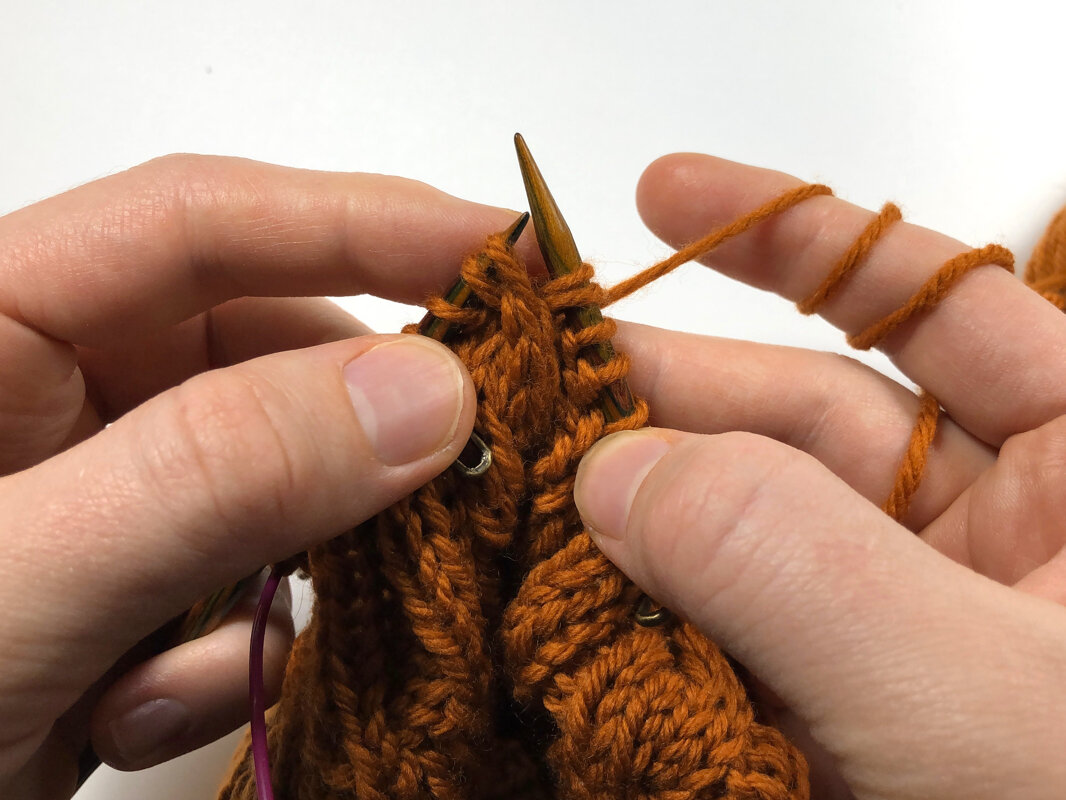
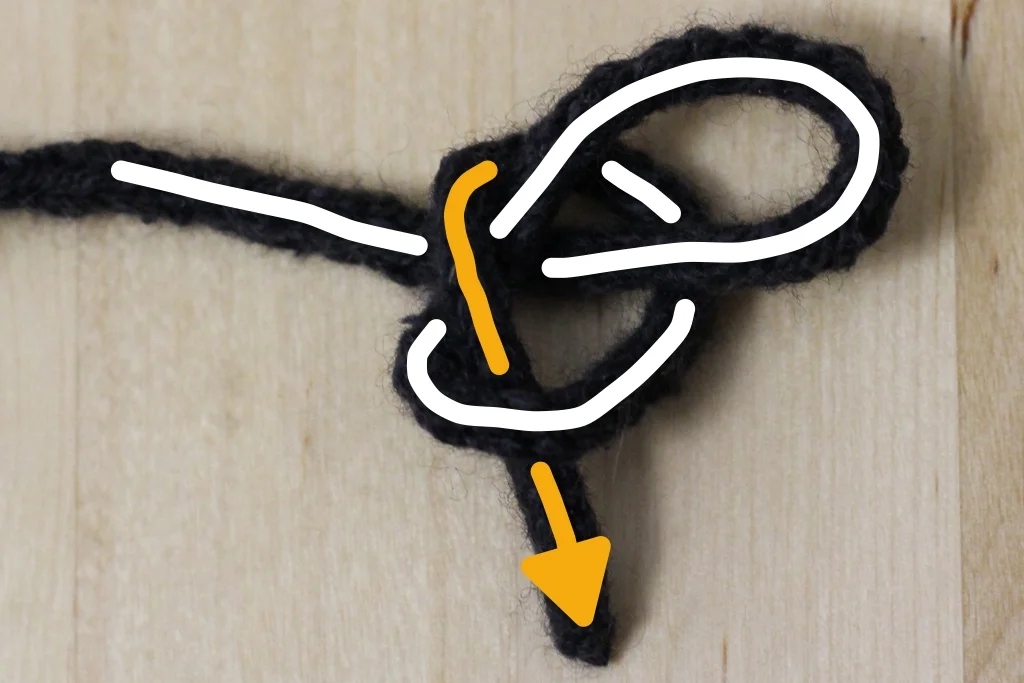
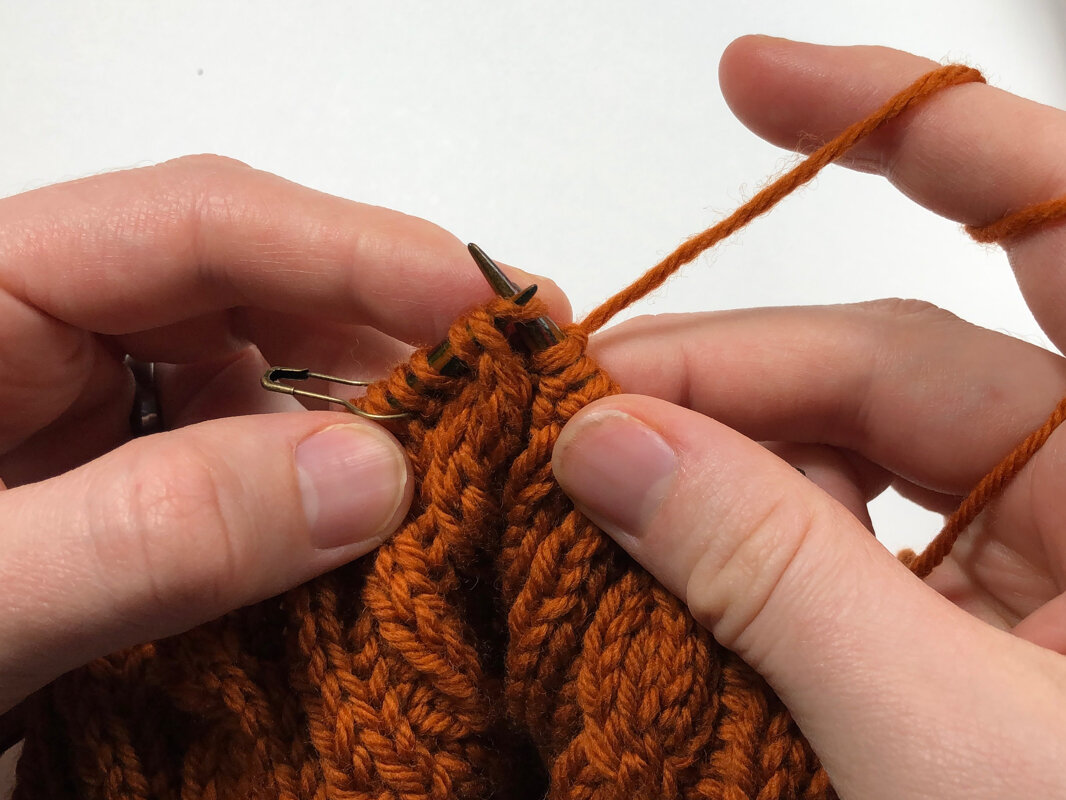
Slip the left needle back into the hanging stitches purl-wise and on the front side of the work. Then slip the 2 cable stitches on the right needle back to the left needle. Work across and you’re ready to cross more cables.
If you enjoyed this tutorial, buy me a coffee! Thank you for your support!