
How To Sew Soles Onto Knitted Slippers
/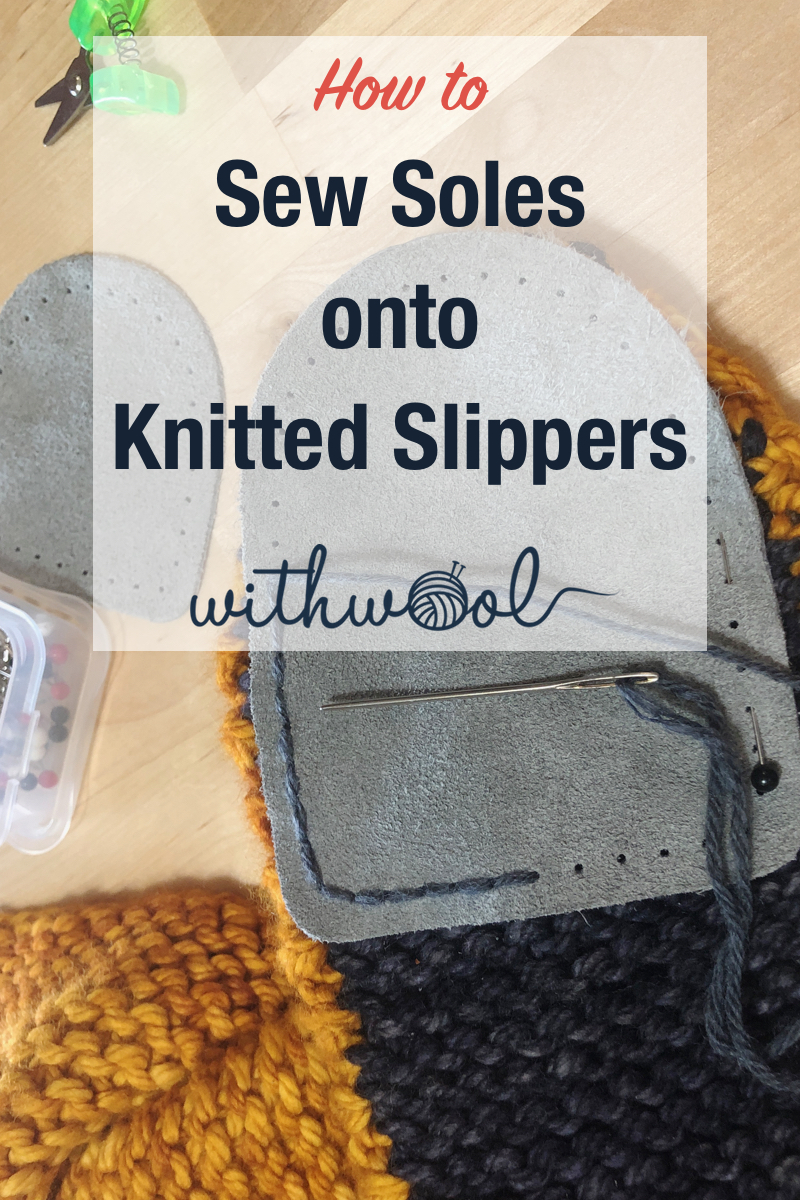
Cosy slippers are wonderful things. I’ve made several pairs for other people, but this is the first pair that I’ve made for myself. The slippers are thick and cushy, and I can turn up the cuffs when I need the extra warmth. I want them to last a long time which means adding soles because all my socks (and some of my shoes) wear out underneath the balls of my feet. A sewn on sole will last much longer and be easier to repair than plain knitting. So, here’s how I like to attach soles to slippers.
I prefer using backstitch instead of whip stitch or blanket stitch when the sole is smaller than the bottom of the slipper. If I can’t see the sole from the side, I don’t want to see the stitches holding it in place either.

Materials
The Slippers
Pins
A narrow tapestry needle
Soles (I’m using Fiber Trends Suede Soles.)
Yarn that will fit through sole holes (try saying that three times fast.)
Scissors

1. Use the pins to pin the sole in place on the slipper. Since these suede soles come as a separate toe and a heel, I’m working with one piece at a time. I like to use as few pins as possible to not skew how I sew the fabric and the sole together.

2. Thread the tapestry needle and put the end of your yarn between the sole and the fabric. Burying the end between the sole and the slipper keeps the end in place and keeps you from feeling it during wear. I highlighted the end in pink so it would be easier to see.

3. It’s time to start sewing down the sole with backstitch. You can start anywhere you want. I picked a spot in the middle of the pins so I’d have plenty of room to work. Pull the needle through a hole from underneath and then down into the next hole in the line.

When it’s time to remove the pin, the completed sewing will hold the sole in place. You can also move the pin to a different spot if that helps.
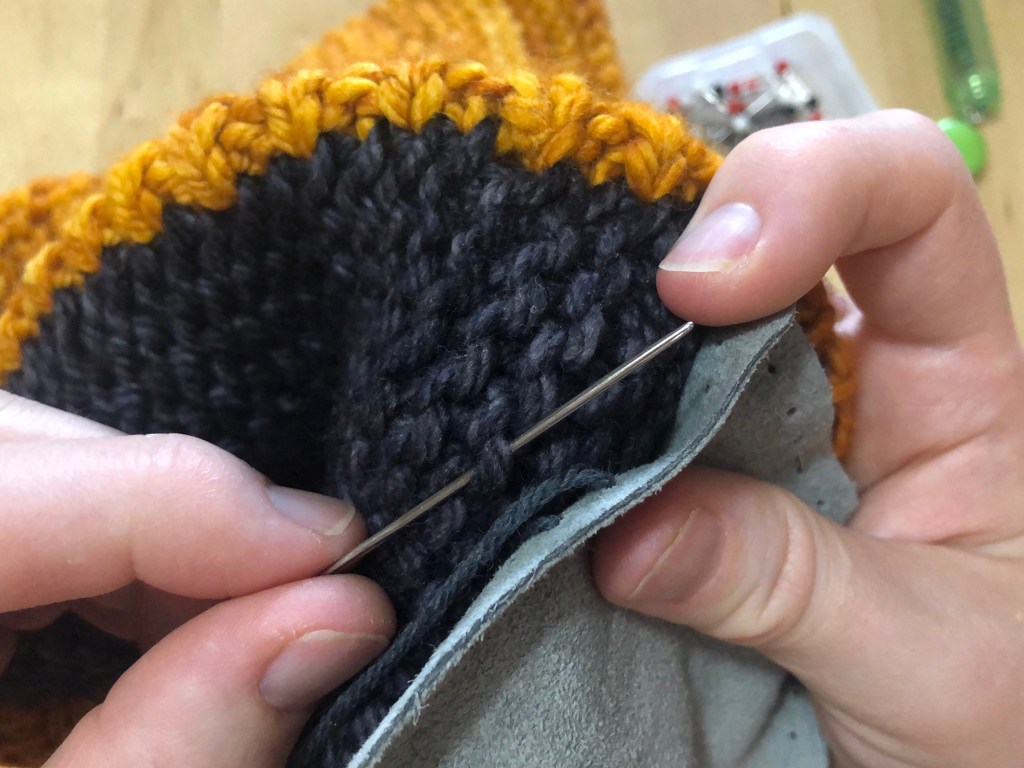
4. Slip the needle through a stitch on the slipper - it shouldn’t go all the way through the fabric. Catching just the top of the loop in garter stitch or a leg of a stockinette stitch will be enough to secure the sole.

5. Push the needle back up through the last hole that has yarn. This will create a continuous line of stitches on the visible side of the sole.

6. To continue, push the needle through the next hole in the line and repeat steps 3-5.
Here’s what the sewn sole will look midway through.

When you’ve finished sewing and need to secure the end:

Push the needle through first sewn hole and bring the needle to the outside of the sole.

Then slip the needle between the sole and slipper and push it in as far as you can. It helps to have your hand inside to help guide the needle. Angle the needle through the fabric to the inside of the slipper. The yarn will both be slipped through a few stitches and buried underneath the sole.
Then turn the slipper inside out as best you can and cut the working yarn. Repeat for the other sole pieces. All done!

When you need more yarn:
Secure the working yarn between the sole and slipper by pulling it through a few slipper stitches before cutting. Then cut a new length of yarn. After threading the needle, pull it through a few stitches on the slipper and push it up from the bottom into the last used hole to continue sewing.
If you enjoyed this tutorial,

