FO: Prairie Boots

The Prairie Boots are finally ready to keep my toes warm! Who knew sewing on buttons would be the hard part? | withwool.com

What took me so long to finish these oh so cosy slippers? It wasn’t the knitting, that’s for sure. Thanks to bulky yarn and garter stitch I was able to make quick work of turning yarn into slippers. Even sewing on the suede soles went reasonably fast. The hold up turned out to be the weather and buttons. Mostly, buttons. For a few weeks, the weather was warm and bright. I packed up my winter jackets and extra warm knits. Why bother finishing a pair of slippers during my limited knitting time just to immediately stash them in a closet? Then Spring turned temperamental with surprise snow, cold nights, and sudden temperature swings. Finishing up a pair of warm slippers went to the top of my to-do list.

Now, about those buttons. I needed 12 of them, in 2 different designs, and getting out to the store took longer then I liked. Then I couldn’t decide which set I wanted to see when the cuffs were folded vs unfolded. My decision process turned out to be ignoring the whole project for a few weeks in hopes that the answer would suddenly present itself. There was no late night epiphany about which side to put which buttons, but I was finally able to make up my mind.

The Prairie Boots are finally ready to keep my toes warm! Who knew sewing on buttons would be the hard part? | withwool.com

Gathering up the motivation to sew on 12 buttons took some doing as well. My tried-and-true method of setting a 20 minute timer and just getting stuff done didn’t really work for me this time around. I didn’t want to come back to this process day after day. I just wanted it done. So, one night after the chores were done and the Mini was asleep, I got to work. An hour and a half later, I had slippers complete with buttons! You better believe that I wore them for the rest of night.

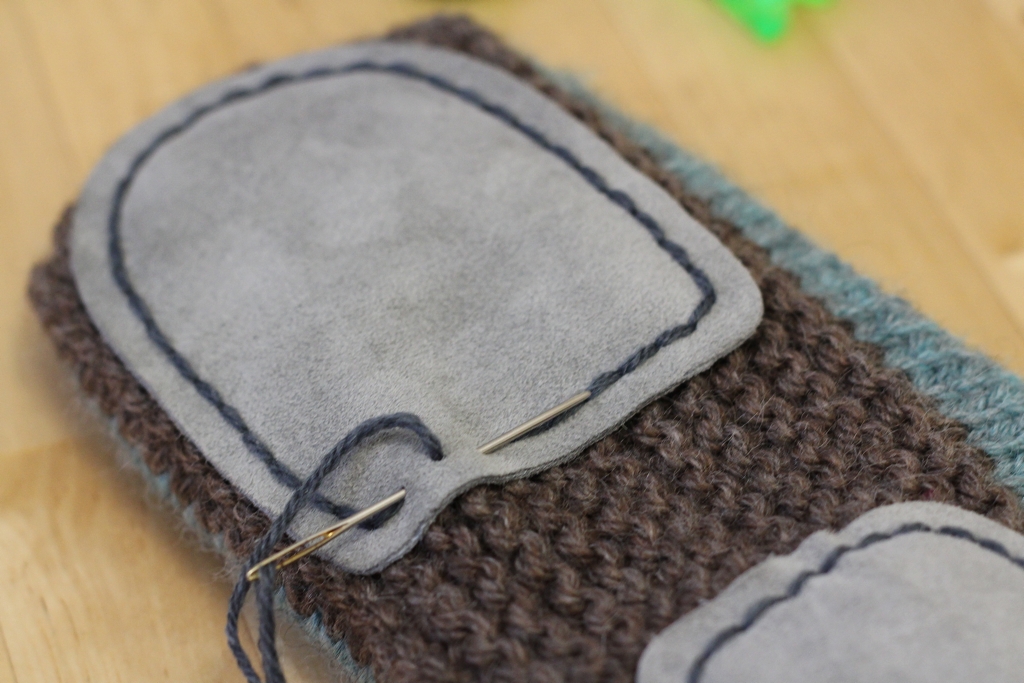
My hack for faster sewing was attaching on the front and back buttons at the same time. I cut a longer length of thread, tied the thread in place, and sewed on button #1. After making the first button shank, I pulled the thread to the other side of the fabric and sewed on button #2. Only having to thread a needle and prep it for sewing 6 times instead of 12 sped things up a lot.

The Prairie Boots are finally ready to keep my toes warm! Who knew sewing on buttons would be the hard part? | withwool.com

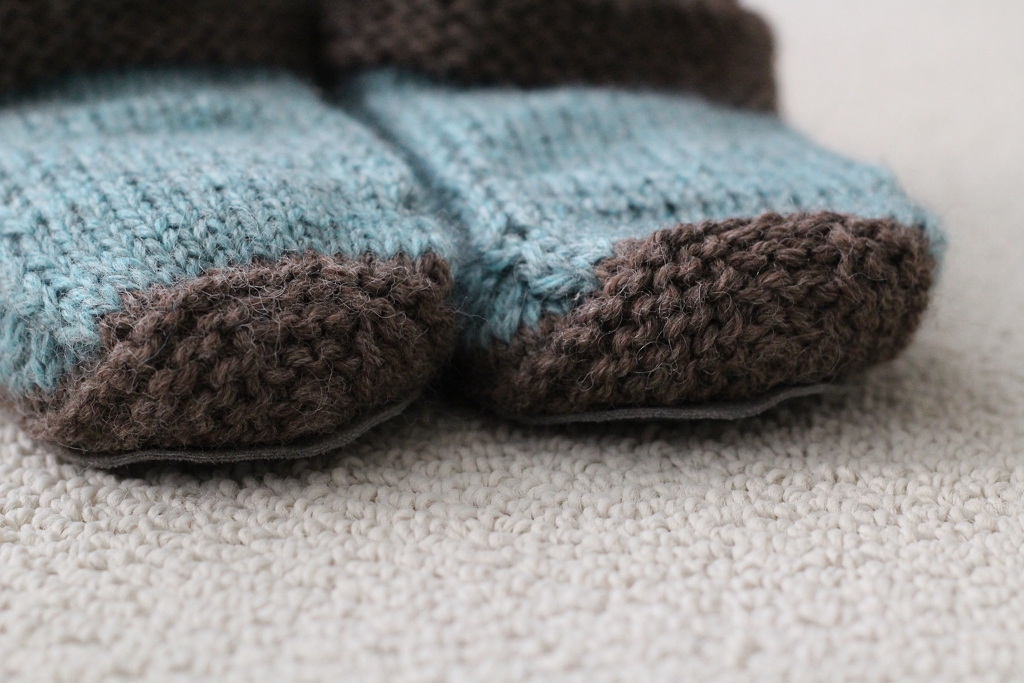
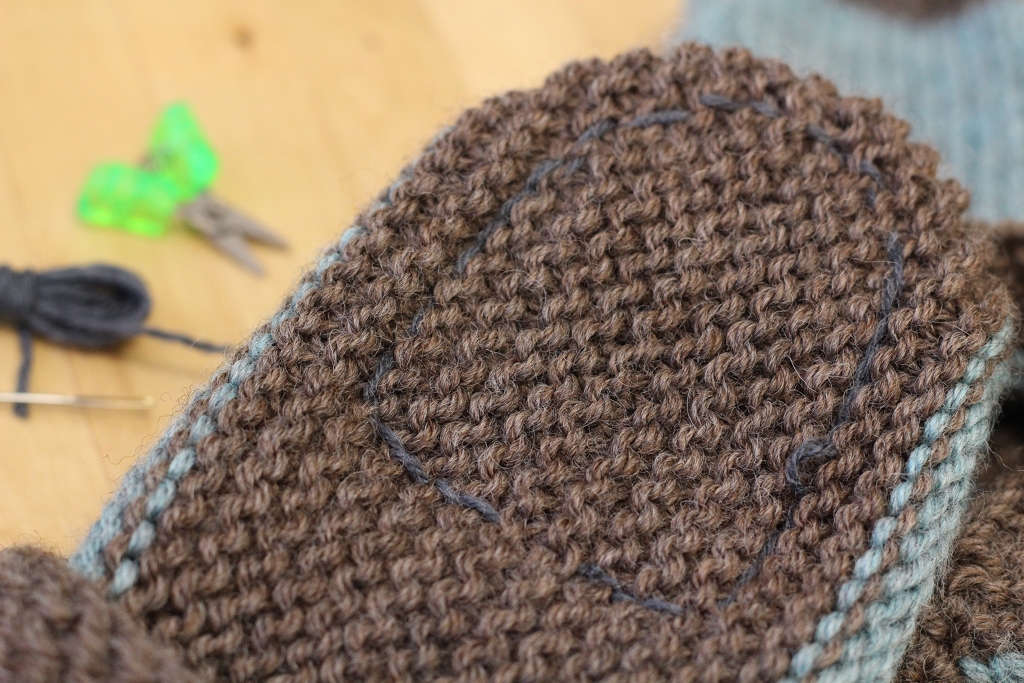
The weather is still flip flopping between clear sunny skies, chilly rain and fog, and the occasional surprise snow. So I’ve been wearing these slippers a lot to keep my toes warm, especially during these last few cold and snowy days. They are definitely warm and cosy. My only real complaint was that I wish they had more structure. Maybe working at a tighter gauge would have helped or adding a stiffer one piece sole. Still, I love these slippers and the option to wear the cuffs up when I need the added warmth. Plus, it’s nice knowing they’ll be ready and waiting for me this Fall.

The Specs:

Pattern: Prairie Boots by Julie Weisenberger

Yarn: Malabrigo Yarn Chunky - Sunset (Upper) and Pearl Ten (Sole)

Needles: US 9 (5.5 mm) and US 10 (6 mm)

Date: February 24 - April 4, 2019

More details on the Ravelry project page

How To Sew Soles Onto Knitted Slippers

Learn how to sew soles onto your slippers for extra grip and added durability. #knitting | withwool.com

Cosy slippers are wonderful things. I’ve made several pairs for other people, but this is the first pair that I’ve made for myself. The slippers are thick and cushy, and I can turn up the cuffs when I need the extra warmth. I want them to last a long time which means adding soles because all my socks (and some of my shoes) wear out underneath the balls of my feet. A sewn on sole will last much longer and be easier to repair than plain knitting. So, here’s how I like to attach soles to slippers.

I prefer using backstitch instead of whip stitch or blanket stitch when the sole is smaller than the bottom of the slipper. If I can’t see the sole from the side, I don’t want to see the stitches holding it in place either.

Learn how to sew soles onto your slippers for extra grip and added durability. #knitting | withwool.com

Materials

  • The Slippers

  • Pins

  • A narrow tapestry needle

  • Soles (I’m using Fiber Trends Suede Soles.)

  • Yarn that will fit through sole holes (try saying that three times fast.)

  • Scissors

Learn how to sew soles onto your slippers for extra grip and added durability. #knitting | withwool.com

1. Use the pins to pin the sole in place on the slipper. Since these suede soles come as a separate toe and a heel, I’m working with one piece at a time. I like to use as few pins as possible to not skew how I sew the fabric and the sole together.

Learn how to sew soles onto your slippers for extra grip and added durability. #knitting | withwool.com

2. Thread the tapestry needle and put the end of your yarn between the sole and the fabric. Burying the end between the sole and the slipper keeps the end in place and keeps you from feeling it during wear. I highlighted the end in pink so it would be easier to see.

Learn how to sew soles onto your slippers for extra grip and added durability. #knitting | withwool.com

3. It’s time to start sewing down the sole with backstitch. You can start anywhere you want. I picked a spot in the middle of the pins so I’d have plenty of room to work. Pull the needle through a hole from underneath and then down into the next hole in the line.

Learn how to sew soles onto your slippers for extra grip and added durability. #knitting | withwool.com

When it’s time to remove the pin, the completed sewing will hold the sole in place. You can also move the pin to a different spot if that helps.

Learn how to sew soles onto your slippers for extra grip and added durability. #knitting | withwool.com

4. Slip the needle through a stitch on the slipper - it shouldn’t go all the way through the fabric. Catching just the top of the loop in garter stitch or a leg of a stockinette stitch will be enough to secure the sole.

Learn how to sew soles onto your slippers for extra grip and added durability. #knitting | withwool.com

5. Push the needle back up through the last hole that has yarn. This will create a continuous line of stitches on the visible side of the sole.

Learn how to sew soles onto your slippers for extra grip and added durability. #knitting | withwool.com

6. To continue, push the needle through the next hole in the line and repeat steps 3-5.

Here’s what the sewn sole will look midway through.

Learn how to sew soles onto your slippers for extra grip and added durability. #knitting | withwool.com

When you’ve finished sewing and need to secure the end:

Learn how to sew soles onto your slippers for extra grip and added durability. #knitting | withwool.com

Push the needle through first sewn hole and bring the needle to the outside of the sole.

Learn how to sew soles onto your slippers for extra grip and added durability. #knitting | withwool.com

Then slip the needle between the sole and slipper and push it in as far as you can. It helps to have your hand inside to help guide the needle. Angle the needle through the fabric to the inside of the slipper. The yarn will both be slipped through a few stitches and buried underneath the sole.

Then turn the slipper inside out as best you can and cut the working yarn. Repeat for the other sole pieces. All done!

Learn how to sew soles onto your slippers for extra grip and added durability. #knitting | withwool.com

When you need more yarn:

Secure the working yarn between the sole and slipper by pulling it through a few slipper stitches before cutting. Then cut a new length of yarn. After threading the needle, pull it through a few stitches on the slipper and push it up from the bottom into the last used hole to continue sewing.


If you enjoyed this tutorial,

Buy Me a Coffee at ko-fi.com

Thank you for your support! It means so much! Happy knitting!

A Long Overdue WIP

After years of waiting, I finally cast on a pair of slippers for myself. The first one is so cosy! #knitting | withwool.com

Have you ever not started a knitting project because of the inertia of your couch? I have, last Saturday in fact. That morning I decided it was finally time to cast on for a pair of slippers while it was still cold outside, and I was going to do it that night. My cold feet have pleaded with for a pair of slippers for long enough. Later though, after putting the Mini to bed and cleaning up the kitchen, I plopped down on the couch and did not want to get back up. Printing the pattern, finding the yarn, and digging out the right needles seemed more like work than fun. The couch and a very cozy blanket had me trapped. So I watched a movie instead.

After years of waiting, I finally cast on a pair of slippers for myself. The first one is so cosy! #knitting | withwool.com

Sunday was a different story. I pulled out everything I needed before the end of the day when the couch sings its siren song. Casting on felt so good. I’m making the Prairie Boots by Cocoknits and using Malabrigo Chunky. The first slipper is speeding along too thanks to the bulky yarn. I finished the first sole and a good chunk of the foot that afternoon. Over the past few days I’ve finished the foot and am speeding my way up the leg. A single row squeezed in during the odd moments of the day really adds up.

After years of waiting, I finally cast on a pair of slippers for myself. The first one is so cosy! #knitting | withwool.com

I couldn’t resist trying it on and the slipper is as cosy as it looks. There will be no cold feet here…just as soon as I finish the second one. And pick out the right buttons. And sew on the suede bottoms. Okay, so it might be awhile before my feet get to bask in the warmth that is this pair of slippers, but it’ll be worth it. I’ve waited at least a year to pick out a pattern so a few more weeks is nothing my toes can’t handle.

After years of waiting, I finally cast on a pair of slippers for myself. The first one is so cosy! #knitting | withwool.com

FO: Non-Felted Slippers and Practical Washcloths

Who knew slippers were so quick and fun to make? I made this pair as a Christmas gift, and now I want to make a pair for me. | FO: Non-Felted Slippers and Practical Washcloths - withwool.com

The Non-Felted Slippers pattern has been in my queue for years, and I finally got the chance to make them. Turns out that slippers are fun to knit. Quick to make too when you use super bulky yarn. I made one other pair but they were essentially socks with soles sewn to the bottom - so these are technically the first pair of slippers I’ve ever made. 

Who knew slippers were so quick and fun to make? I made this pair as a Christmas gift, and now I want to make a pair for me. | FO: Non-Felted Slippers and Practical Washcloths - withwool.com

One of the great things about knitting a pattern that’s been made 2,953+ times is that there are plenty of helpful tips and hints to find. I researched people’s mods to see what was possible and went from there. Definitely didn’t want a seam on the bottom of the foot so I used Judy’s Magic Cast On to start the sole - it’s not just for sock toes - and worked everything except the sole in the round. I made up plenty of time from not having to sew the slipper together even after ripping out the sole twice to get the right size. Full mods and numbers on the slipper’s Ravelry page. 

Who knew slippers were so quick and fun to make? I made this pair as a Christmas gift, and now I want to make a pair for me. | FO: Non-Felted Slippers and Practical Washcloths - withwool.com
Who knew slippers were so quick and fun to make? Sewing on the soles did take a good chunk of time though, but the work was definitely worth it. They gave the slippers structure and a bit of slip resistance. | FO: Non-Felted Slippers and Practi…
Here's what the inside of the slipper looks like after the soles were sewn on. I didn't pull the seams too tight and they blended in well with the sole fabric. | FO: Non-Felted Slippers and Practical Washcloths - withwool.com

The one thing I did underestimate was how long it would take to sew on the soles. I probably could have knit a third slipper in the time it took me to sew on all 4 pieces. At least I didn’t sew the top and bottom together…more than once. Ahem. Anyway, the soles added something special and slip-resistant too. I used the medium size suede Fiber Trends soles which were a good fit for a US 8 slipper. I’ve got a large set stashed away for when I make slippers for myself. 

Who knew slippers were so quick and fun to make? I made this pair as a Christmas gift, and now I want to make a pair for me. | FO: Non-Felted Slippers and Practical Washcloths - withwool.com

Pattern: Non-Felted Slippers by Yuko Nakamura

Yarn: Knit Picks Wool of the Andes Superwash Bulky - 41 yds Fjord Heather and 67 yds Briar Heather

Needles: US 8 (5mm) circs

Dates: November 5 - 27, 2015

@Ravelry

Washcloths are a tried and true gift. Plus, they're a quick knit so you can make a bunch before you get bored. | FO: Non-Felted Slippers and Practical Washcloths - withwool.com

Washcloths are a tried and true gift. Always practical and fun, they’re quick enough that you can makea bunch before you get bored. I usually knit a few of them to giveaway every year. There was a set of 4 on the gift list last year. Each cloth used a different pattern to keep things interesting. I made 2 of my own designs, 1 that’s been in my queue for years, and 1 old favorite. Even though every one is different because of texture or slipped stitches, making them the same color really tied them all together. The washcloths were a big hit so I’m definitely going to knit more sets like this in the future.  

Washcloths are a tried and true gift. Plus, they're a quick knit so you can make a bunch before you get bored. | FO: Non-Felted Slippers and Practical Washcloths - withwool.com

Pattern: Bridges Towel and Laddered Cloth by me; Little Tent Dishcloth by Vaunda Rae Giberson, and All Washed Up by Jill Arnusch

Yarn: Pisgah Yarn Peaches & Creme Ombres - Ivy League (30 - 33 yds per cloth)

Needles: US 6 (4mm) needles

Dates: November 8 - 12, 2015

@Ravelry