Postcards for Summer #2
/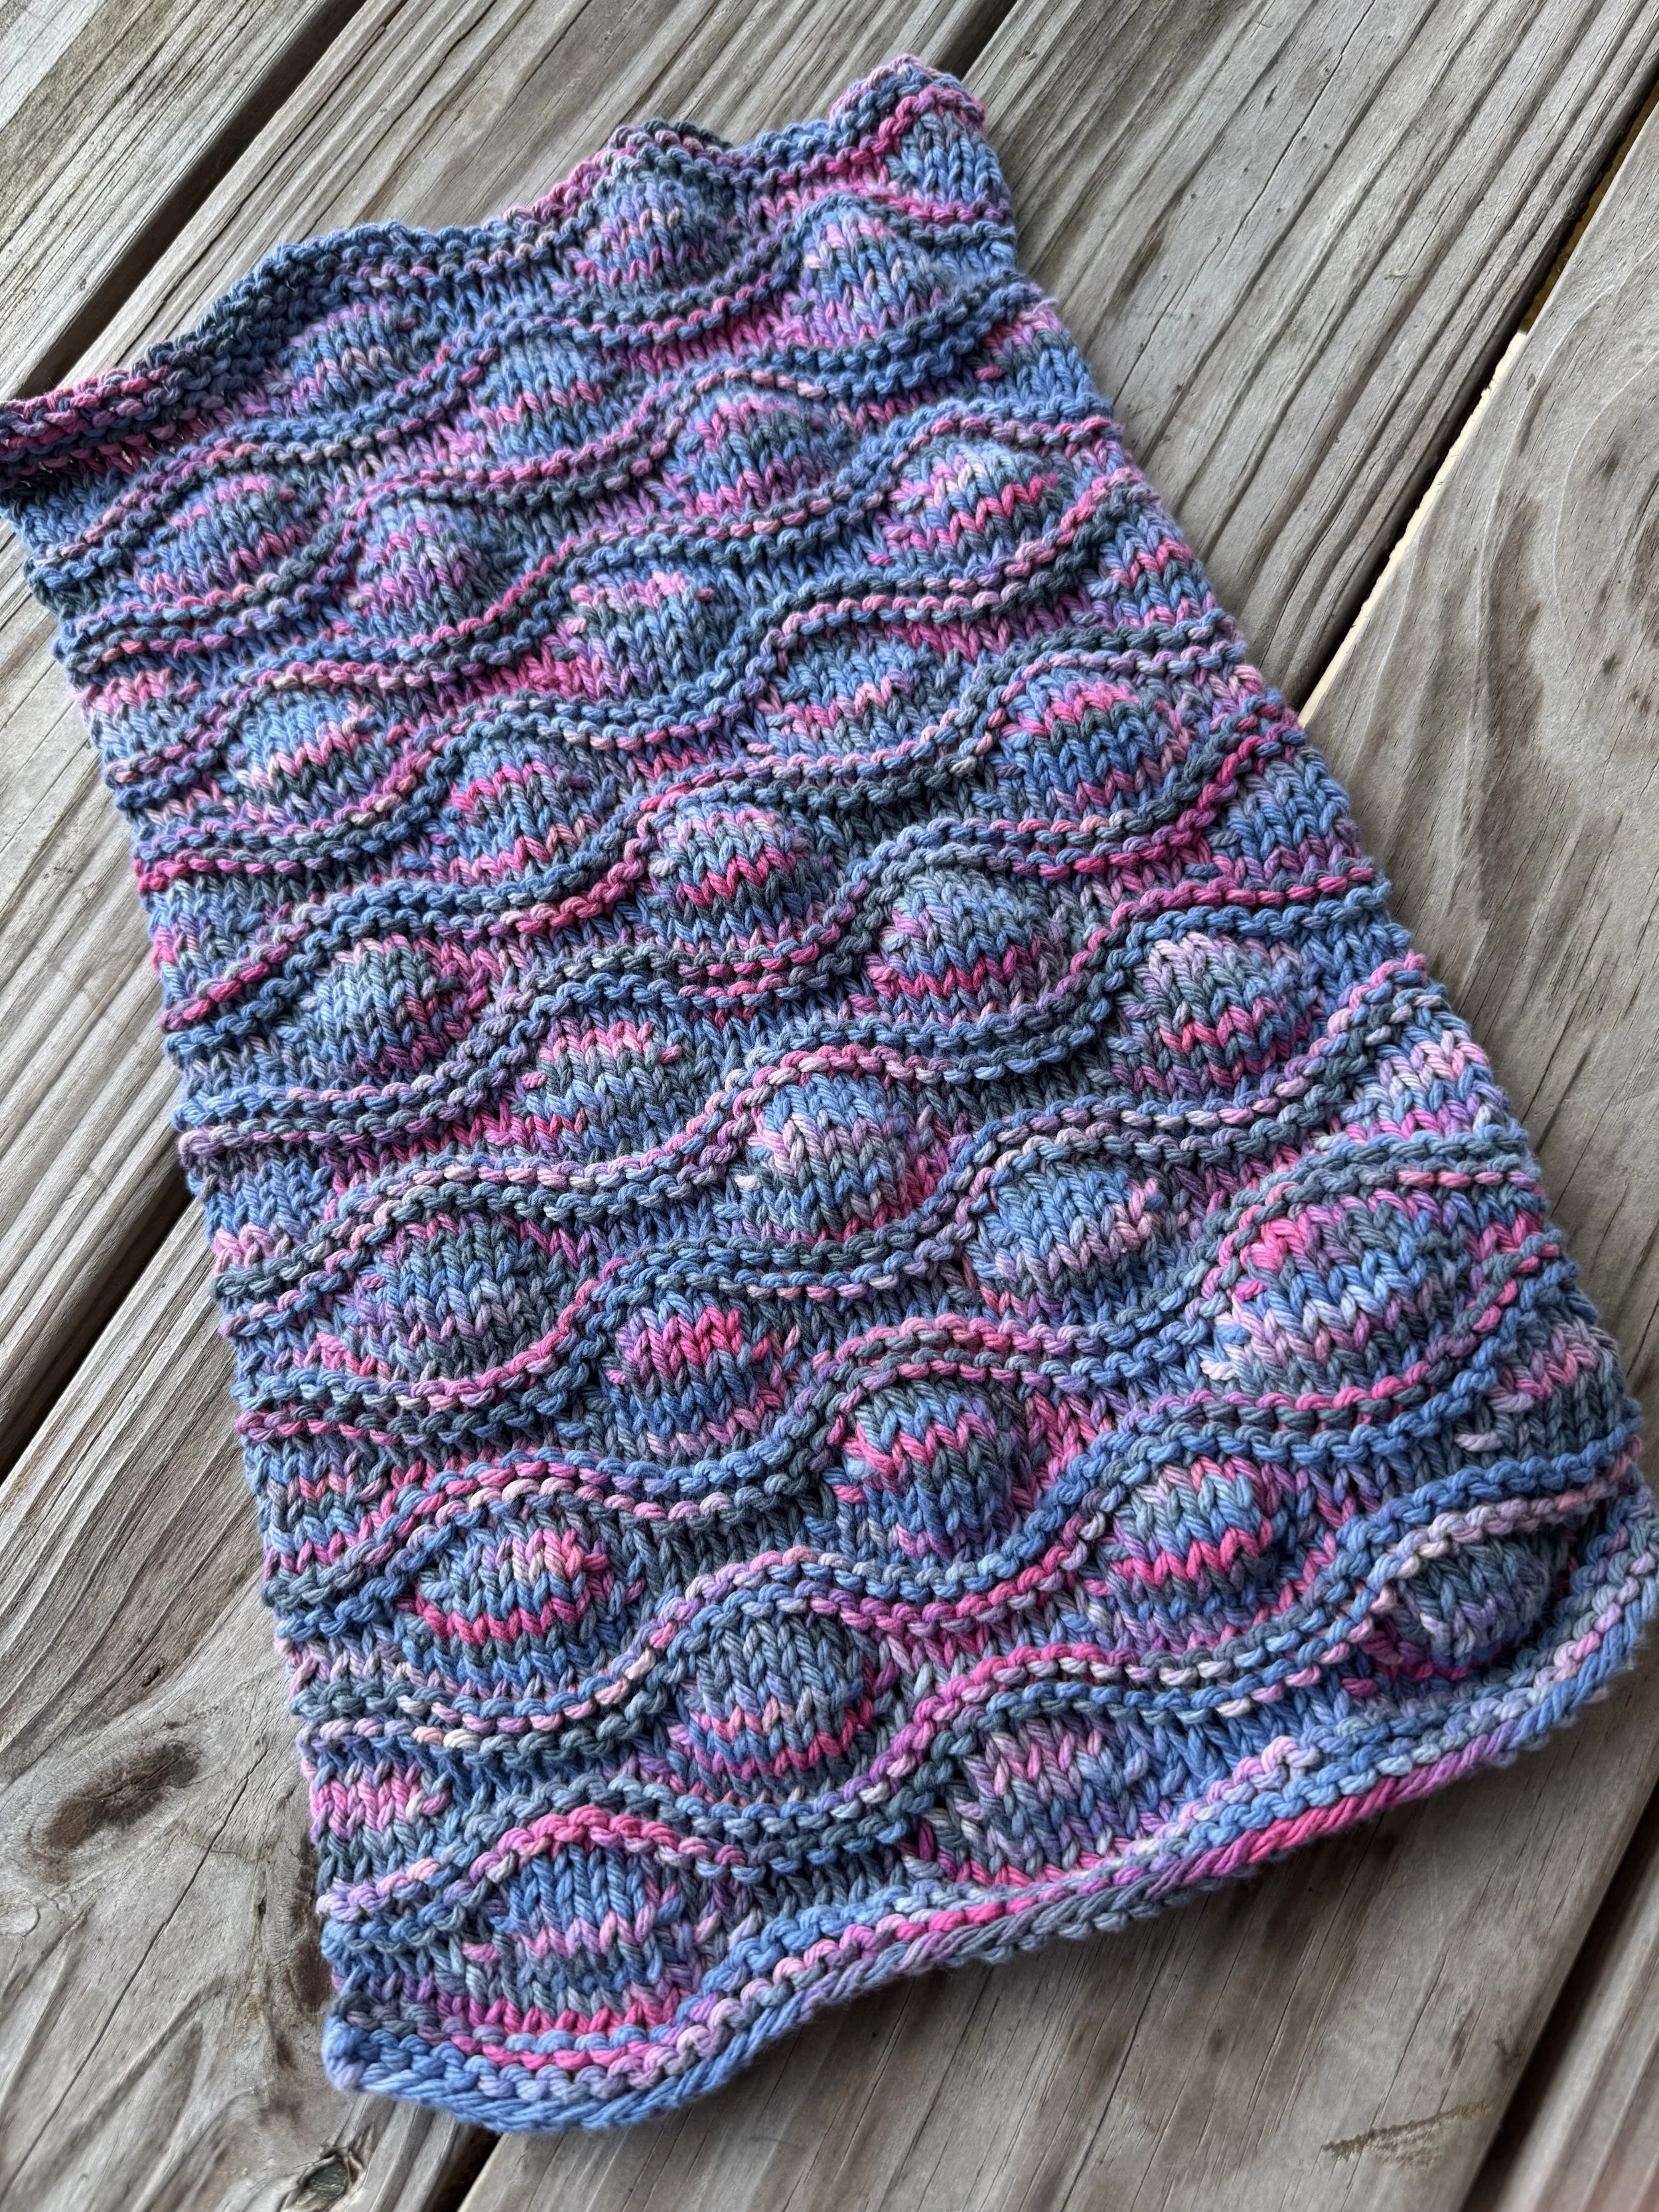
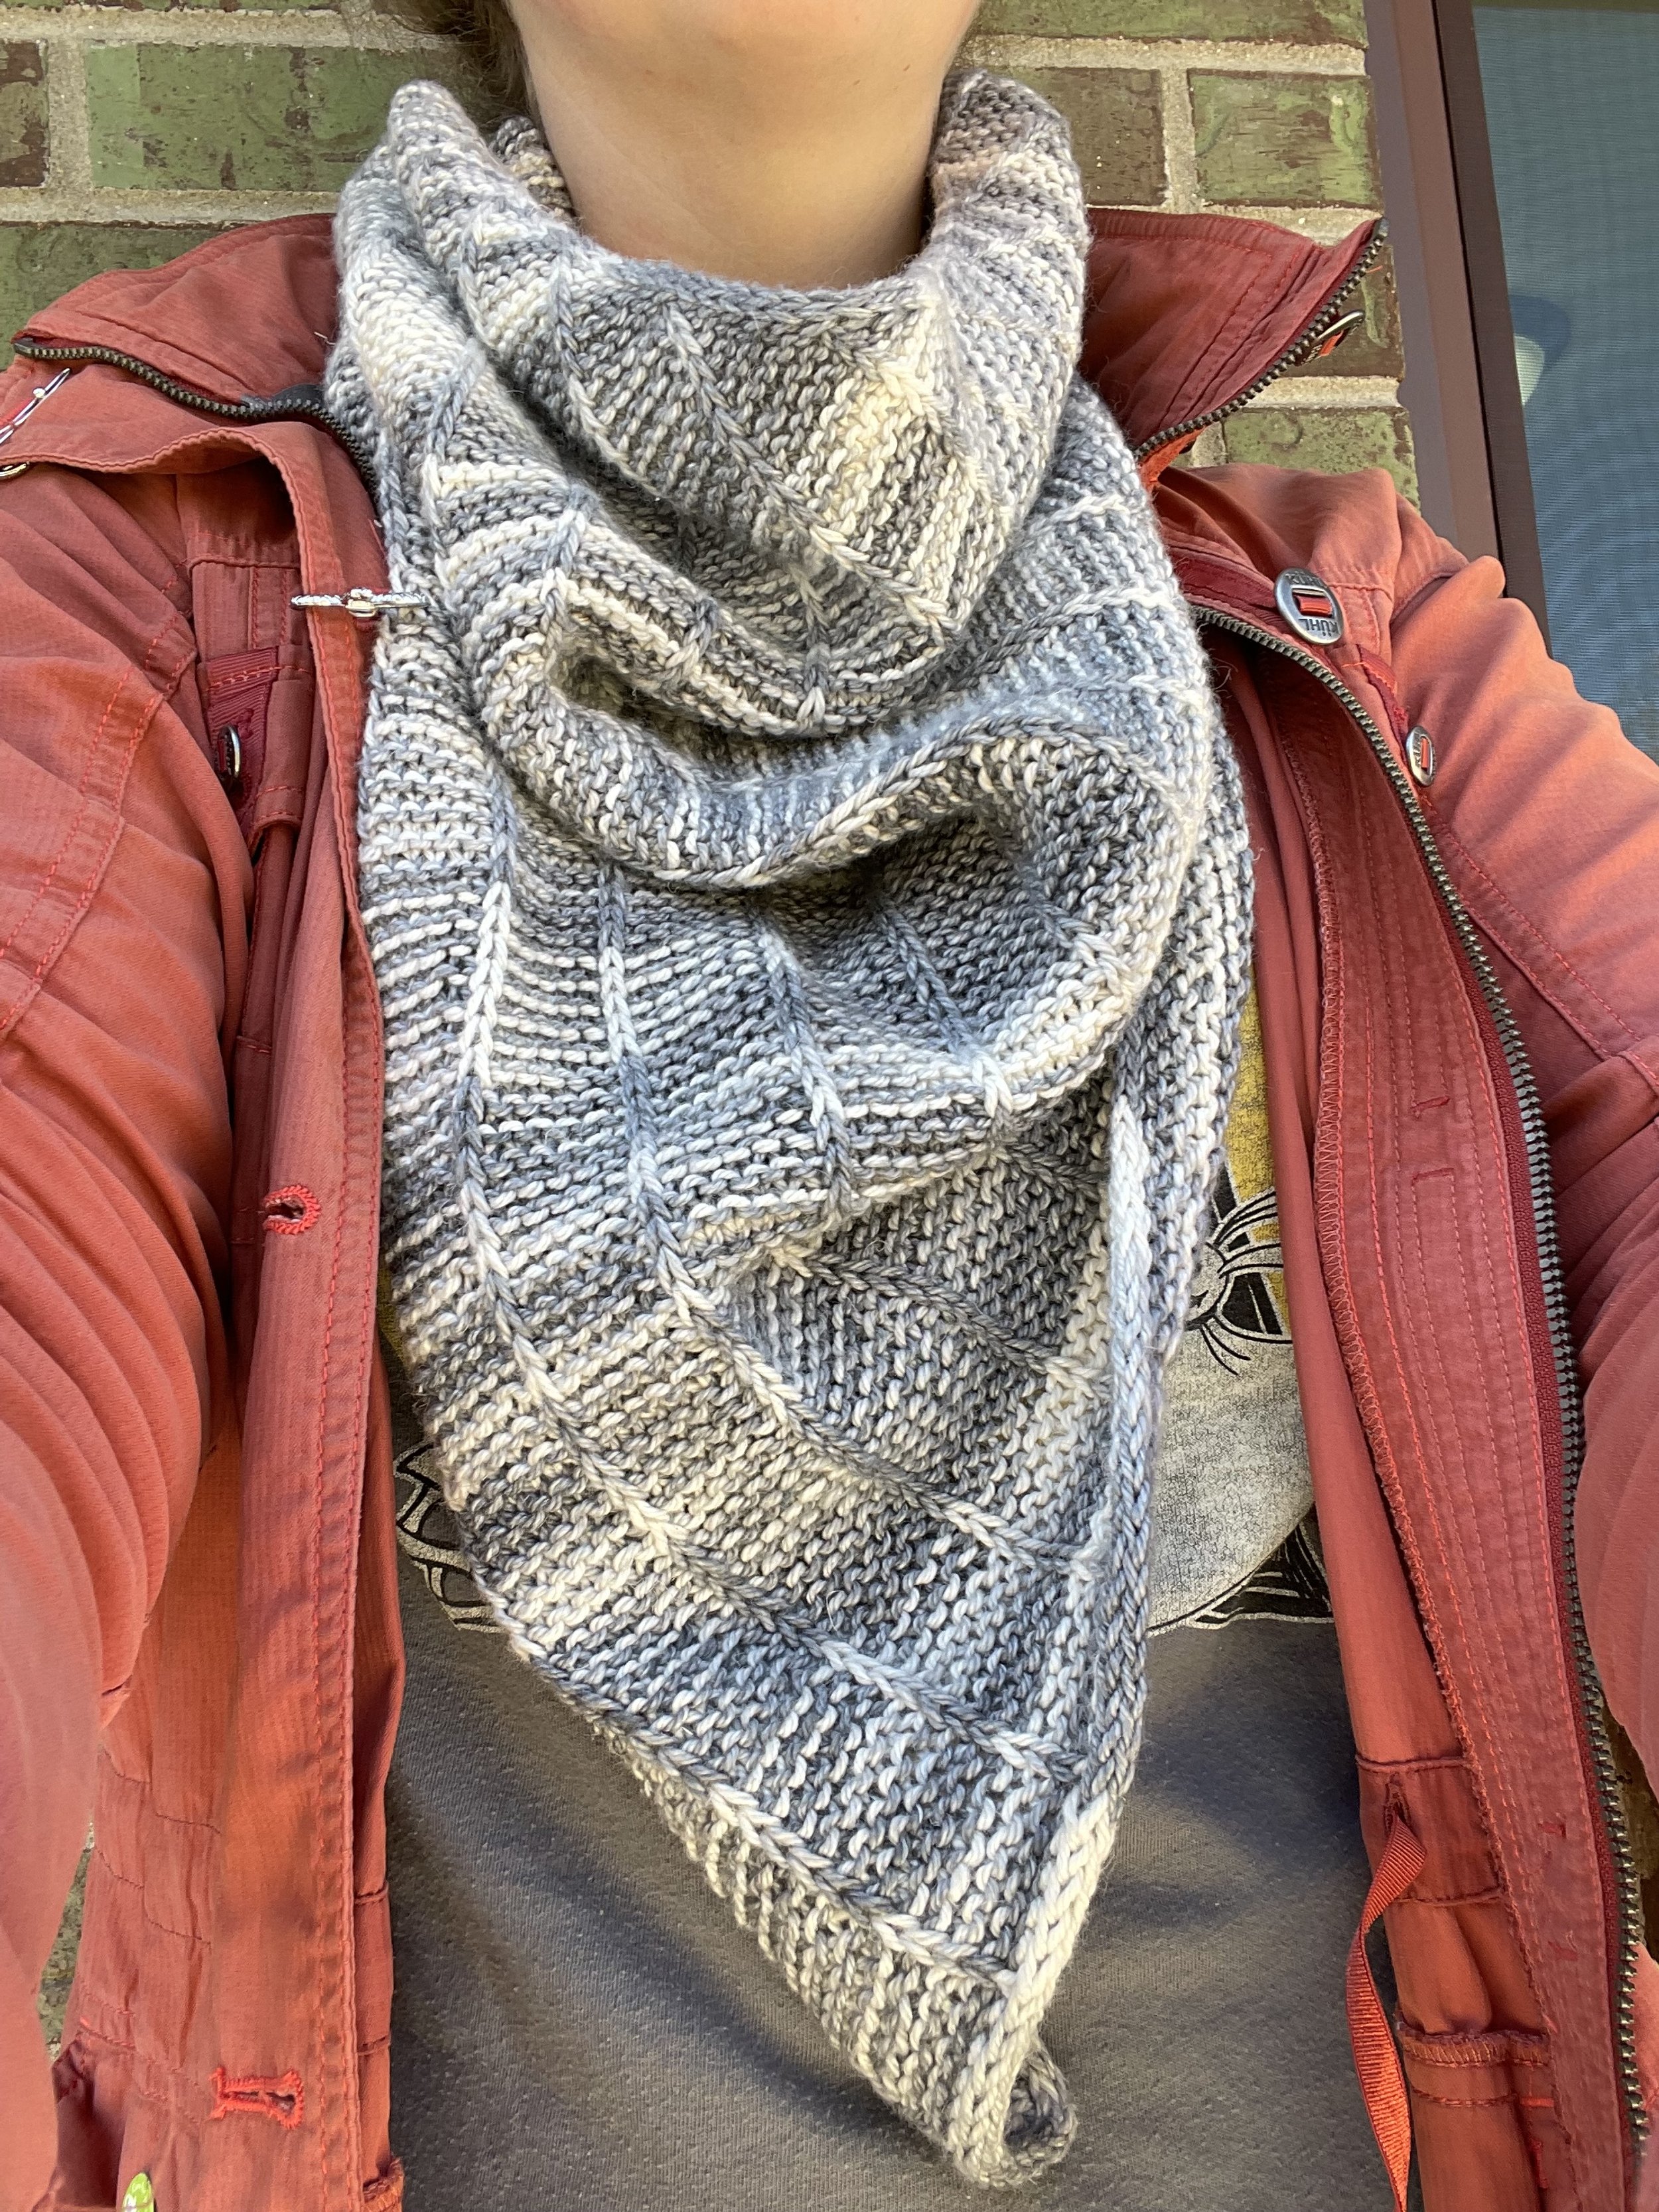
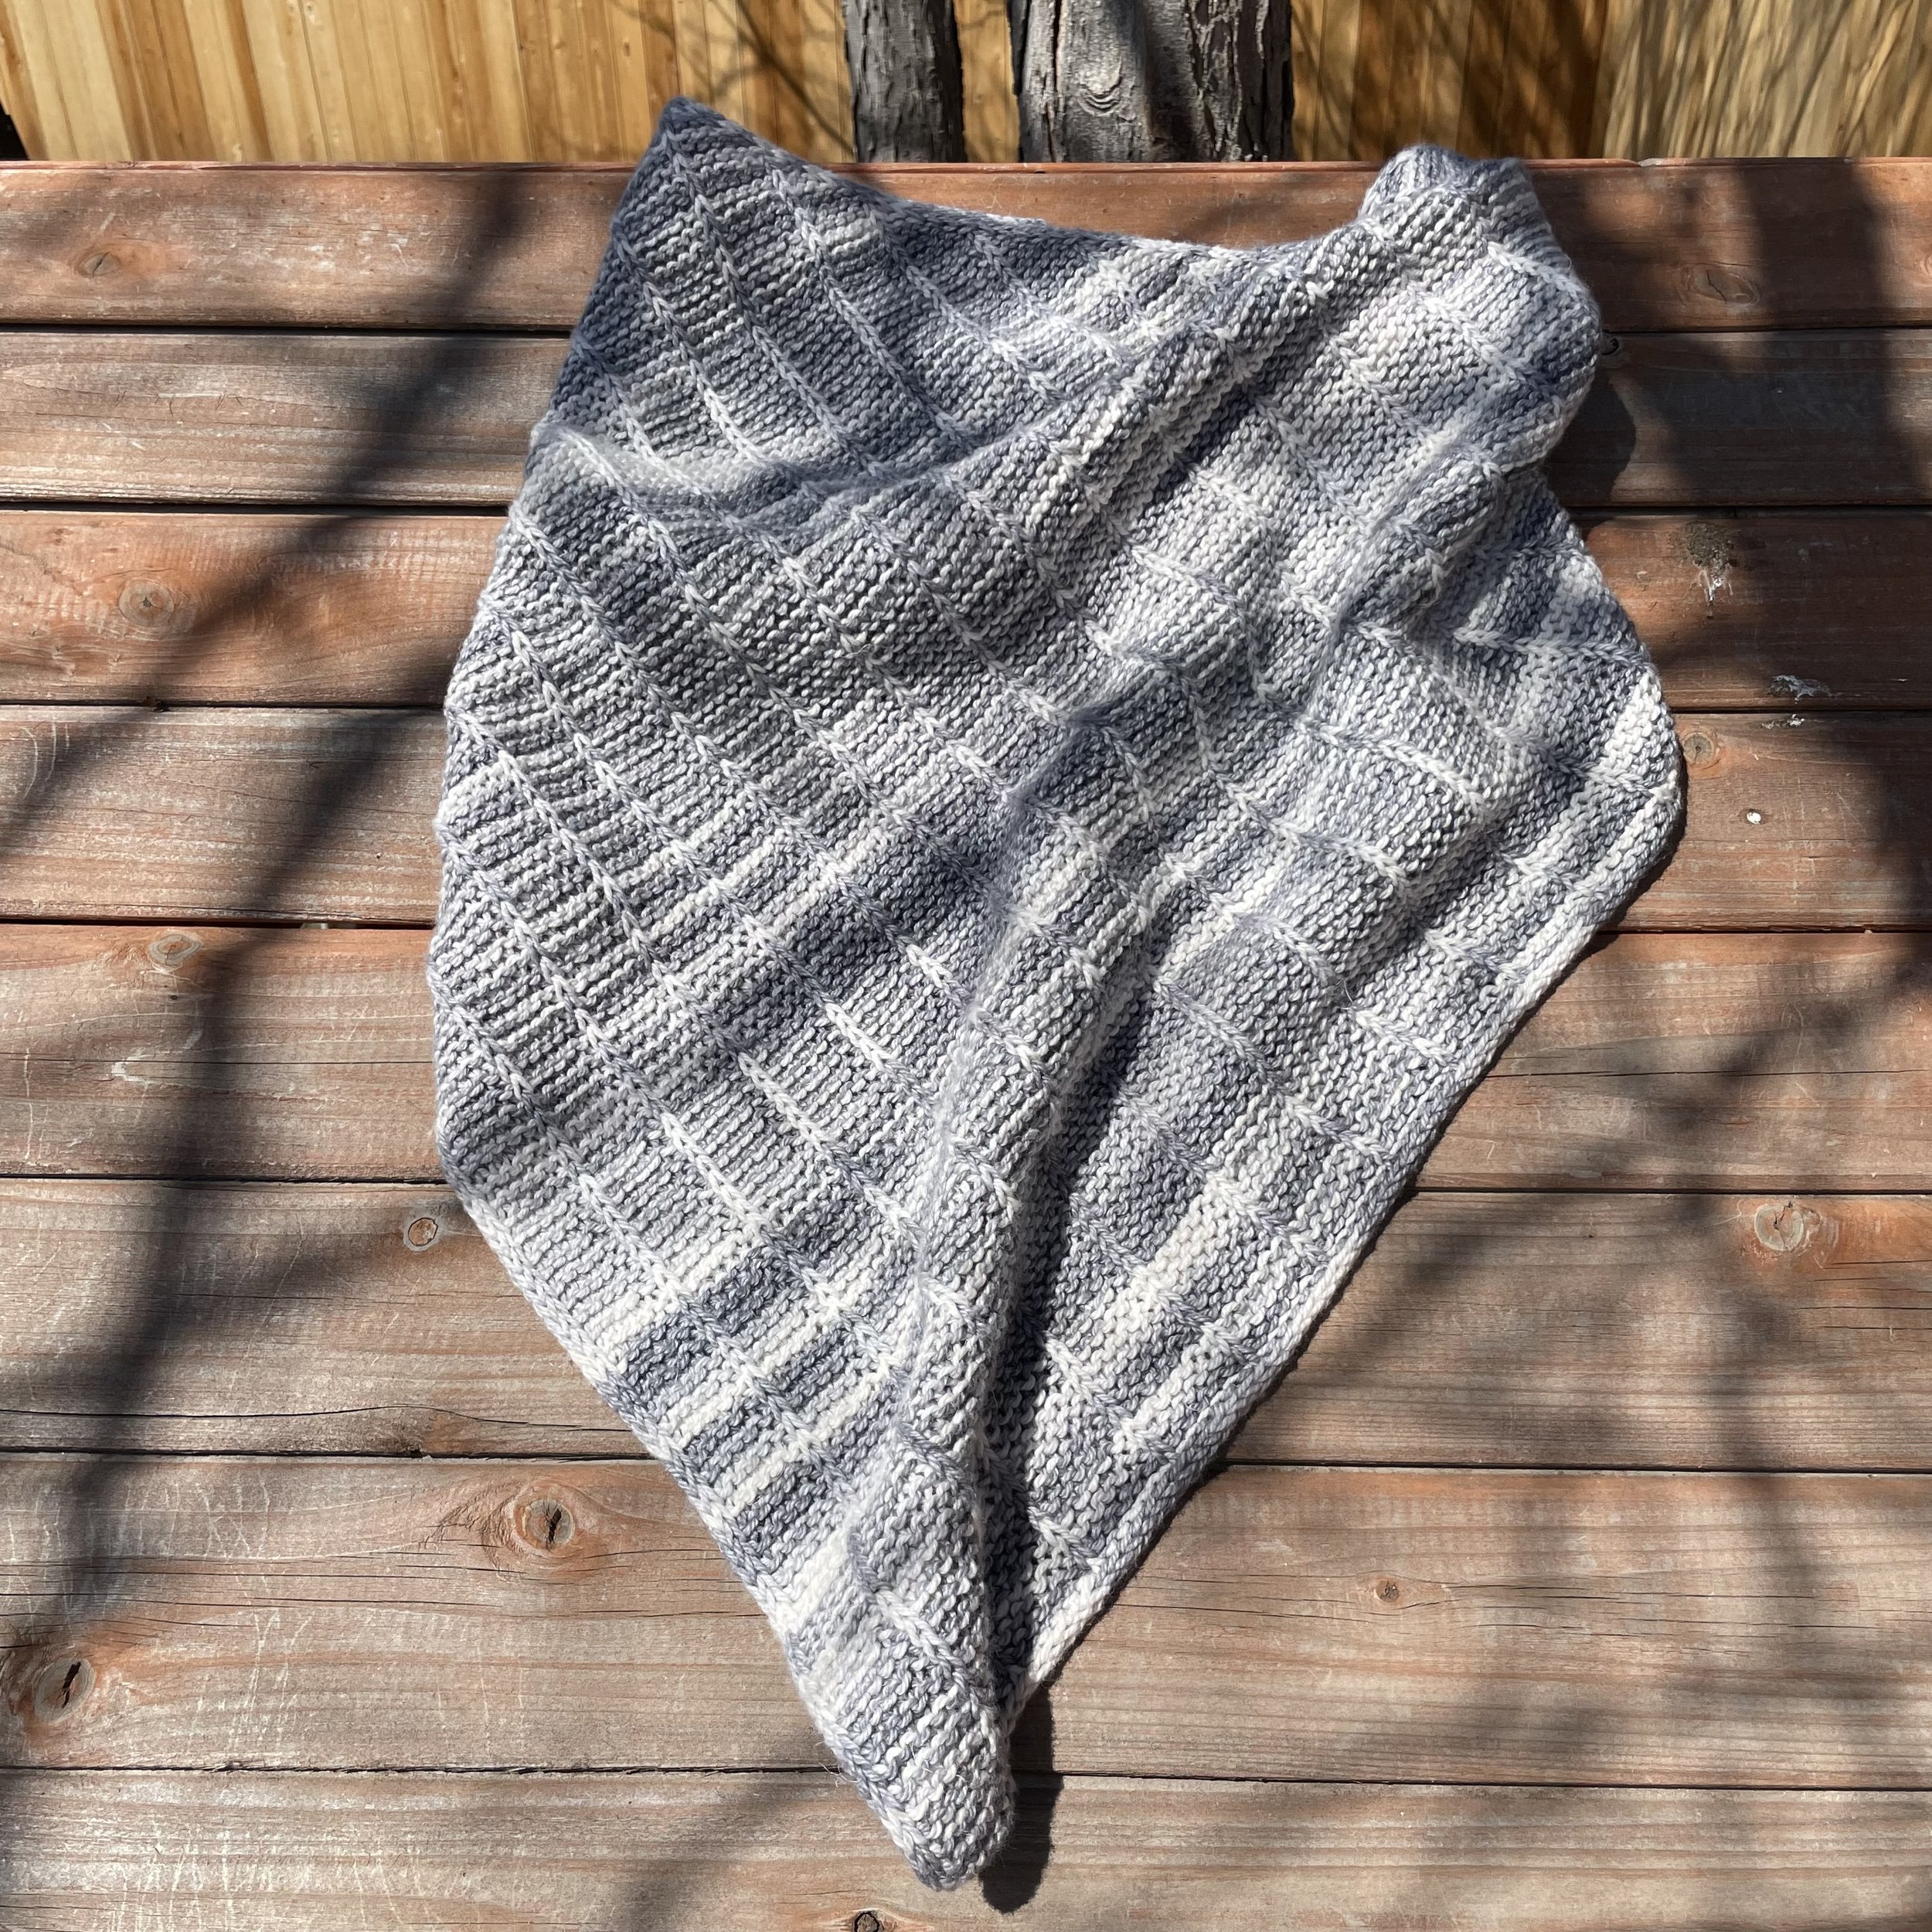
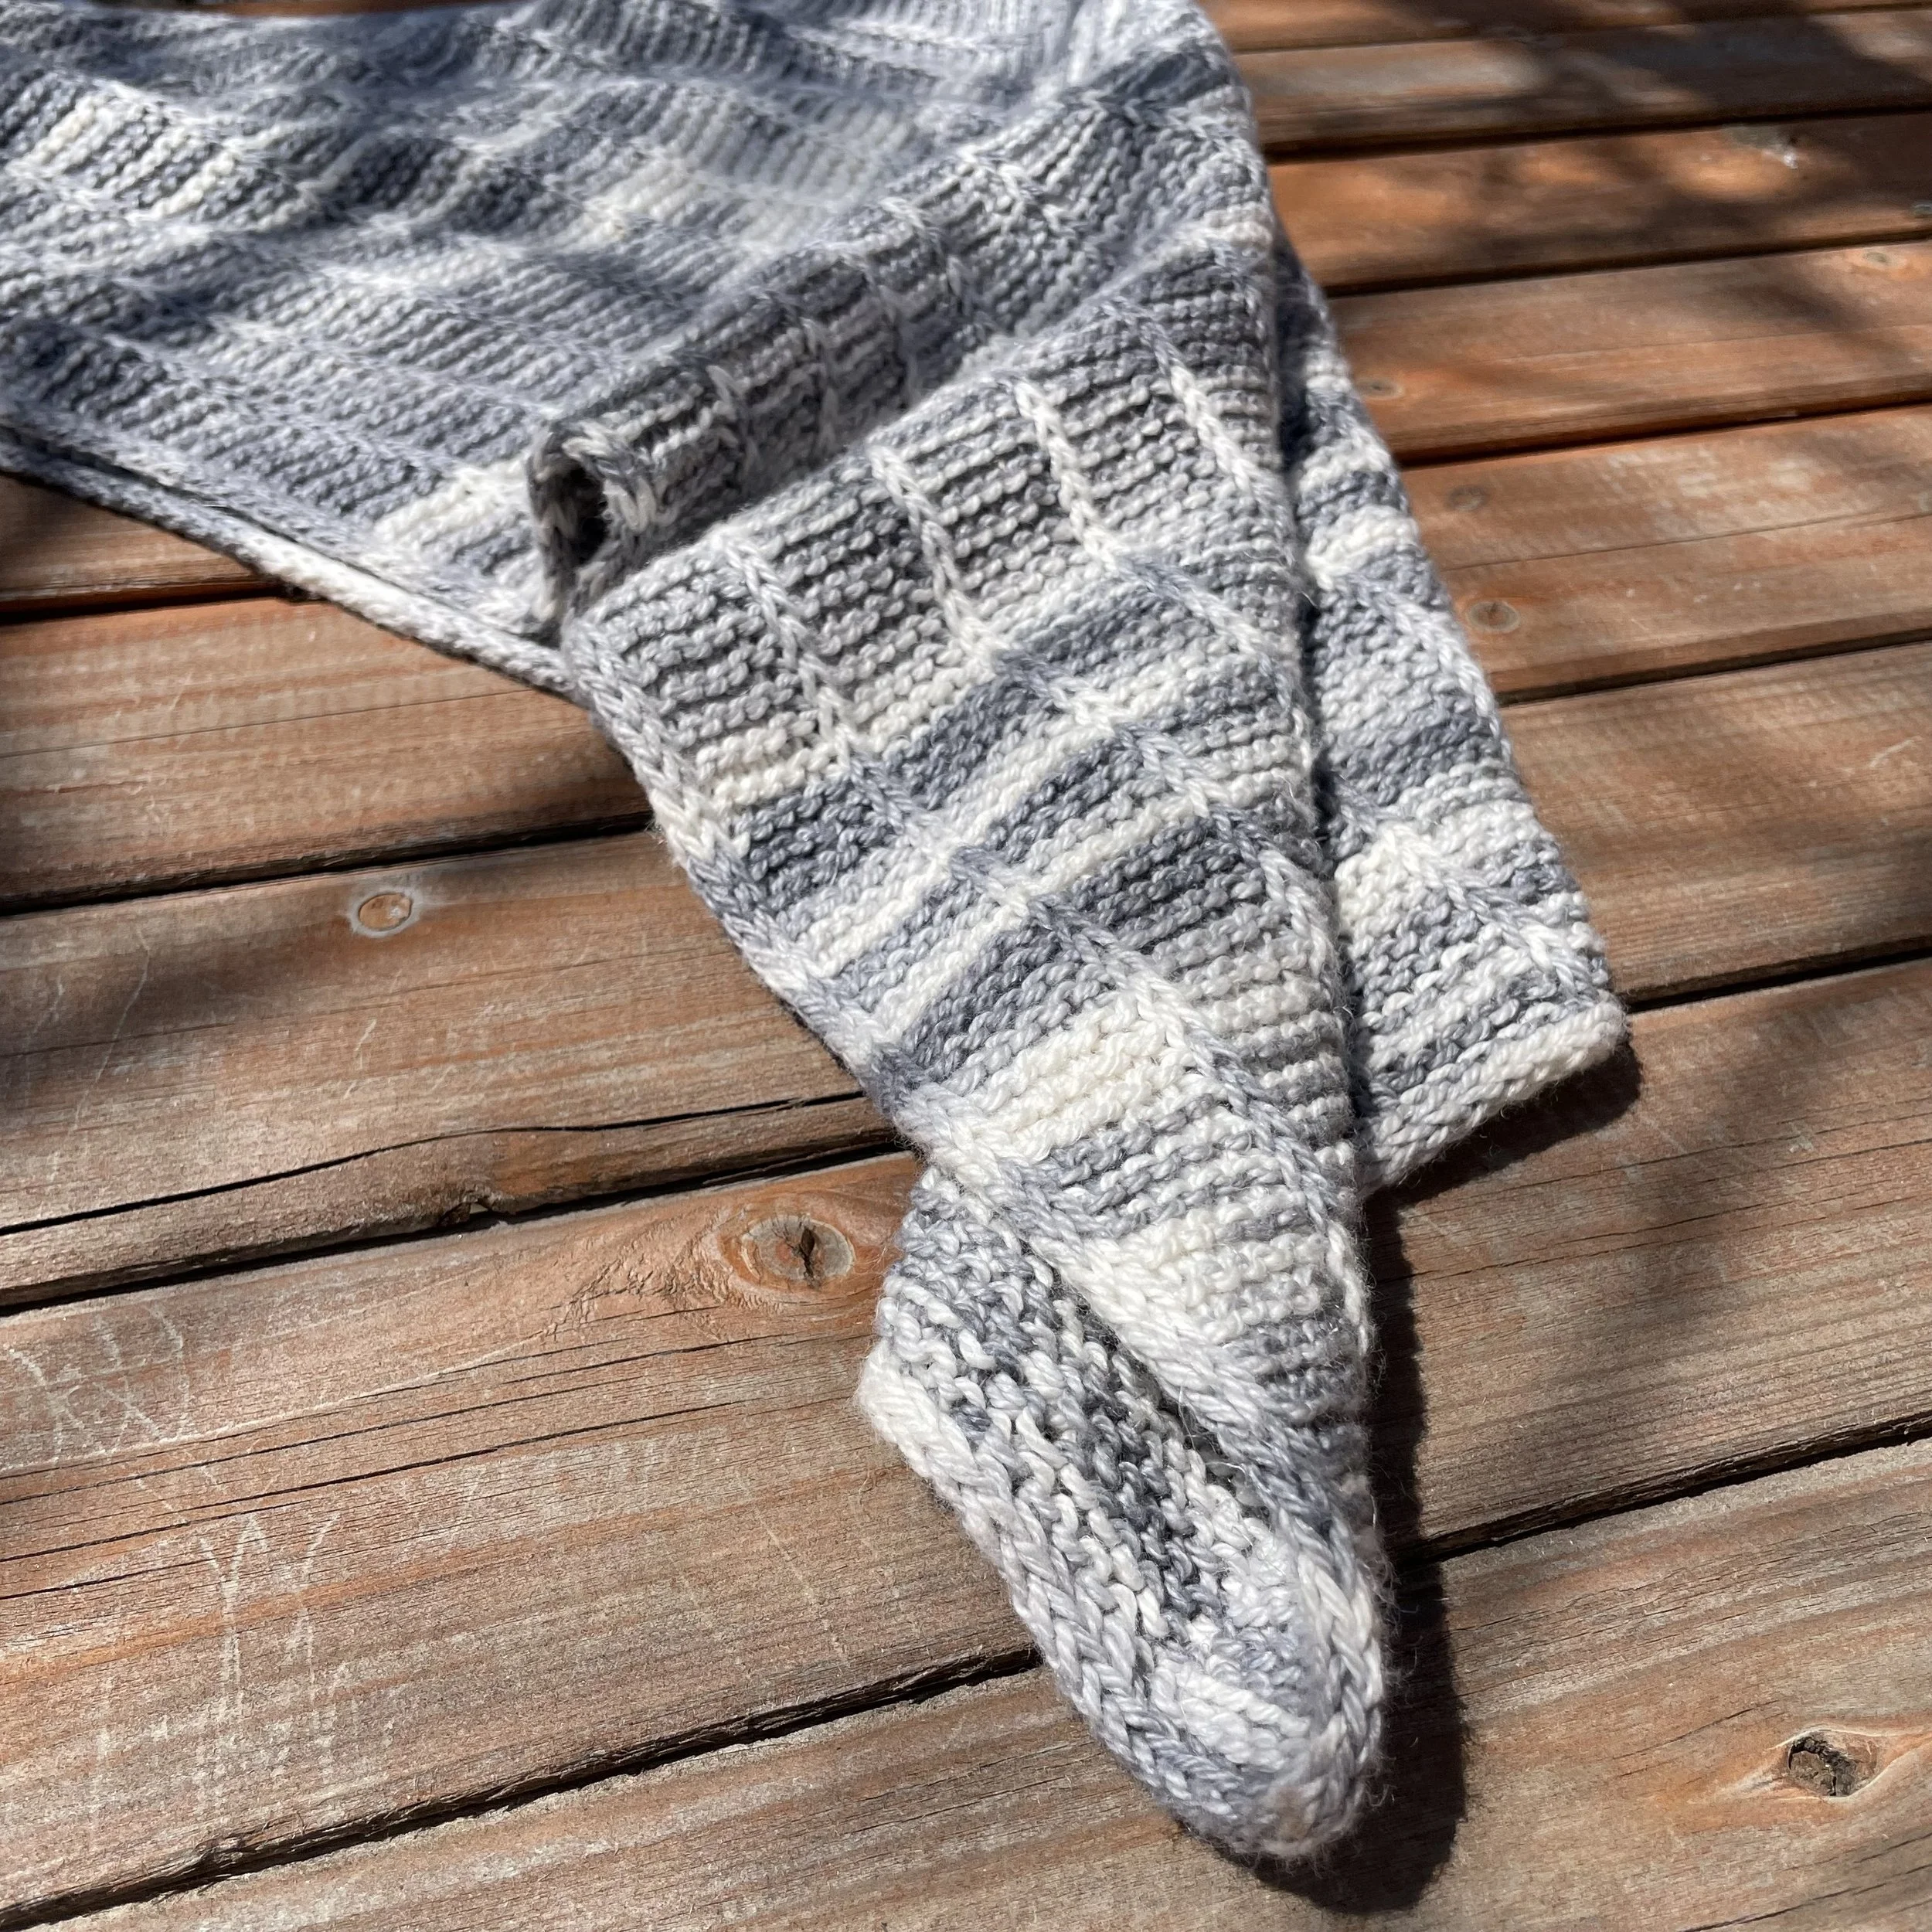
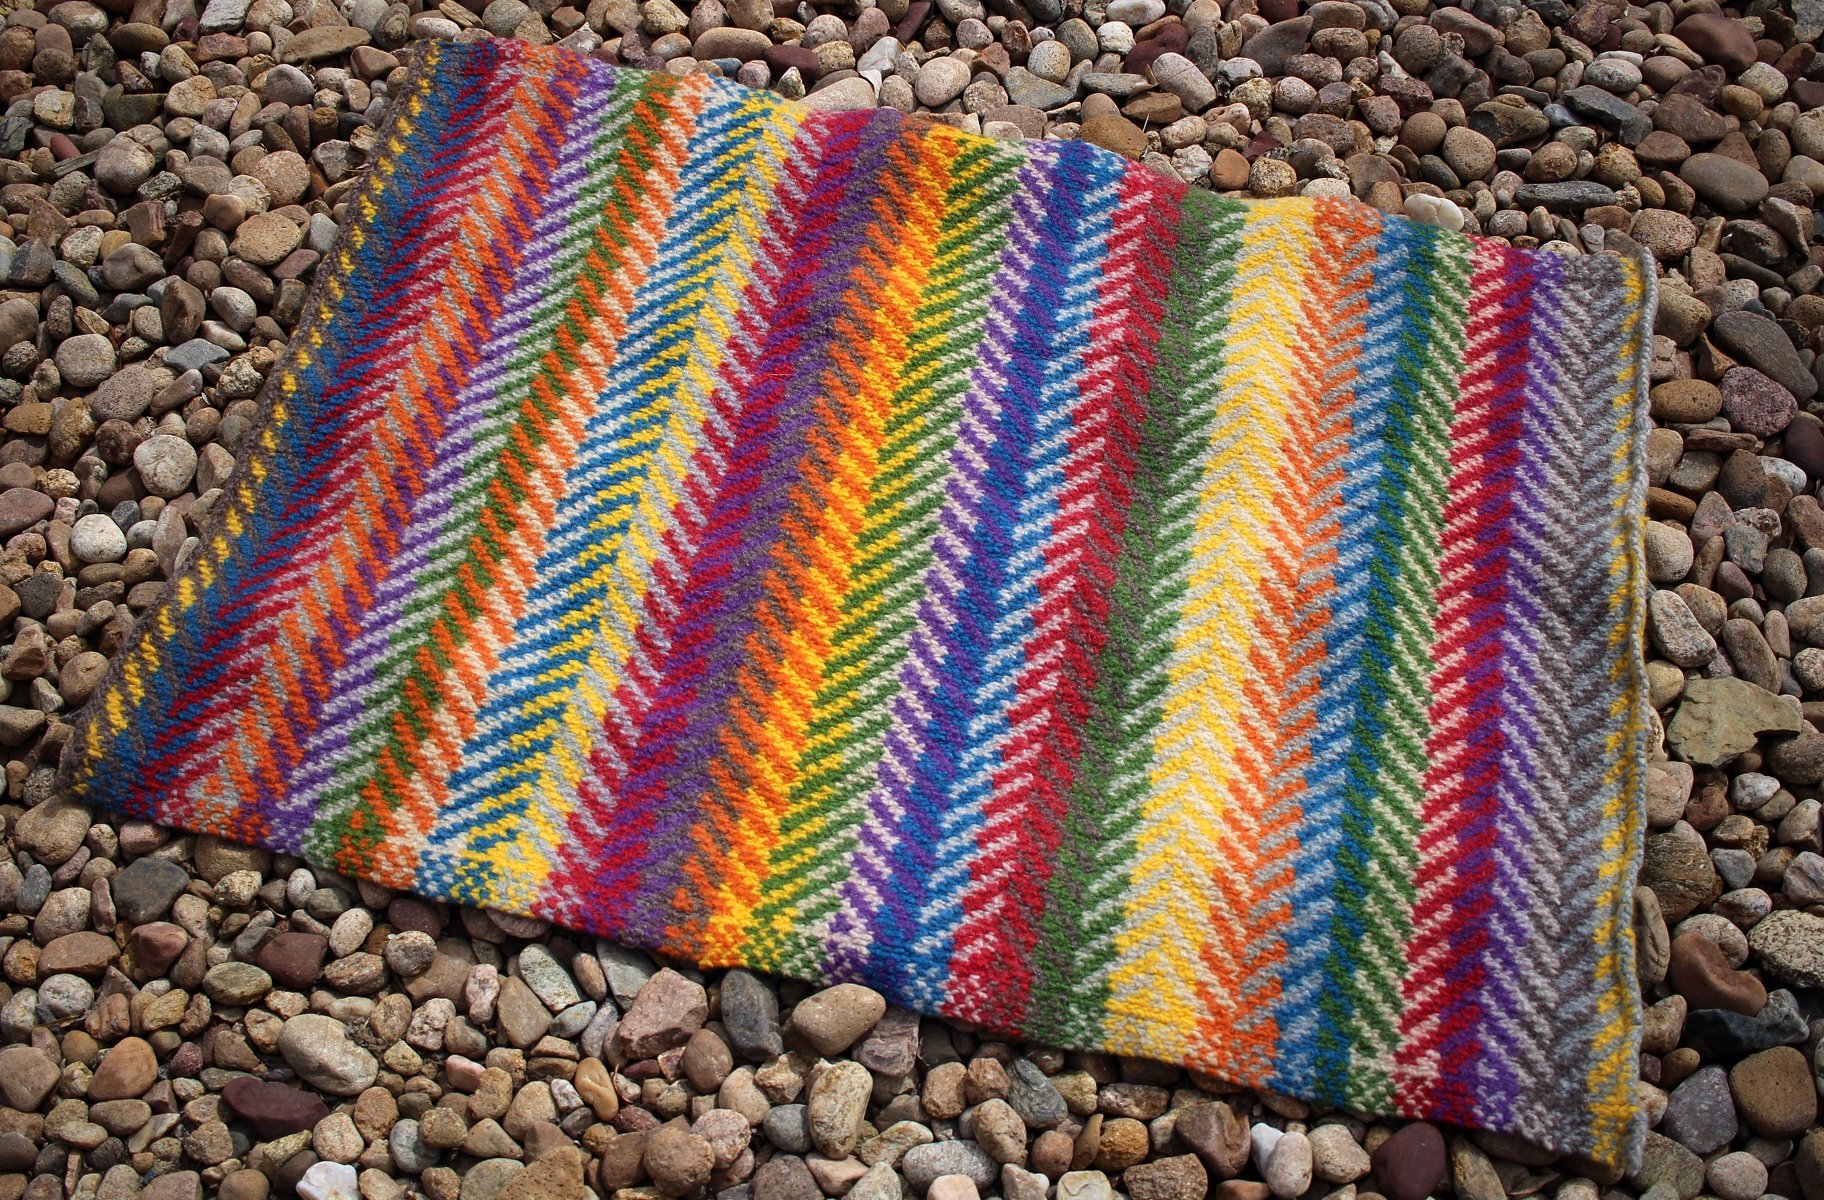
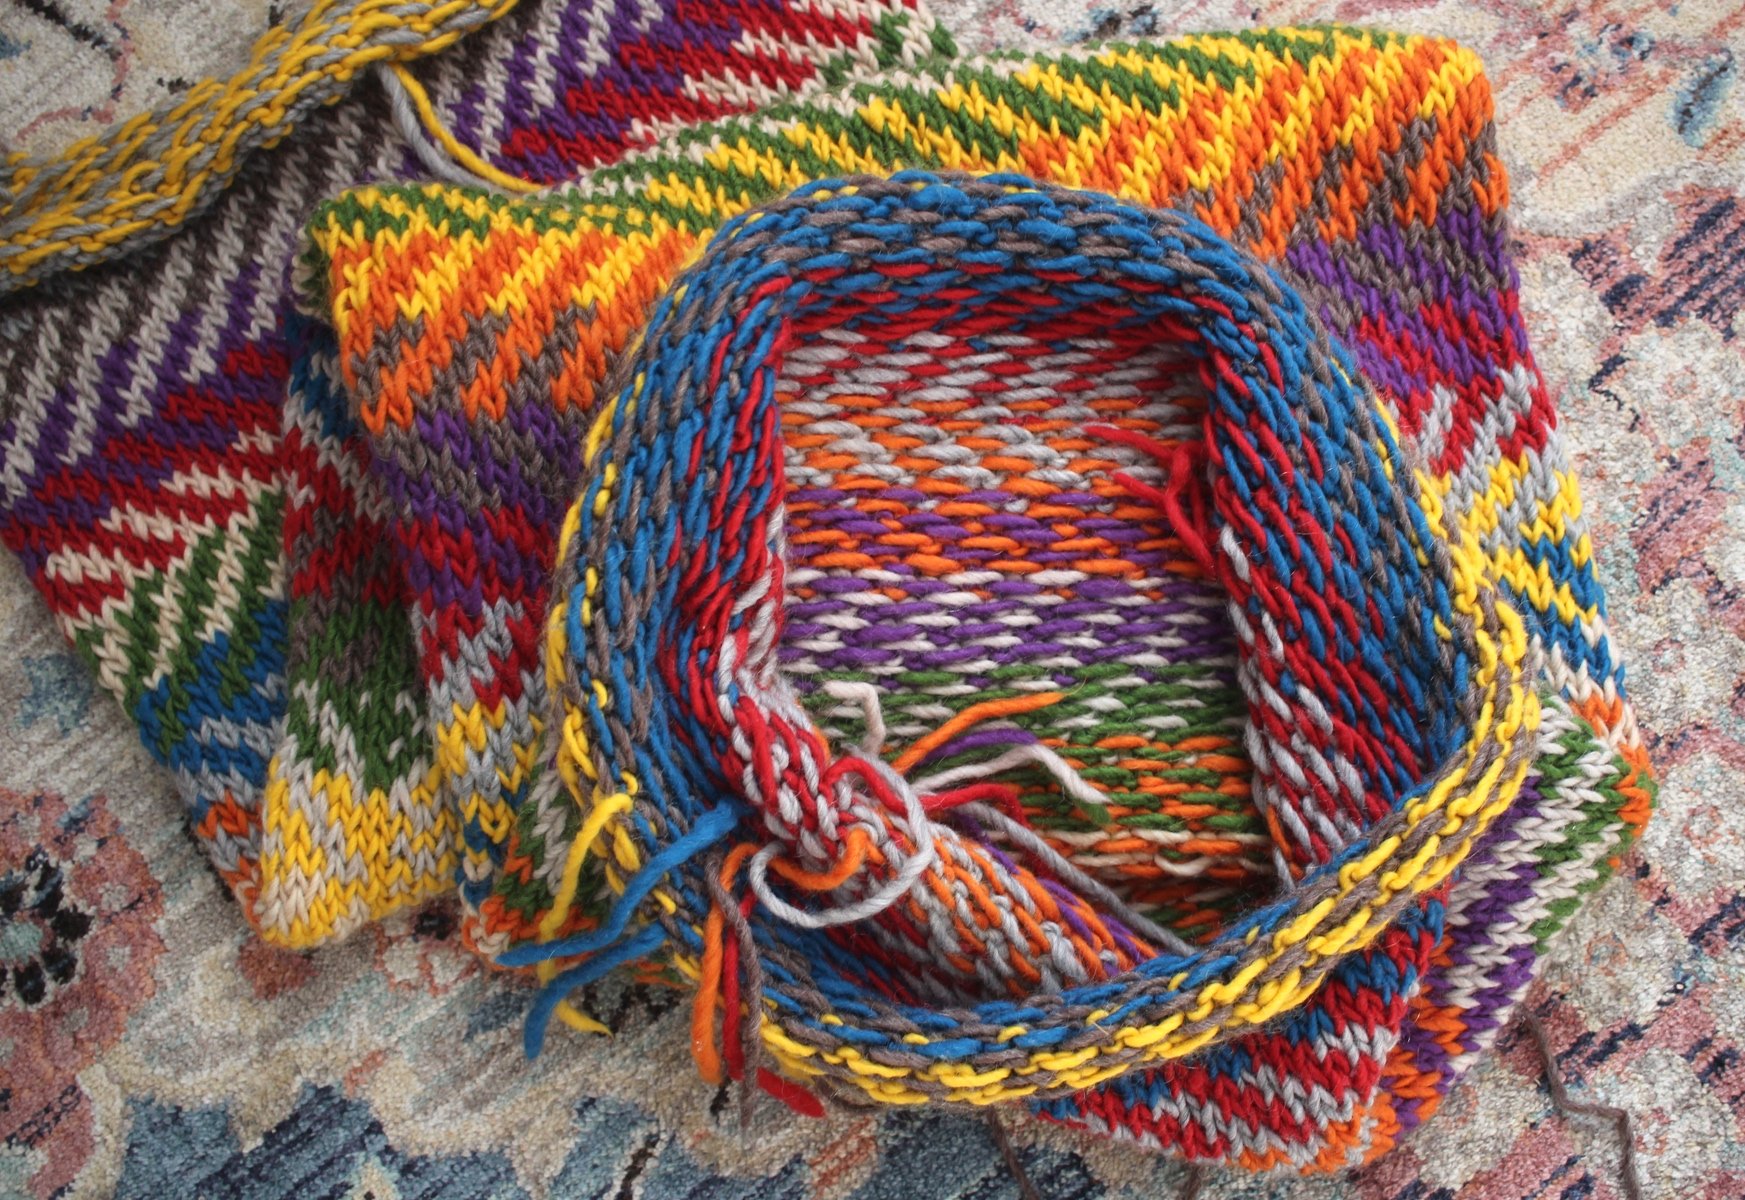
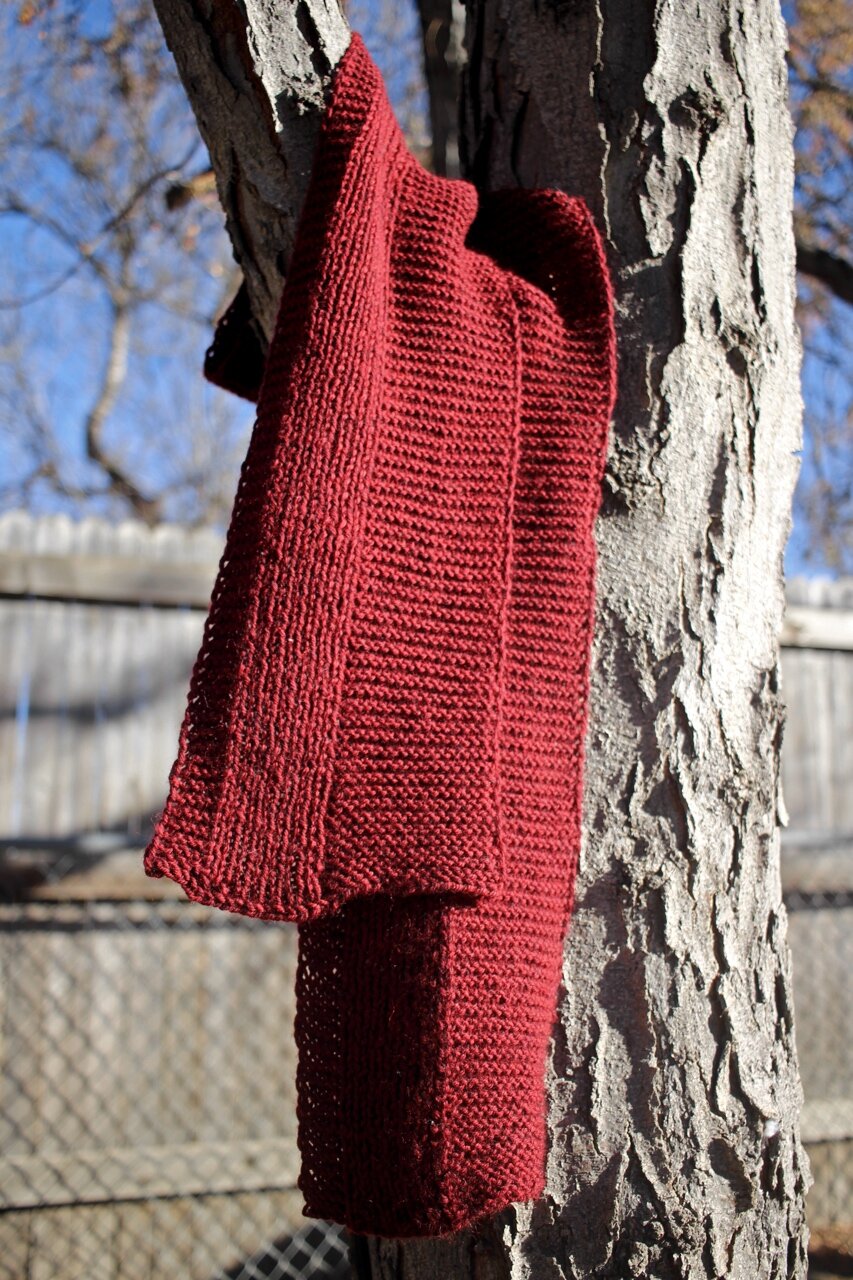
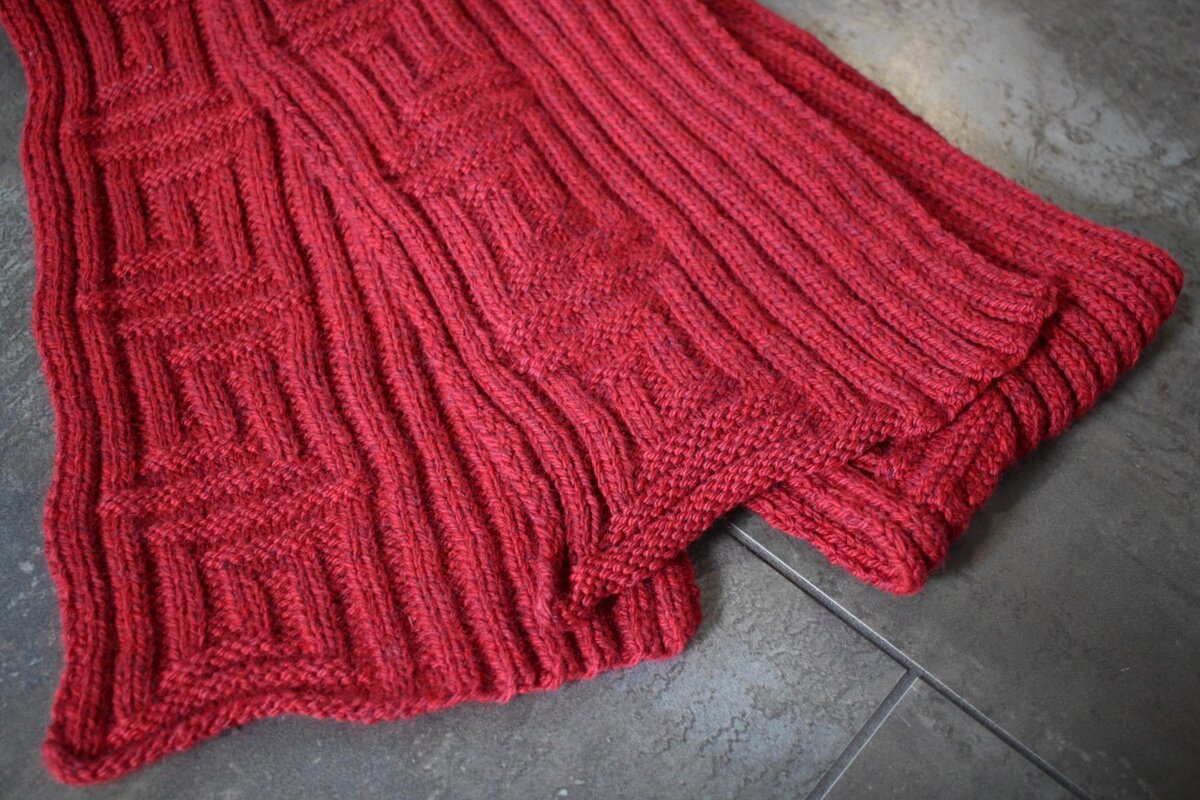
A finished Lizard ridge Kitchen Towel in Blue, black, and Magenta
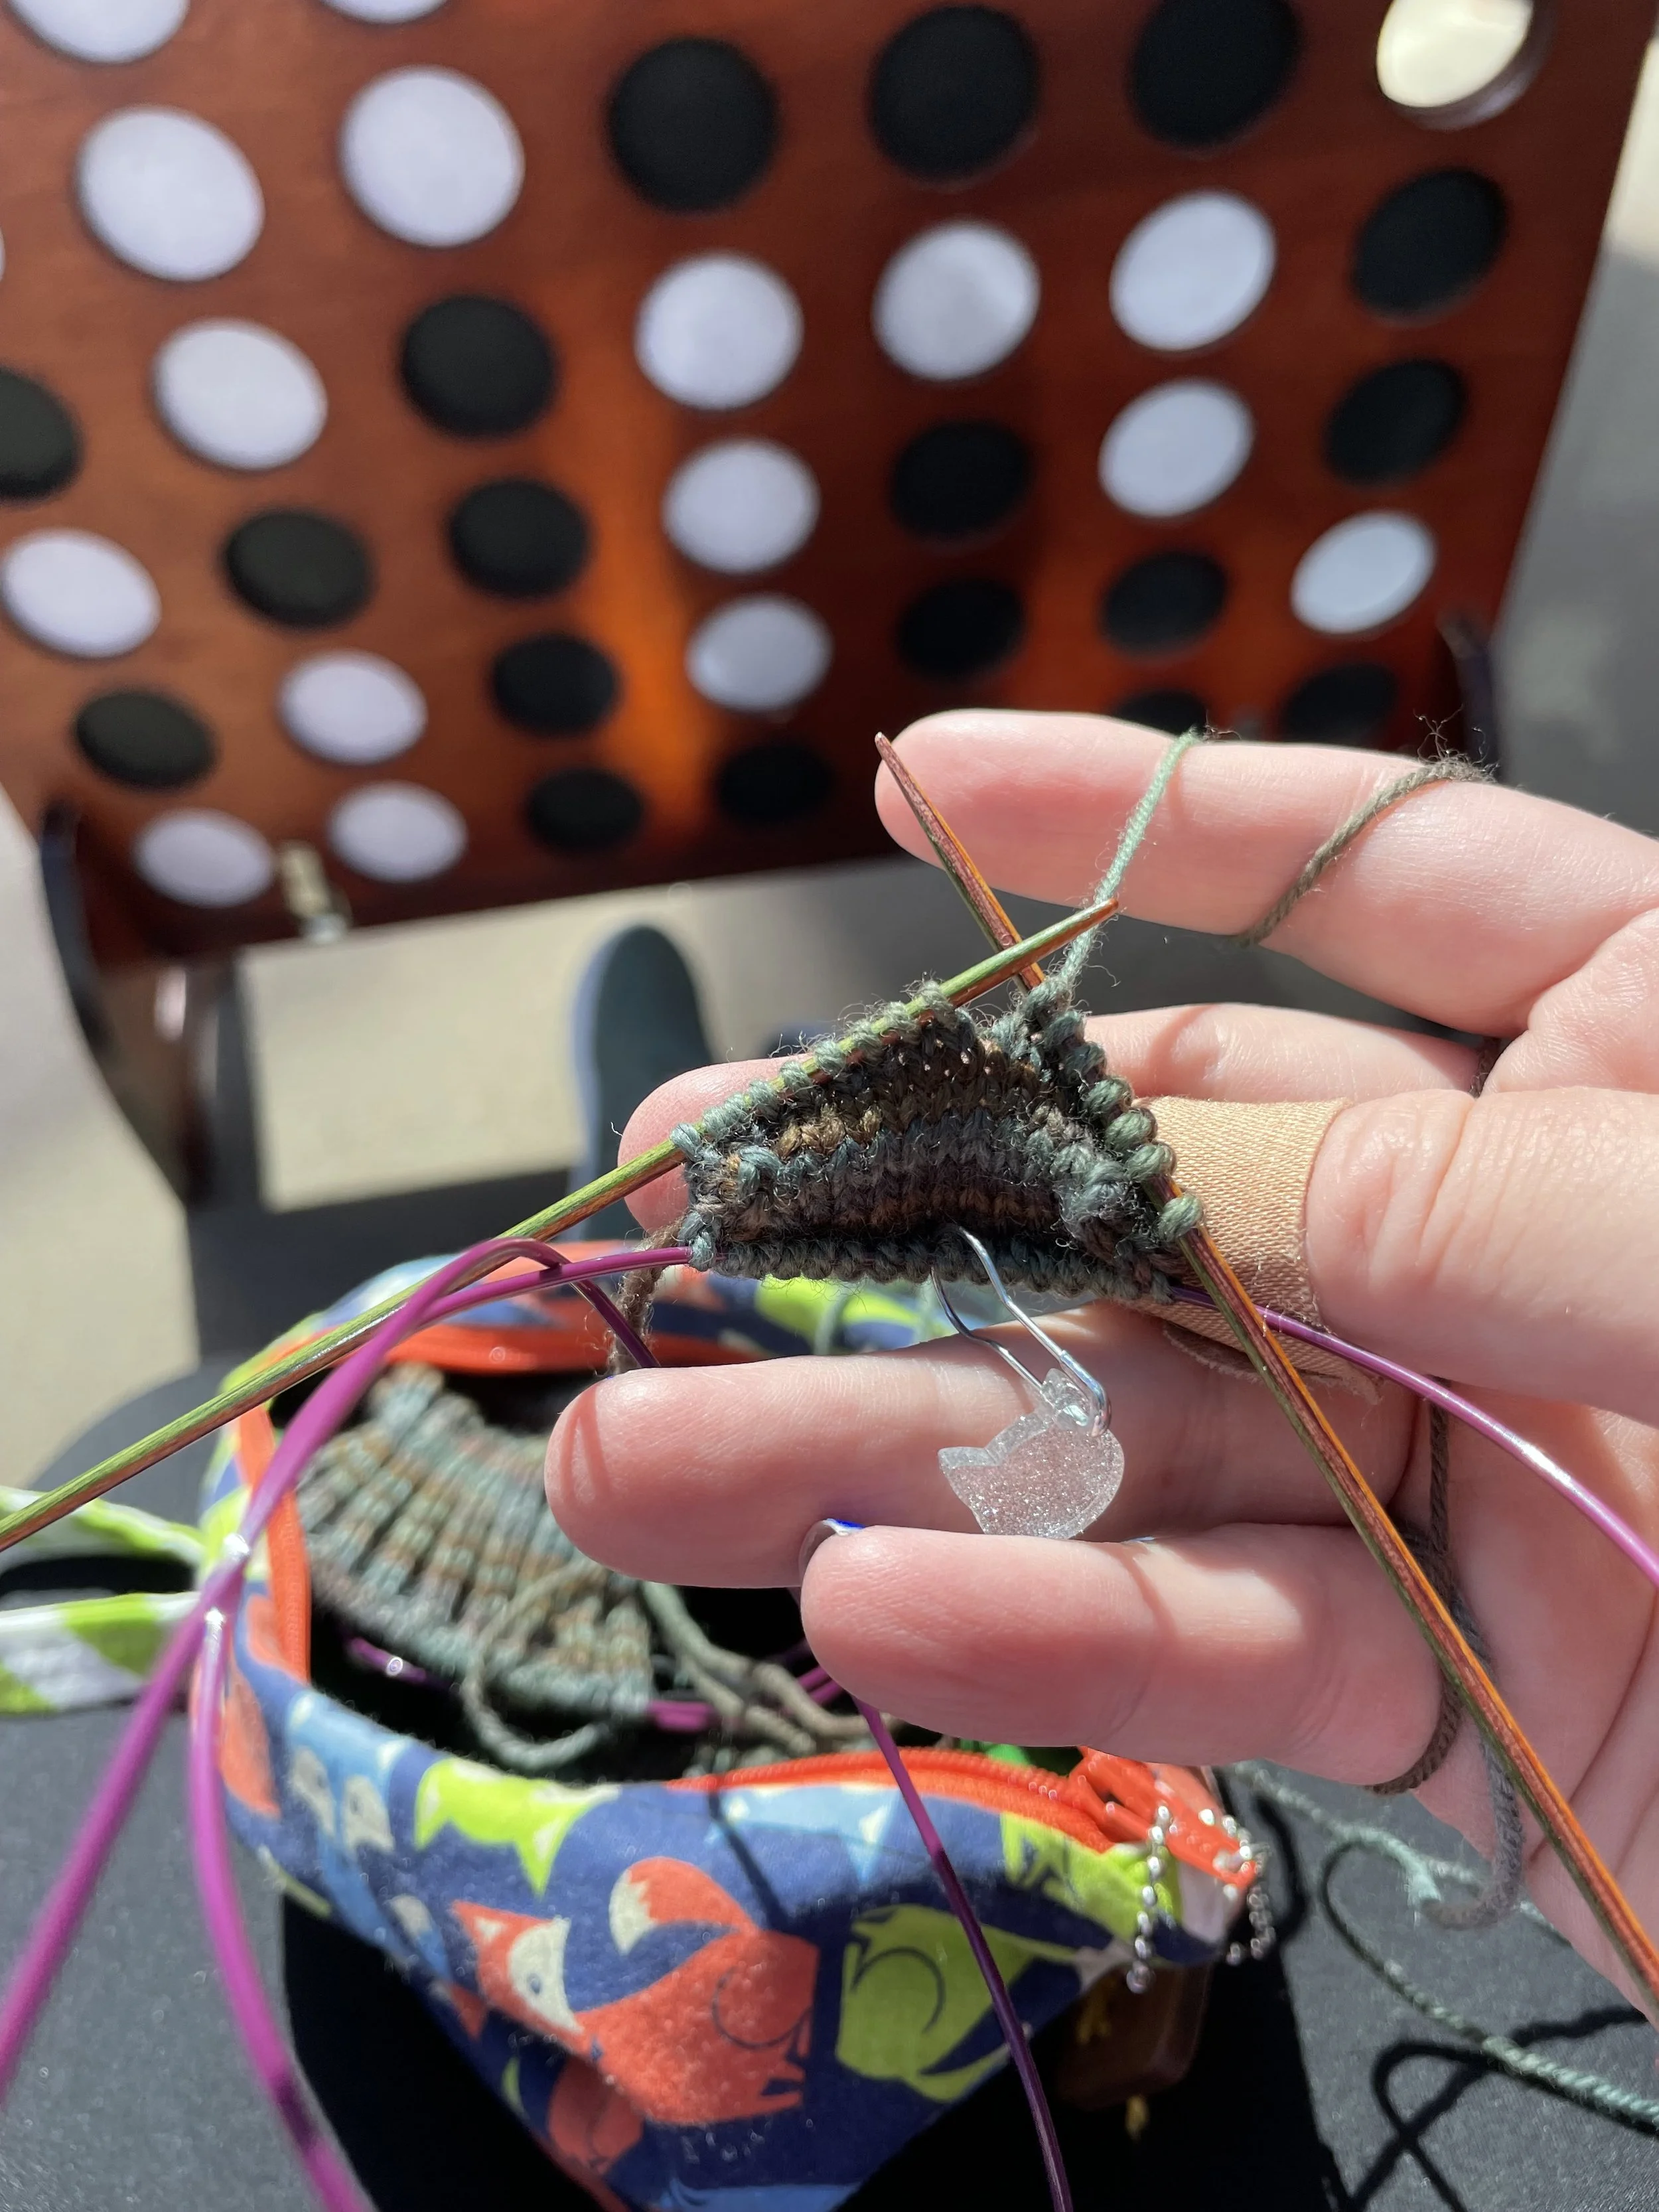
I’ve fallen out of the habit of taking progress pics of my knitting, but a nice finished object pic is hard to resist. One of the tie-dyed skeins of cotton turned into the Lizard Ridge dishcloth (Ravelry Link) by Laura Aylor. This pattern is one of my favorites because of the wonderful shaping and how it makes colors twist and turn. Plus, short rows are just fun to knit.
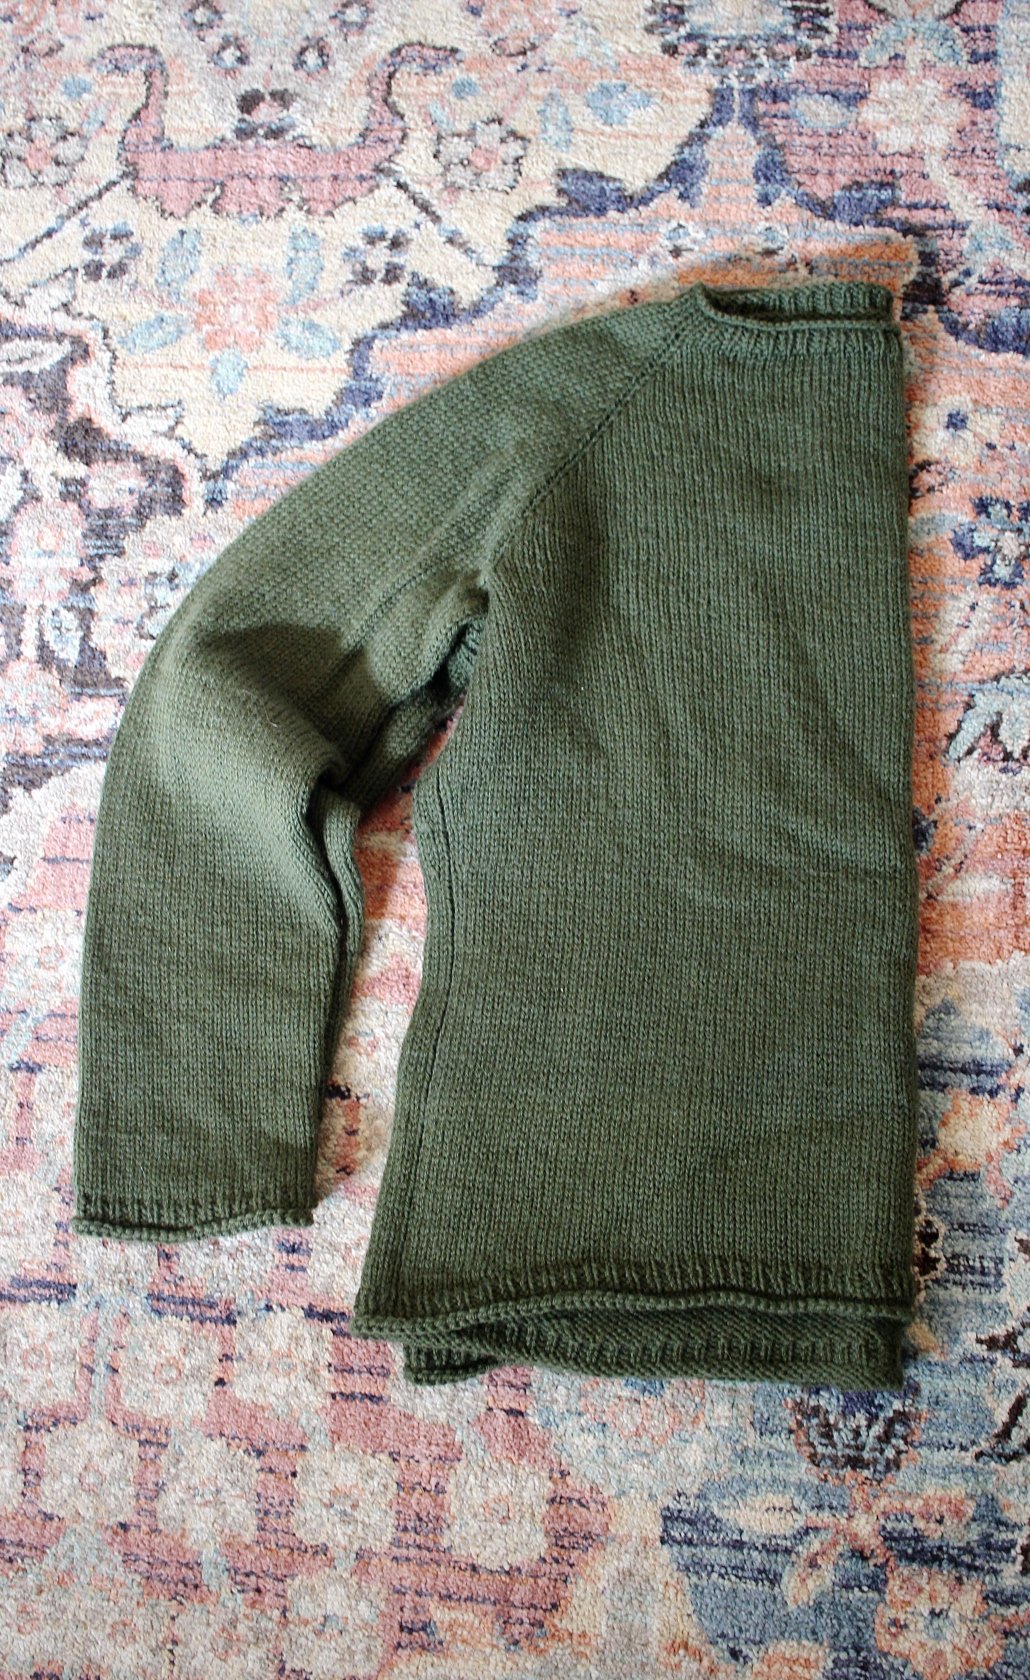
It has been so long since I’ve knit a new kitchen towel. So long since I’ve cast on for anything! Knitting those first few stitches of garter flipped an instant happiness switch in my brain. This project was worth it just for that bit of joy.