Socks Take Two

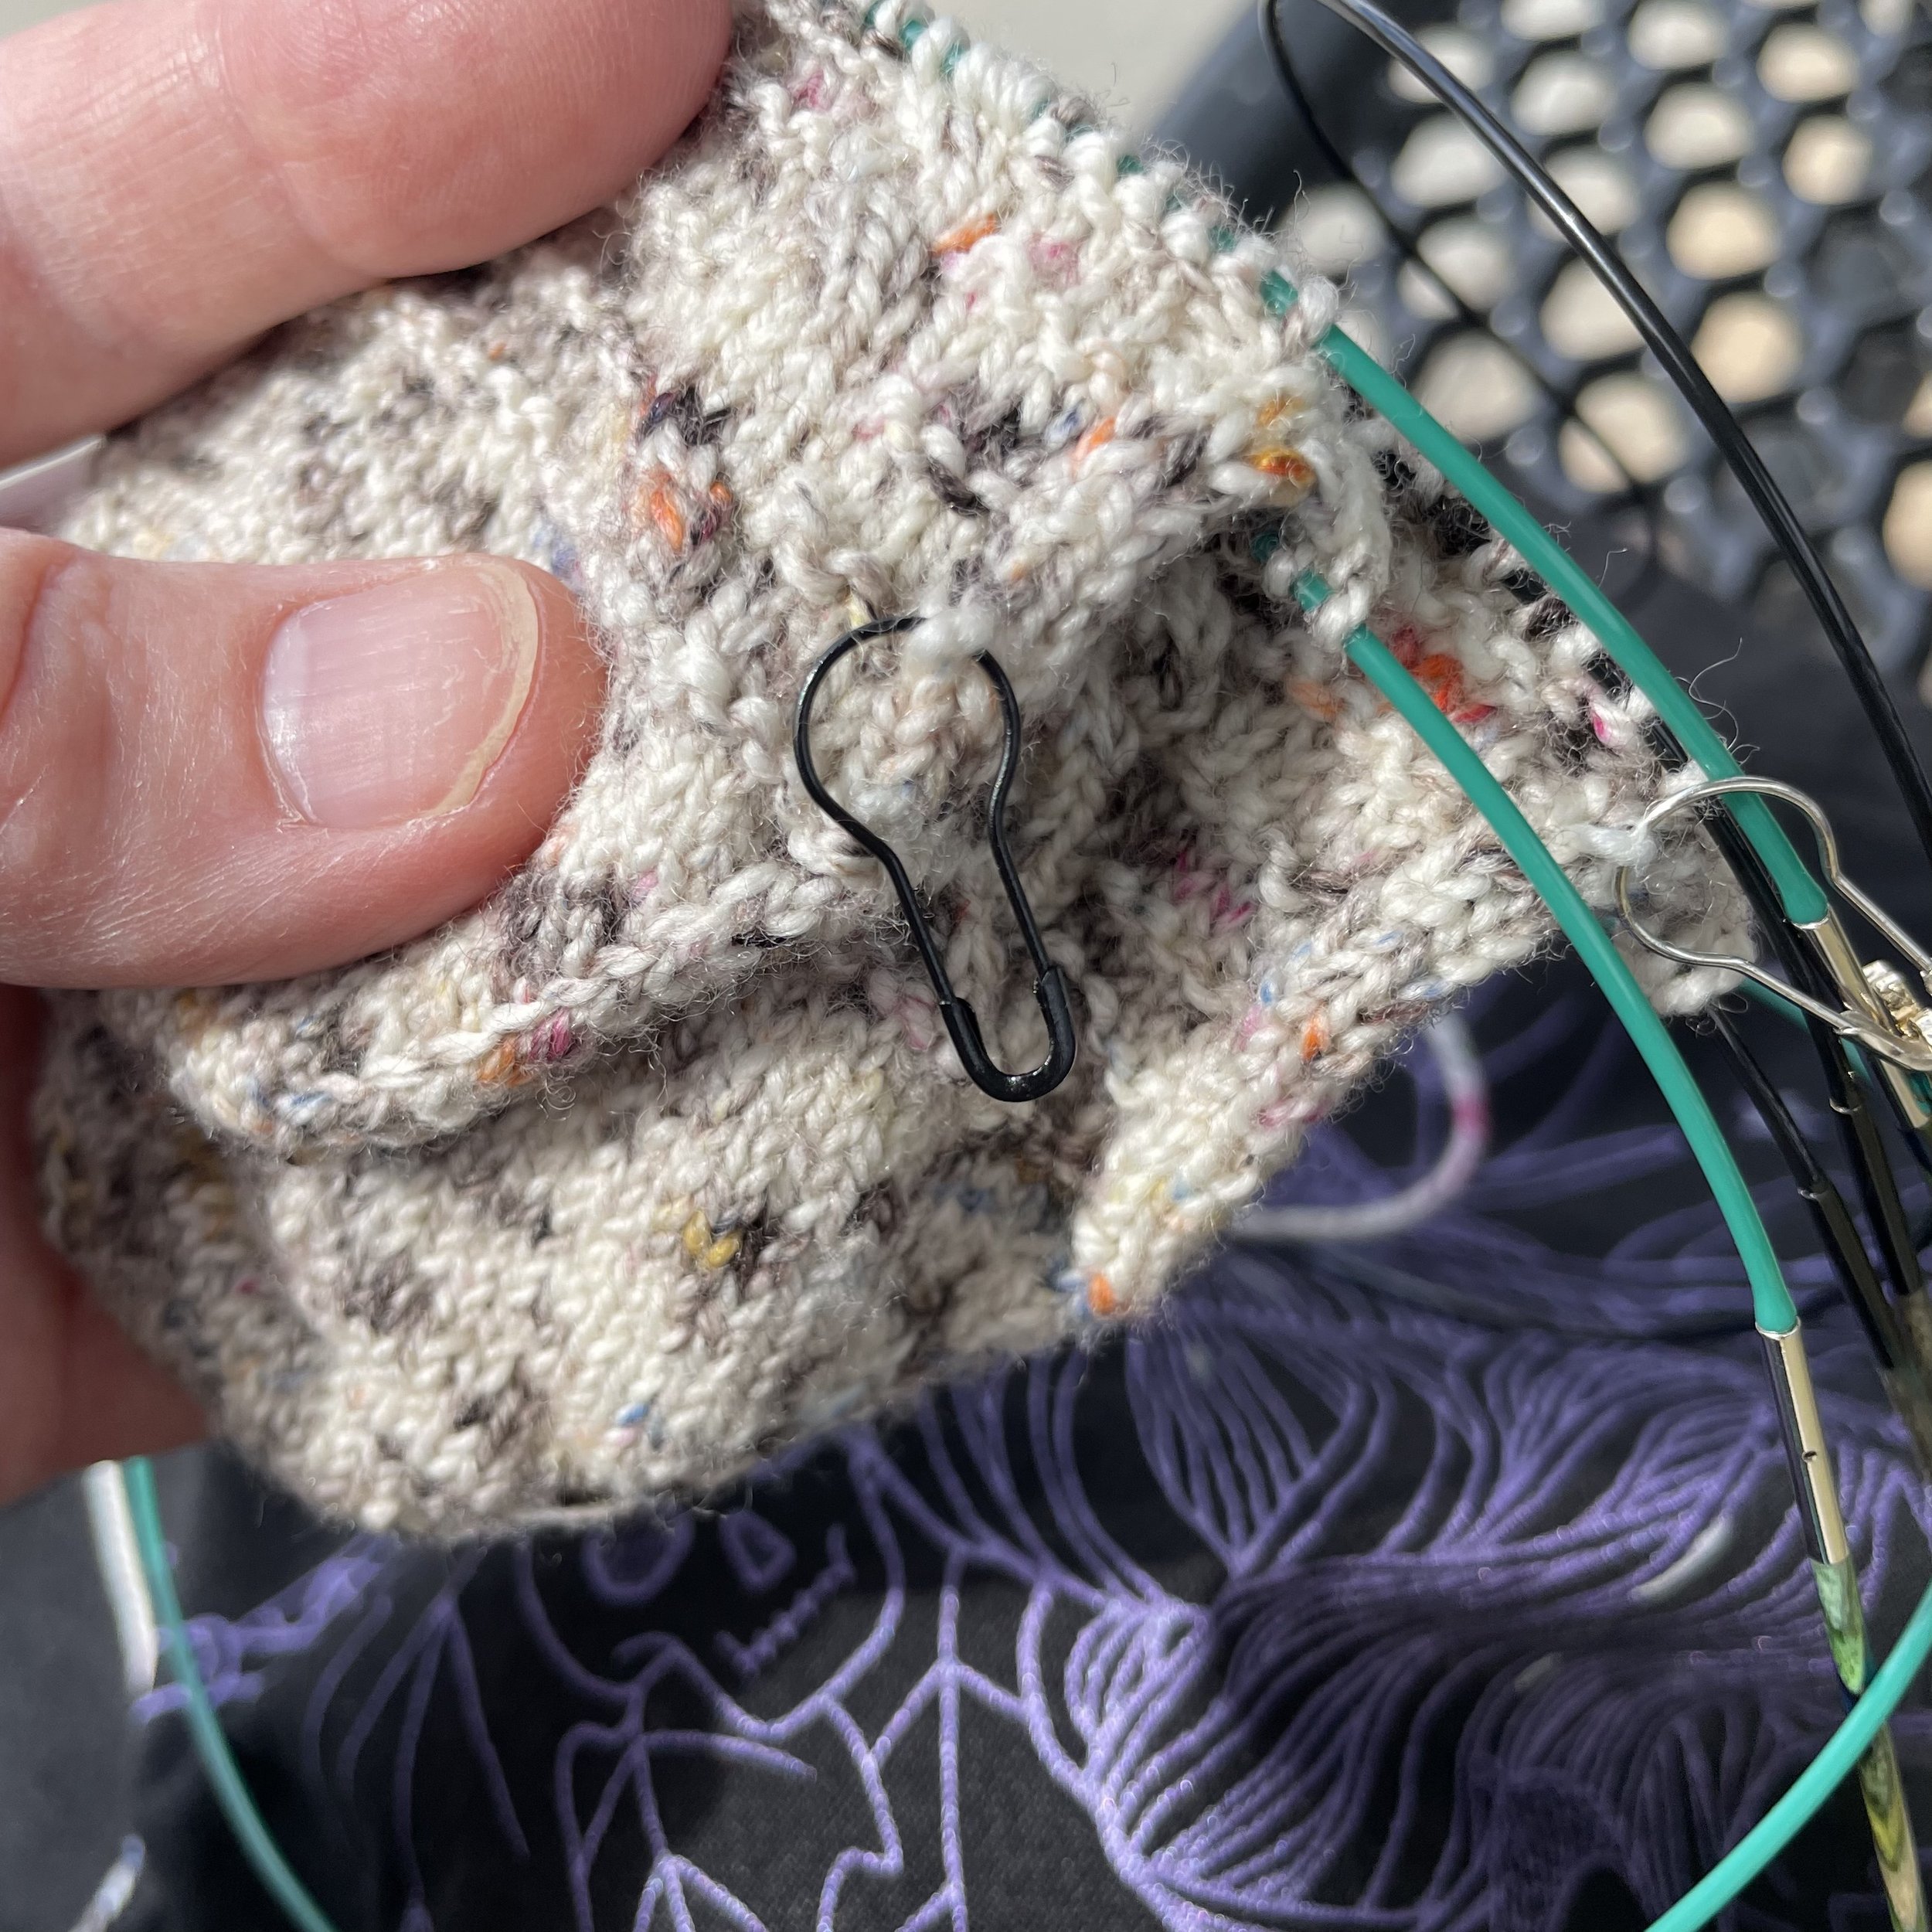
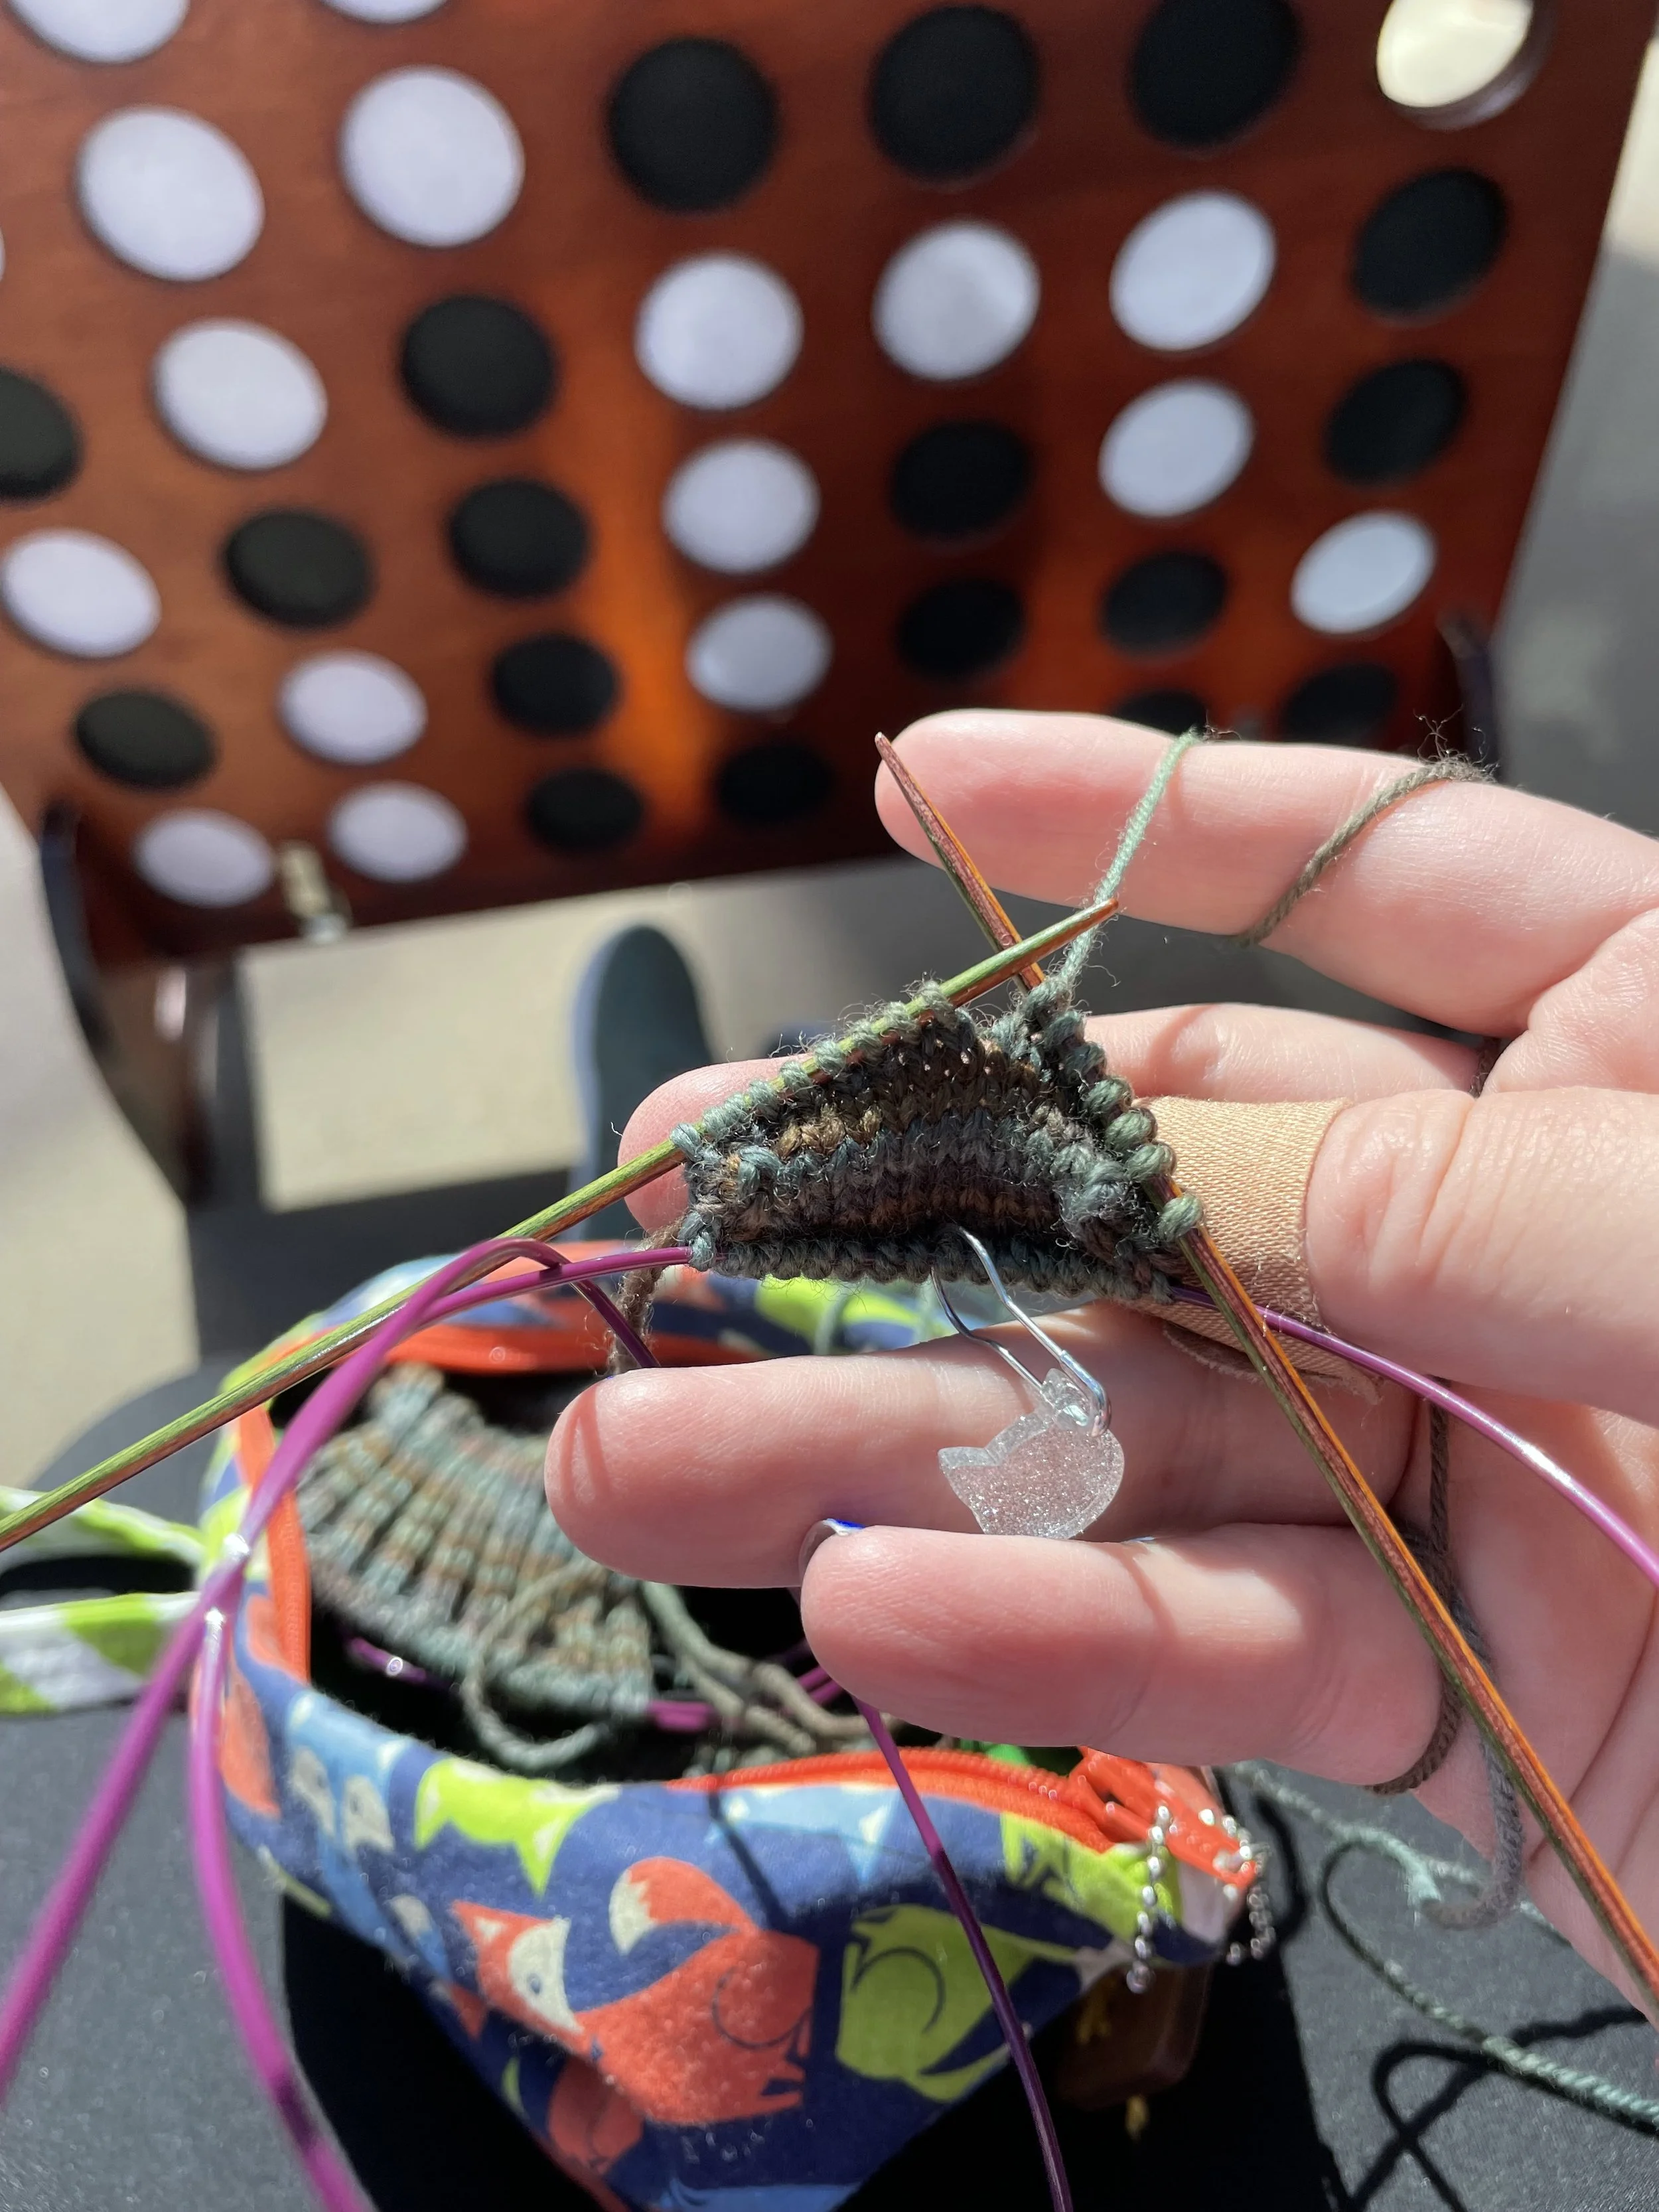
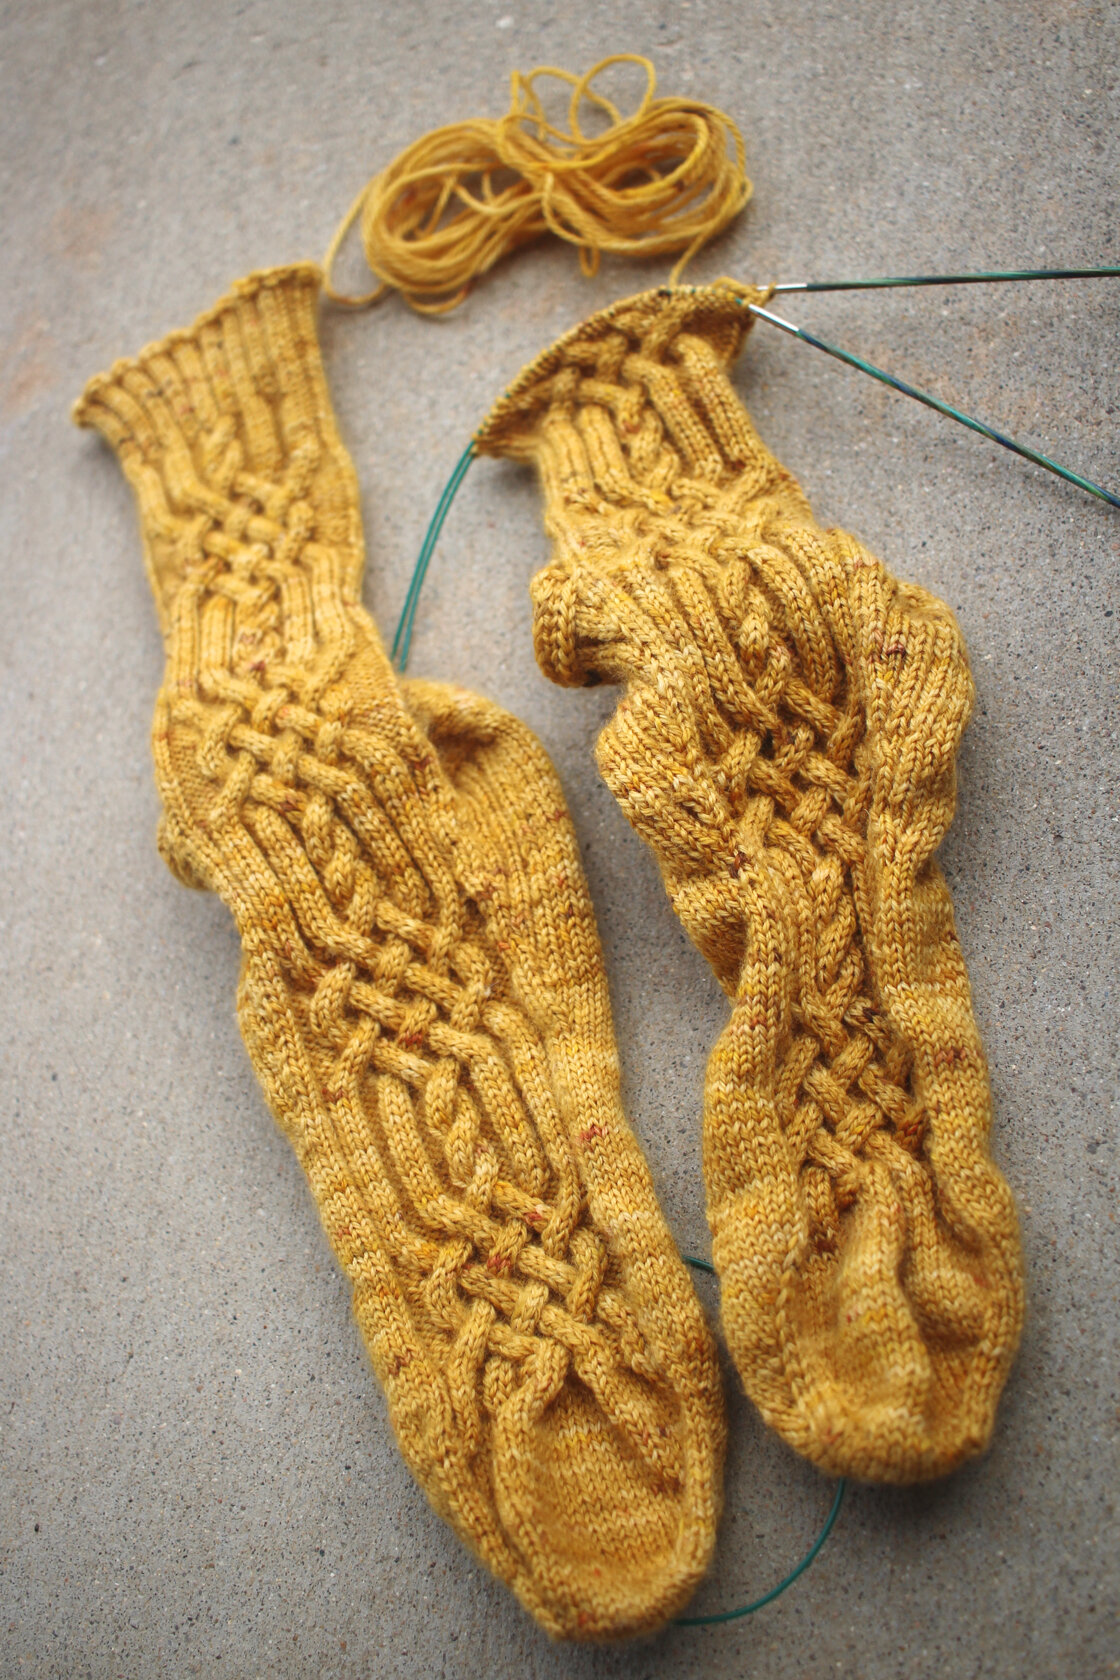
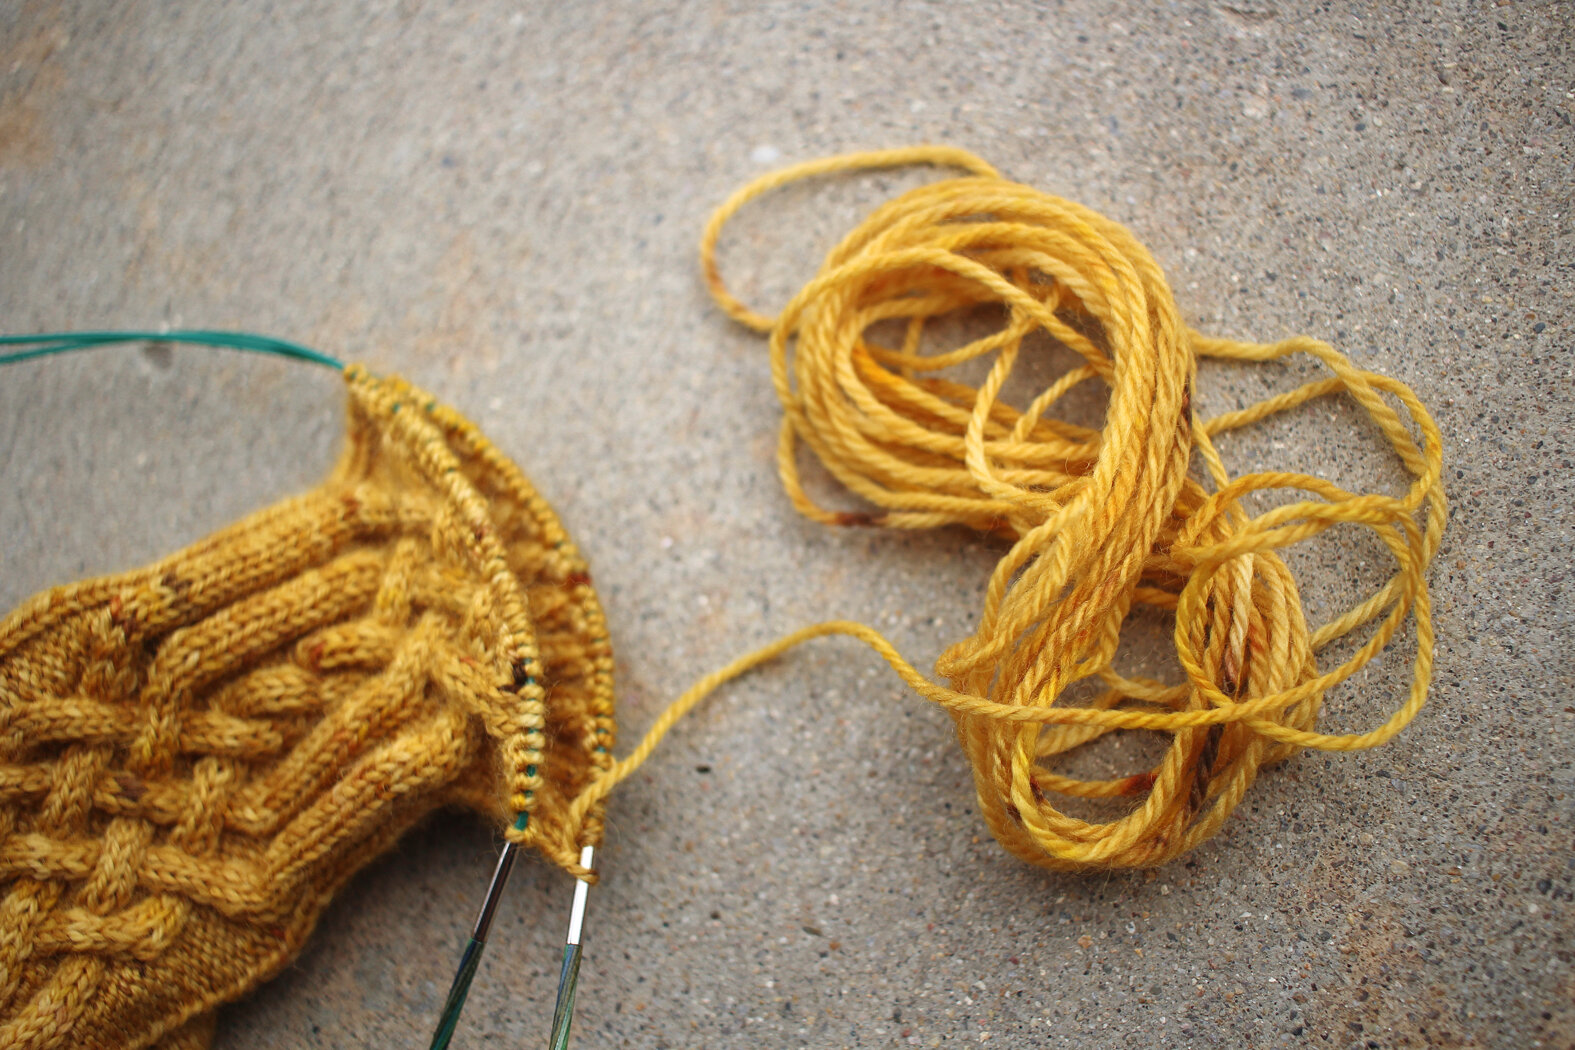
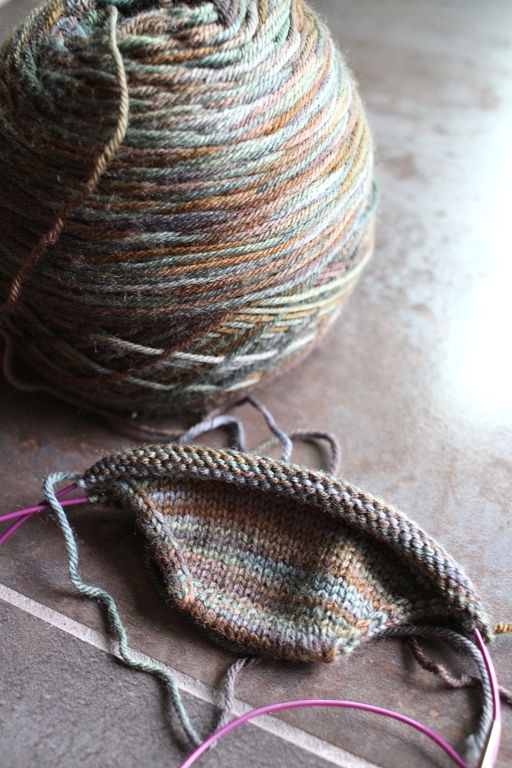
Two in progress toe-up socks on circular needles.

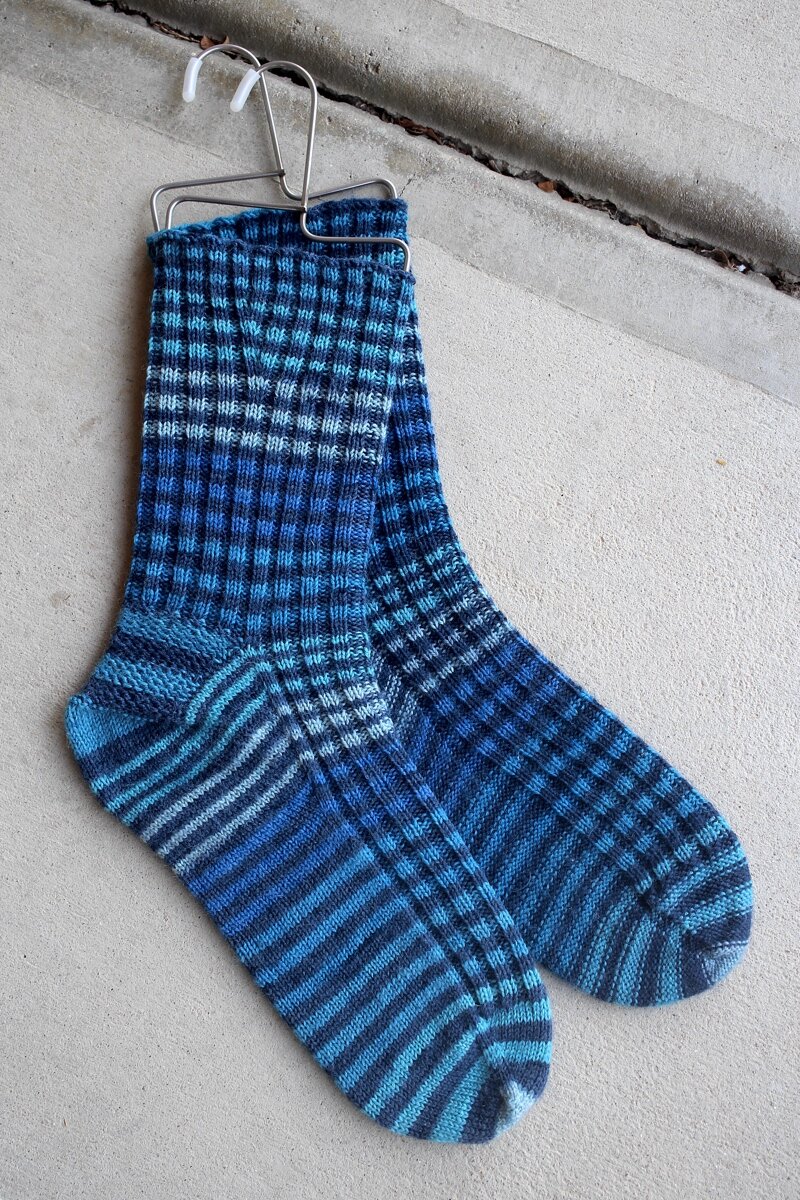
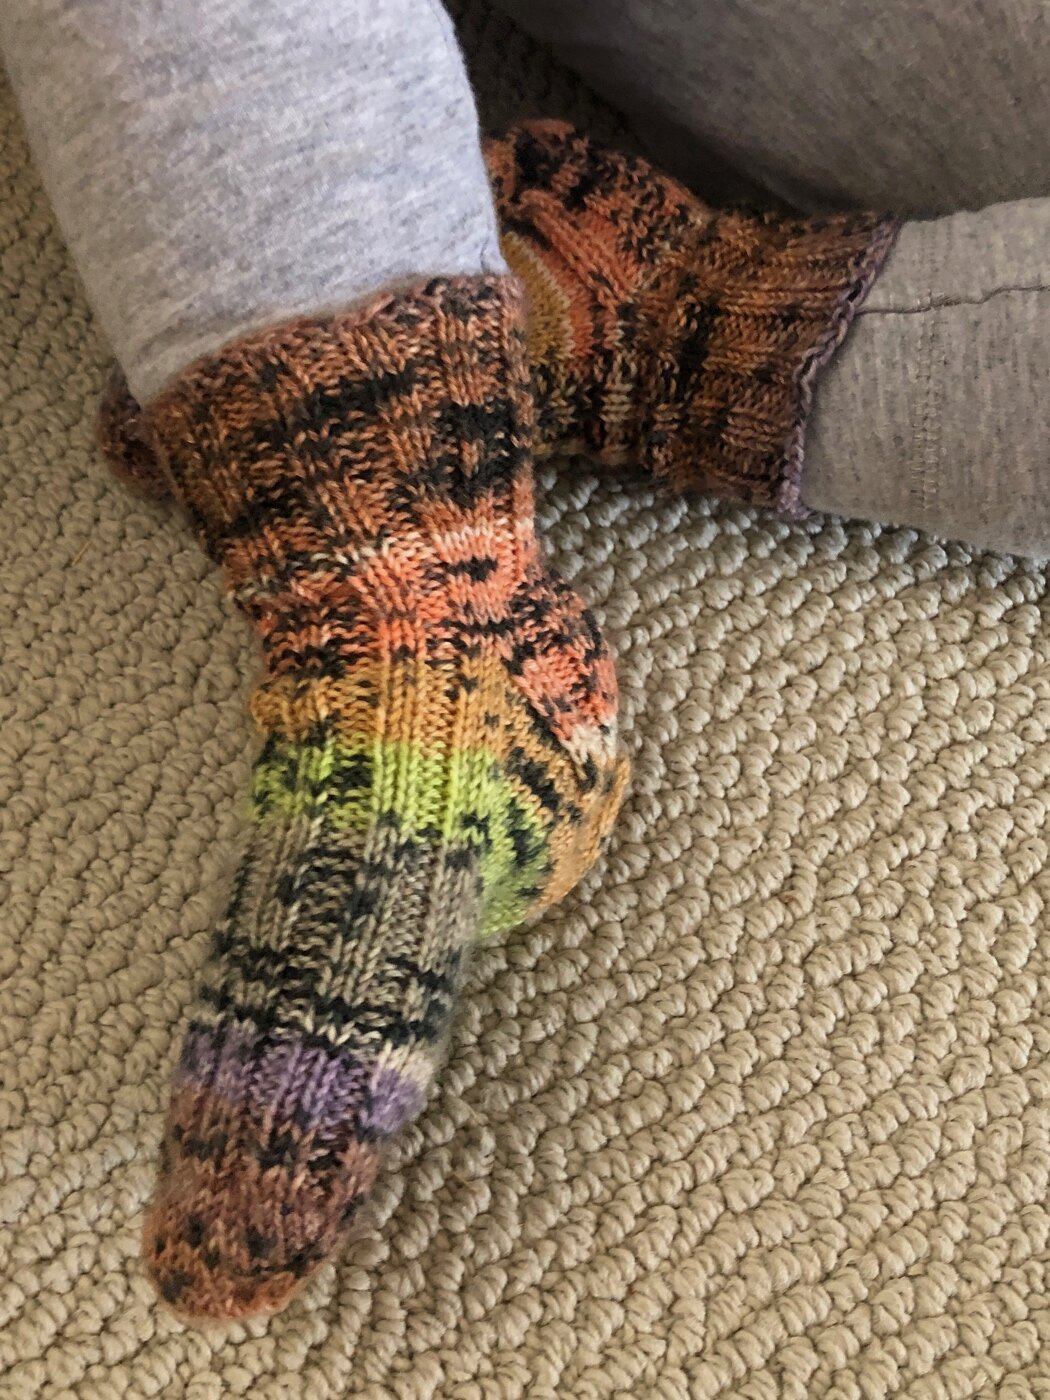
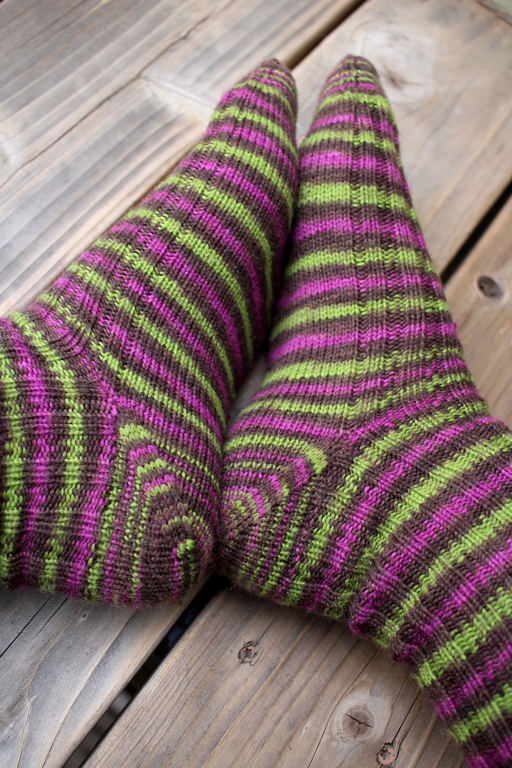
Maybe I should take a break from knitting socks for a bit. This is my second attempt at knitting what I’m calling my Low-Key Halloween Socks. I frogged my first try because my gauge was wildly different from the pattern I wanted to use. This time, I modded the Smokestack Socks to fit my larger stitch count and denser gauge. Seemed to be working well until I noticed my gauge relaxed by a whole stitch per inch. Instead of starting over again, I cast on for the second sock with the smaller stitch count to see if my gauge kept the relaxed 8 sts/in or the denser 9 sts/in. A toe and one repeat in, still 9 sts/in on sock number two and .75” of difference in width. Ugh.

Should I rip the first sock back to the toe or to where it matches a gauge of 9 sts/in? Should I rip the second sock back to the toe and increase until it’s the same stitch count as the first sock? Should I rip it all, put the yarn in time out, and knit Andrea Mowry’s new DRK Everyday Cowl instead? Decisions, decisions.

Hard Reset

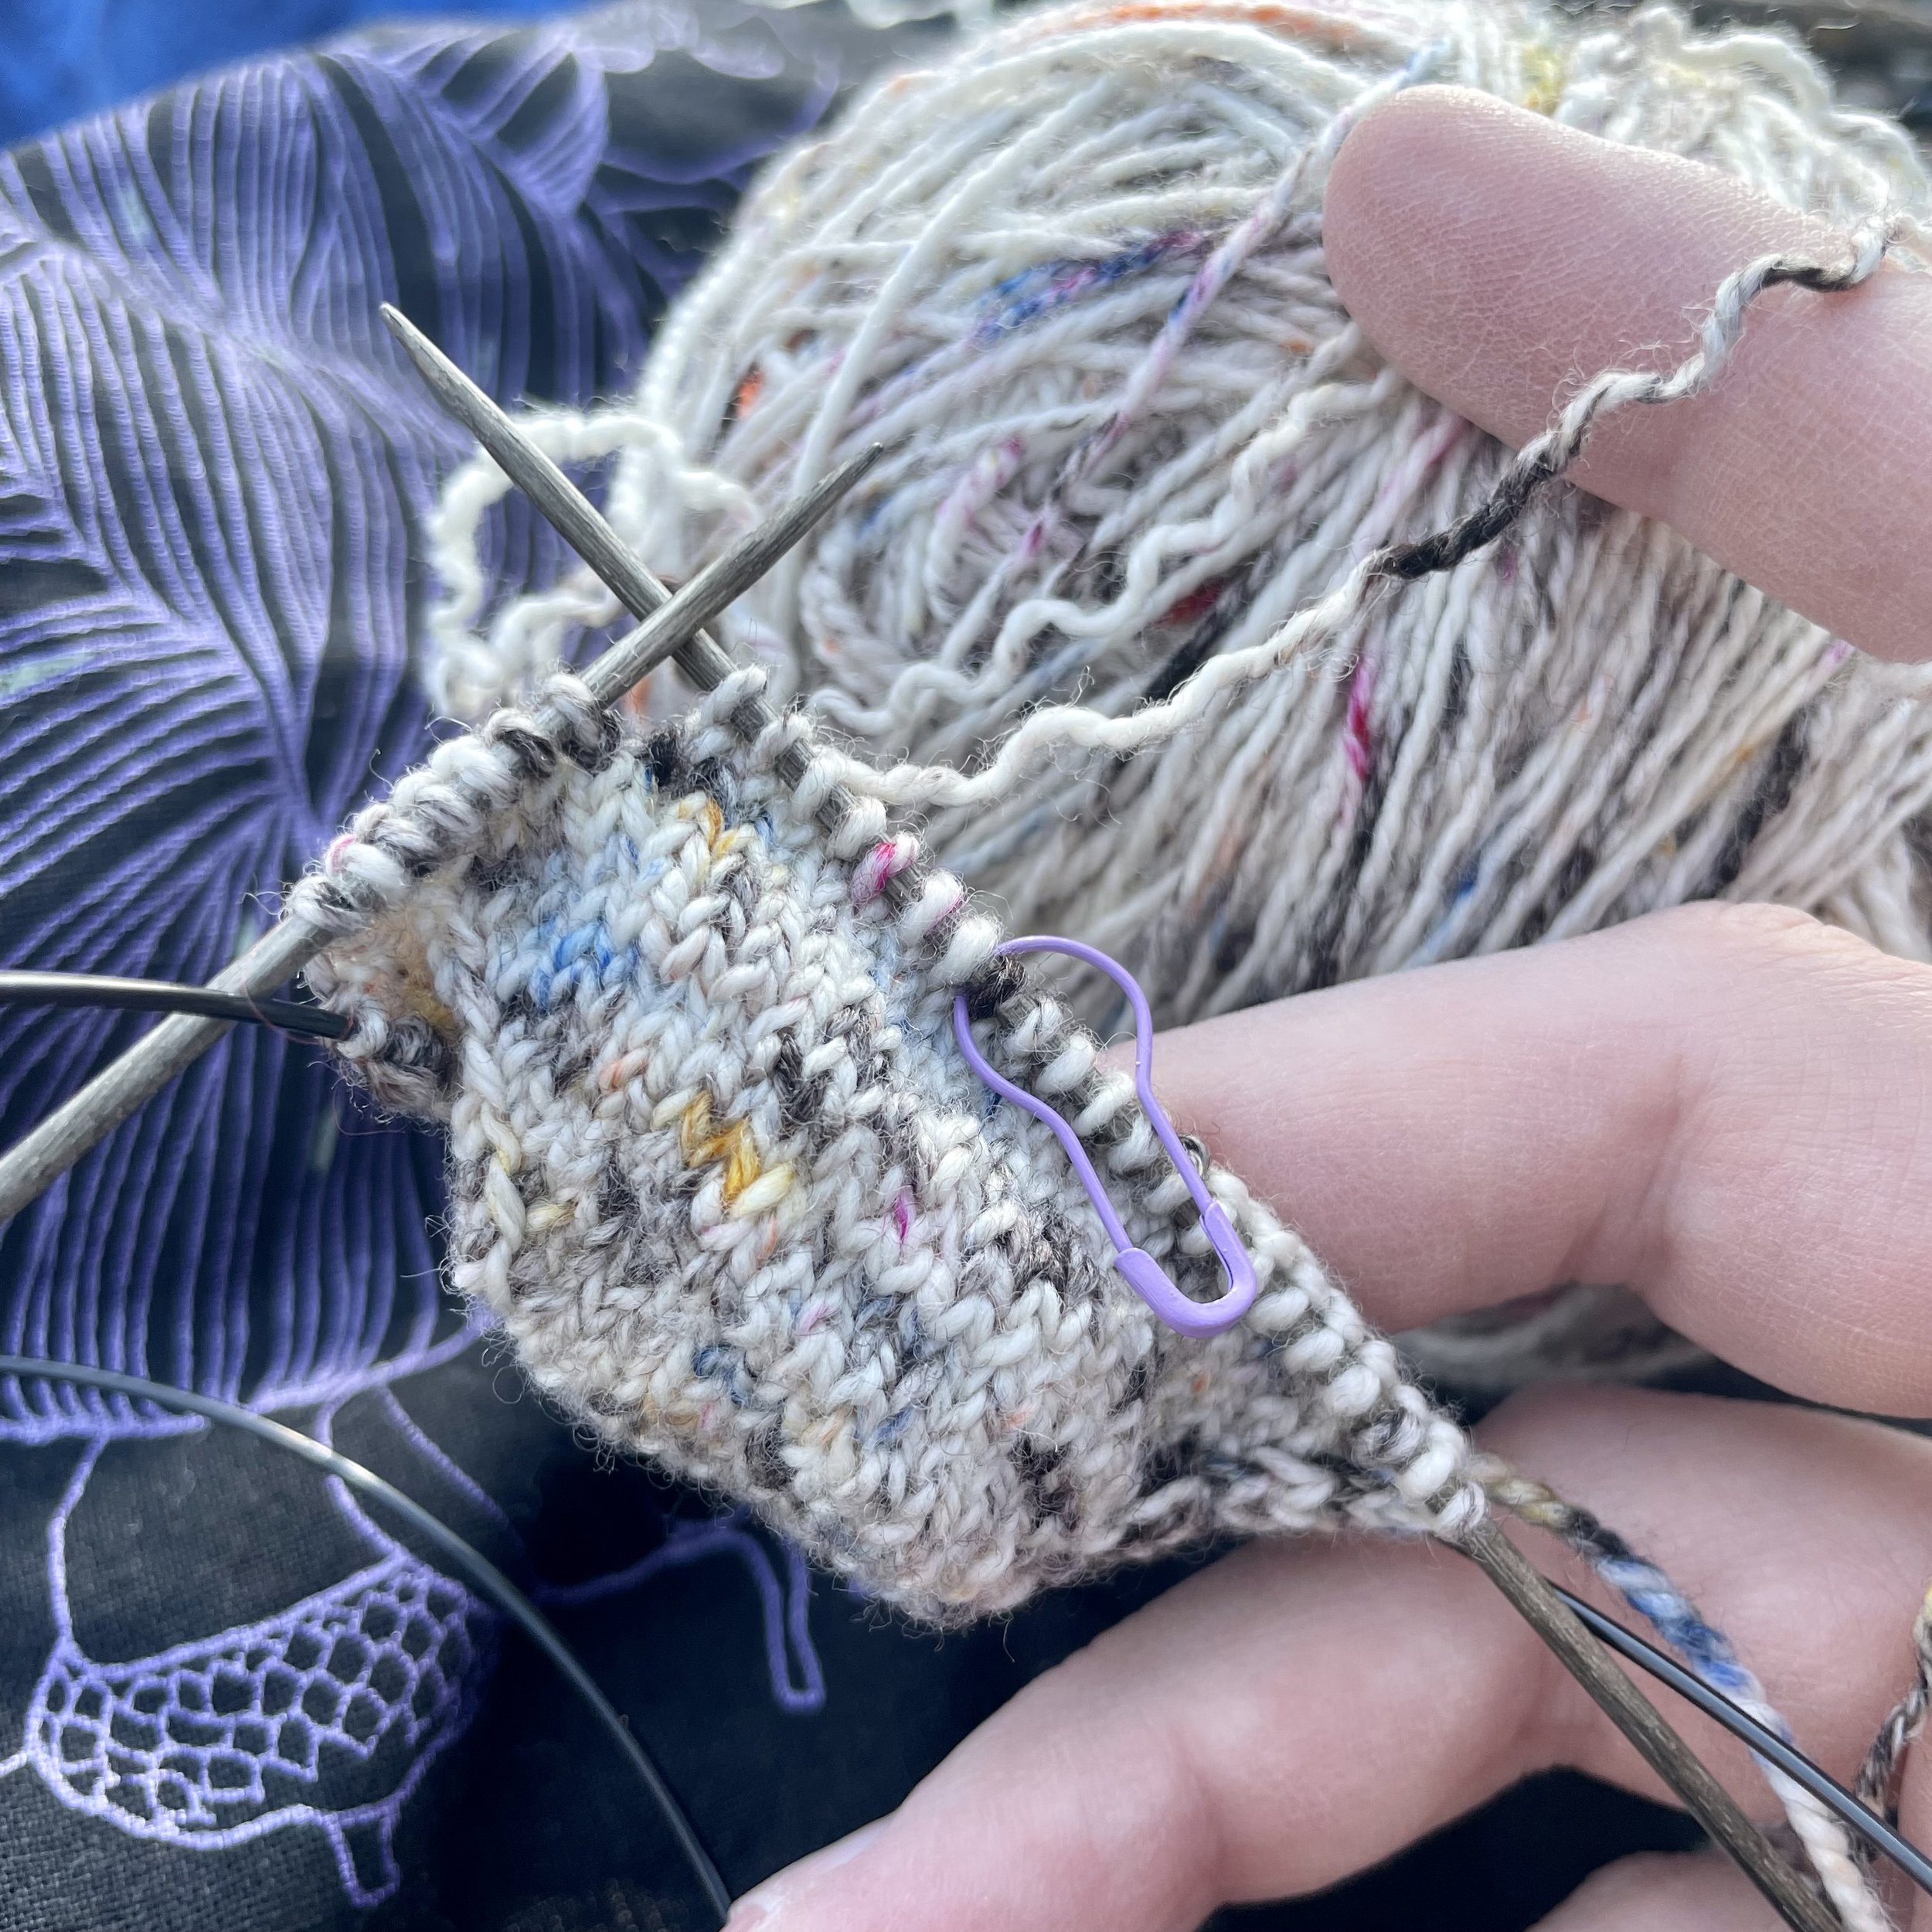
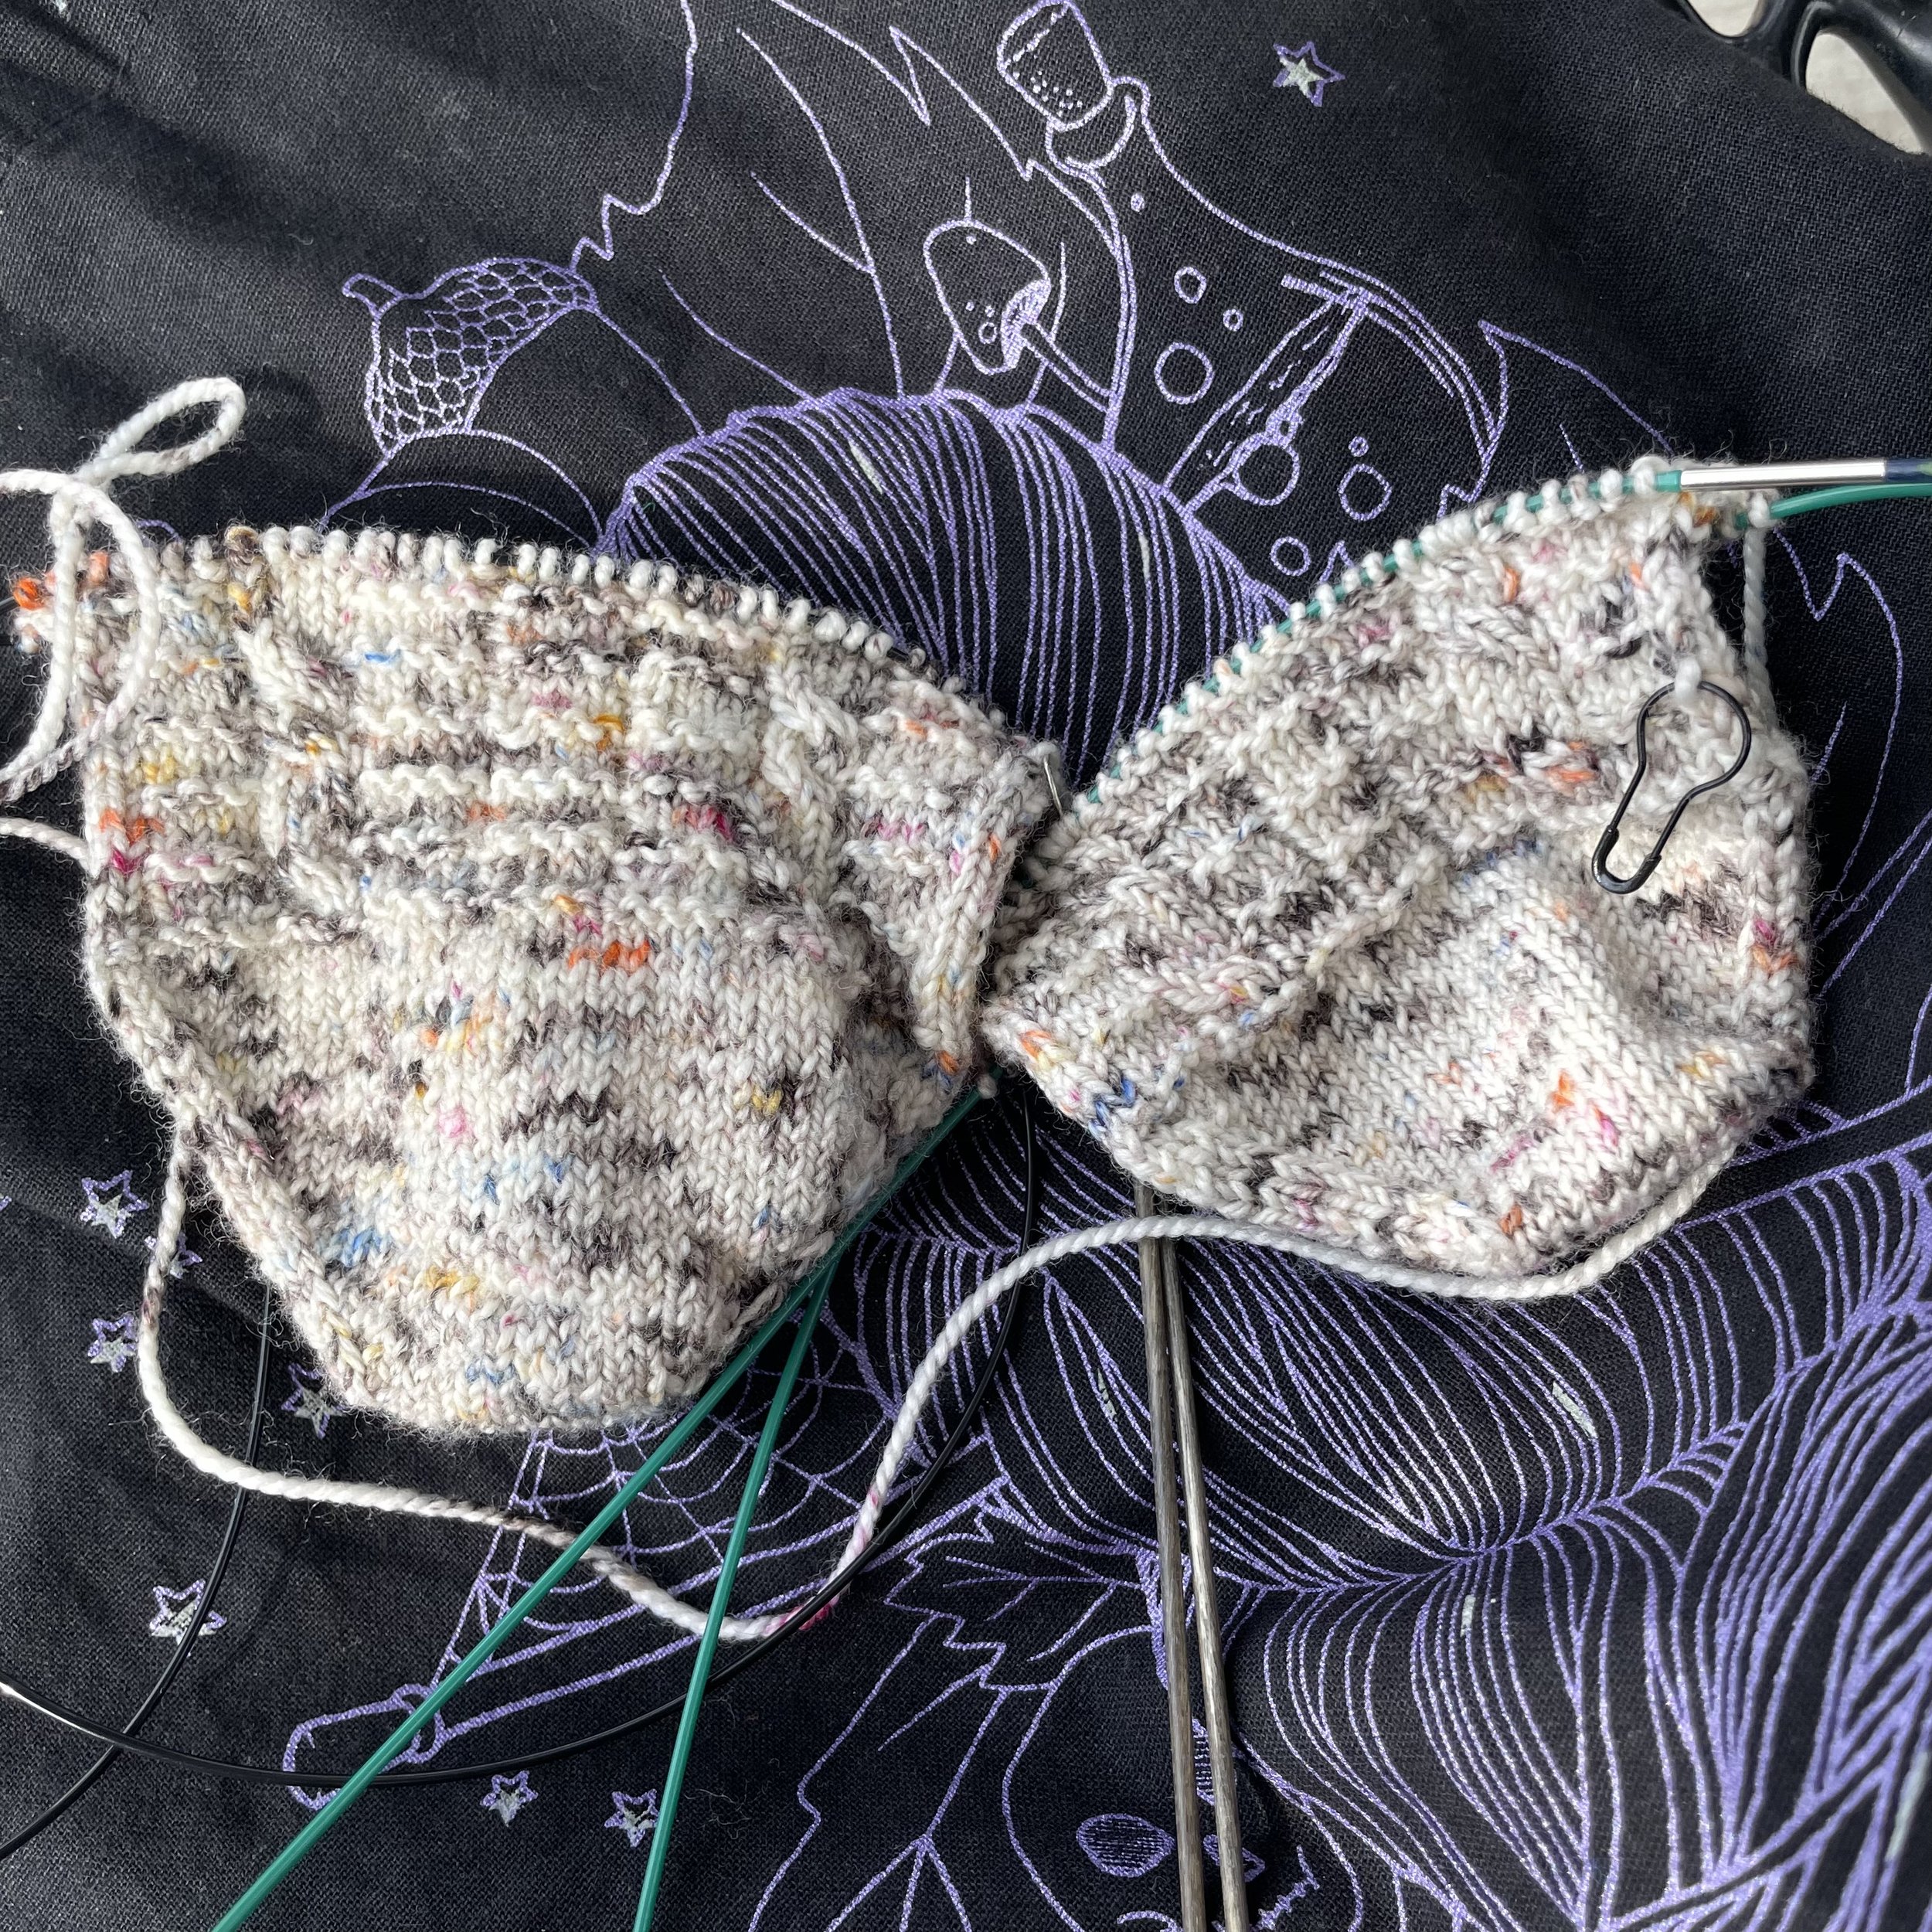
The beginnings of a toe-up sock on Circular needles in front of a spooky Project Bag and a Yarn ball.

This yarn and baby sock toe used to be a rather troublesome sock WIP, and there wasn’t even that much of it. Just the toe, an attempt at a little texture, and just enough stockinette to cover the ball of my left foot; however, the mental space the sock occupied was huge. When I cast-on, I did so with the aim of trying out the new-to-me heel of the Vanilla Reversed socks (<-Ravelry link) by Anneh Fletcher. The pair was supposed to be a simple knit, but that definitely didn’t happen. My gauge was nowhere near the pattern’s stitch or row gauge. Since I’d never knit this type of heel before, I had no idea how to adjust the numbers and measurements to make them fit this drastically different gauge. So, the sock WIP went into time out while I puzzled out possible solutions with no success.

One day I put the project bag in a chair when I needed room at the table. Then I just left it there and, basically forgot about it, until I needed to move the chair. I’d see the project bag, get the mental ping asking if I’d figured it out yet, but the answer was always nope. That got old fast and loomed a little larger in my head every time. Never got around to moving the bag somewhere else though.

I eventually had the brain space to poke at this WIP. The answer wasn’t a spreadsheet or a complicated formula. The answer was try the pattern again later with a different yarn that matched the gauge, or at least came close. I still wanted to use this yarn though. So I frogged the whole thing and changed everything except the needles. I’m using a different yet still spooky project bag, a favorite pattern, and a completely new tape measure. The old setup just made me tired and needed a hard reset back to zero. This new bundle makes me excited, and I’m happy to finally have some knitting I can stuff in my purse again.

Too Pointy - Musings and Experiments with Short Row Heels

At the time I’m writing this sentence, I’ve knit a total of three short row heels. Not a big sample size, I know, but I have a few thoughts. There are some definite pros to a short row heel:

  1. A short row heel takes way less time to knit than a gusset and heel flap.

  2. A short row heel, even with a mini-ish gusset, requires way less yarn than a gusset and heel flap.

  3. The pattern of self-striping yarns is not completely distorted because there are minimal (or no) increases.

I’ve also come across a few cons for the construction:

  1. The method you choose for working the short row is incredibly important so you don’t end up with gaps at every turn.

  2. Accommodating a higher instep can be frustrating since you’ll need to add a tiny or mini gusset. How many stitches should that gusset have? When do you start it? That’s no different than working a gusset and heel flap. For me, at least, I’ve knit so many heel flaps, that I can almost do that math in my sleep. For short row heels, I’m still figuring that out.

  3. The shape of a standard short row heel (hourglass, yo-yo, whatever you like to call it) is too pointy at the fold where you’d start working longer rows again. Here’s an example to show you what I mean:

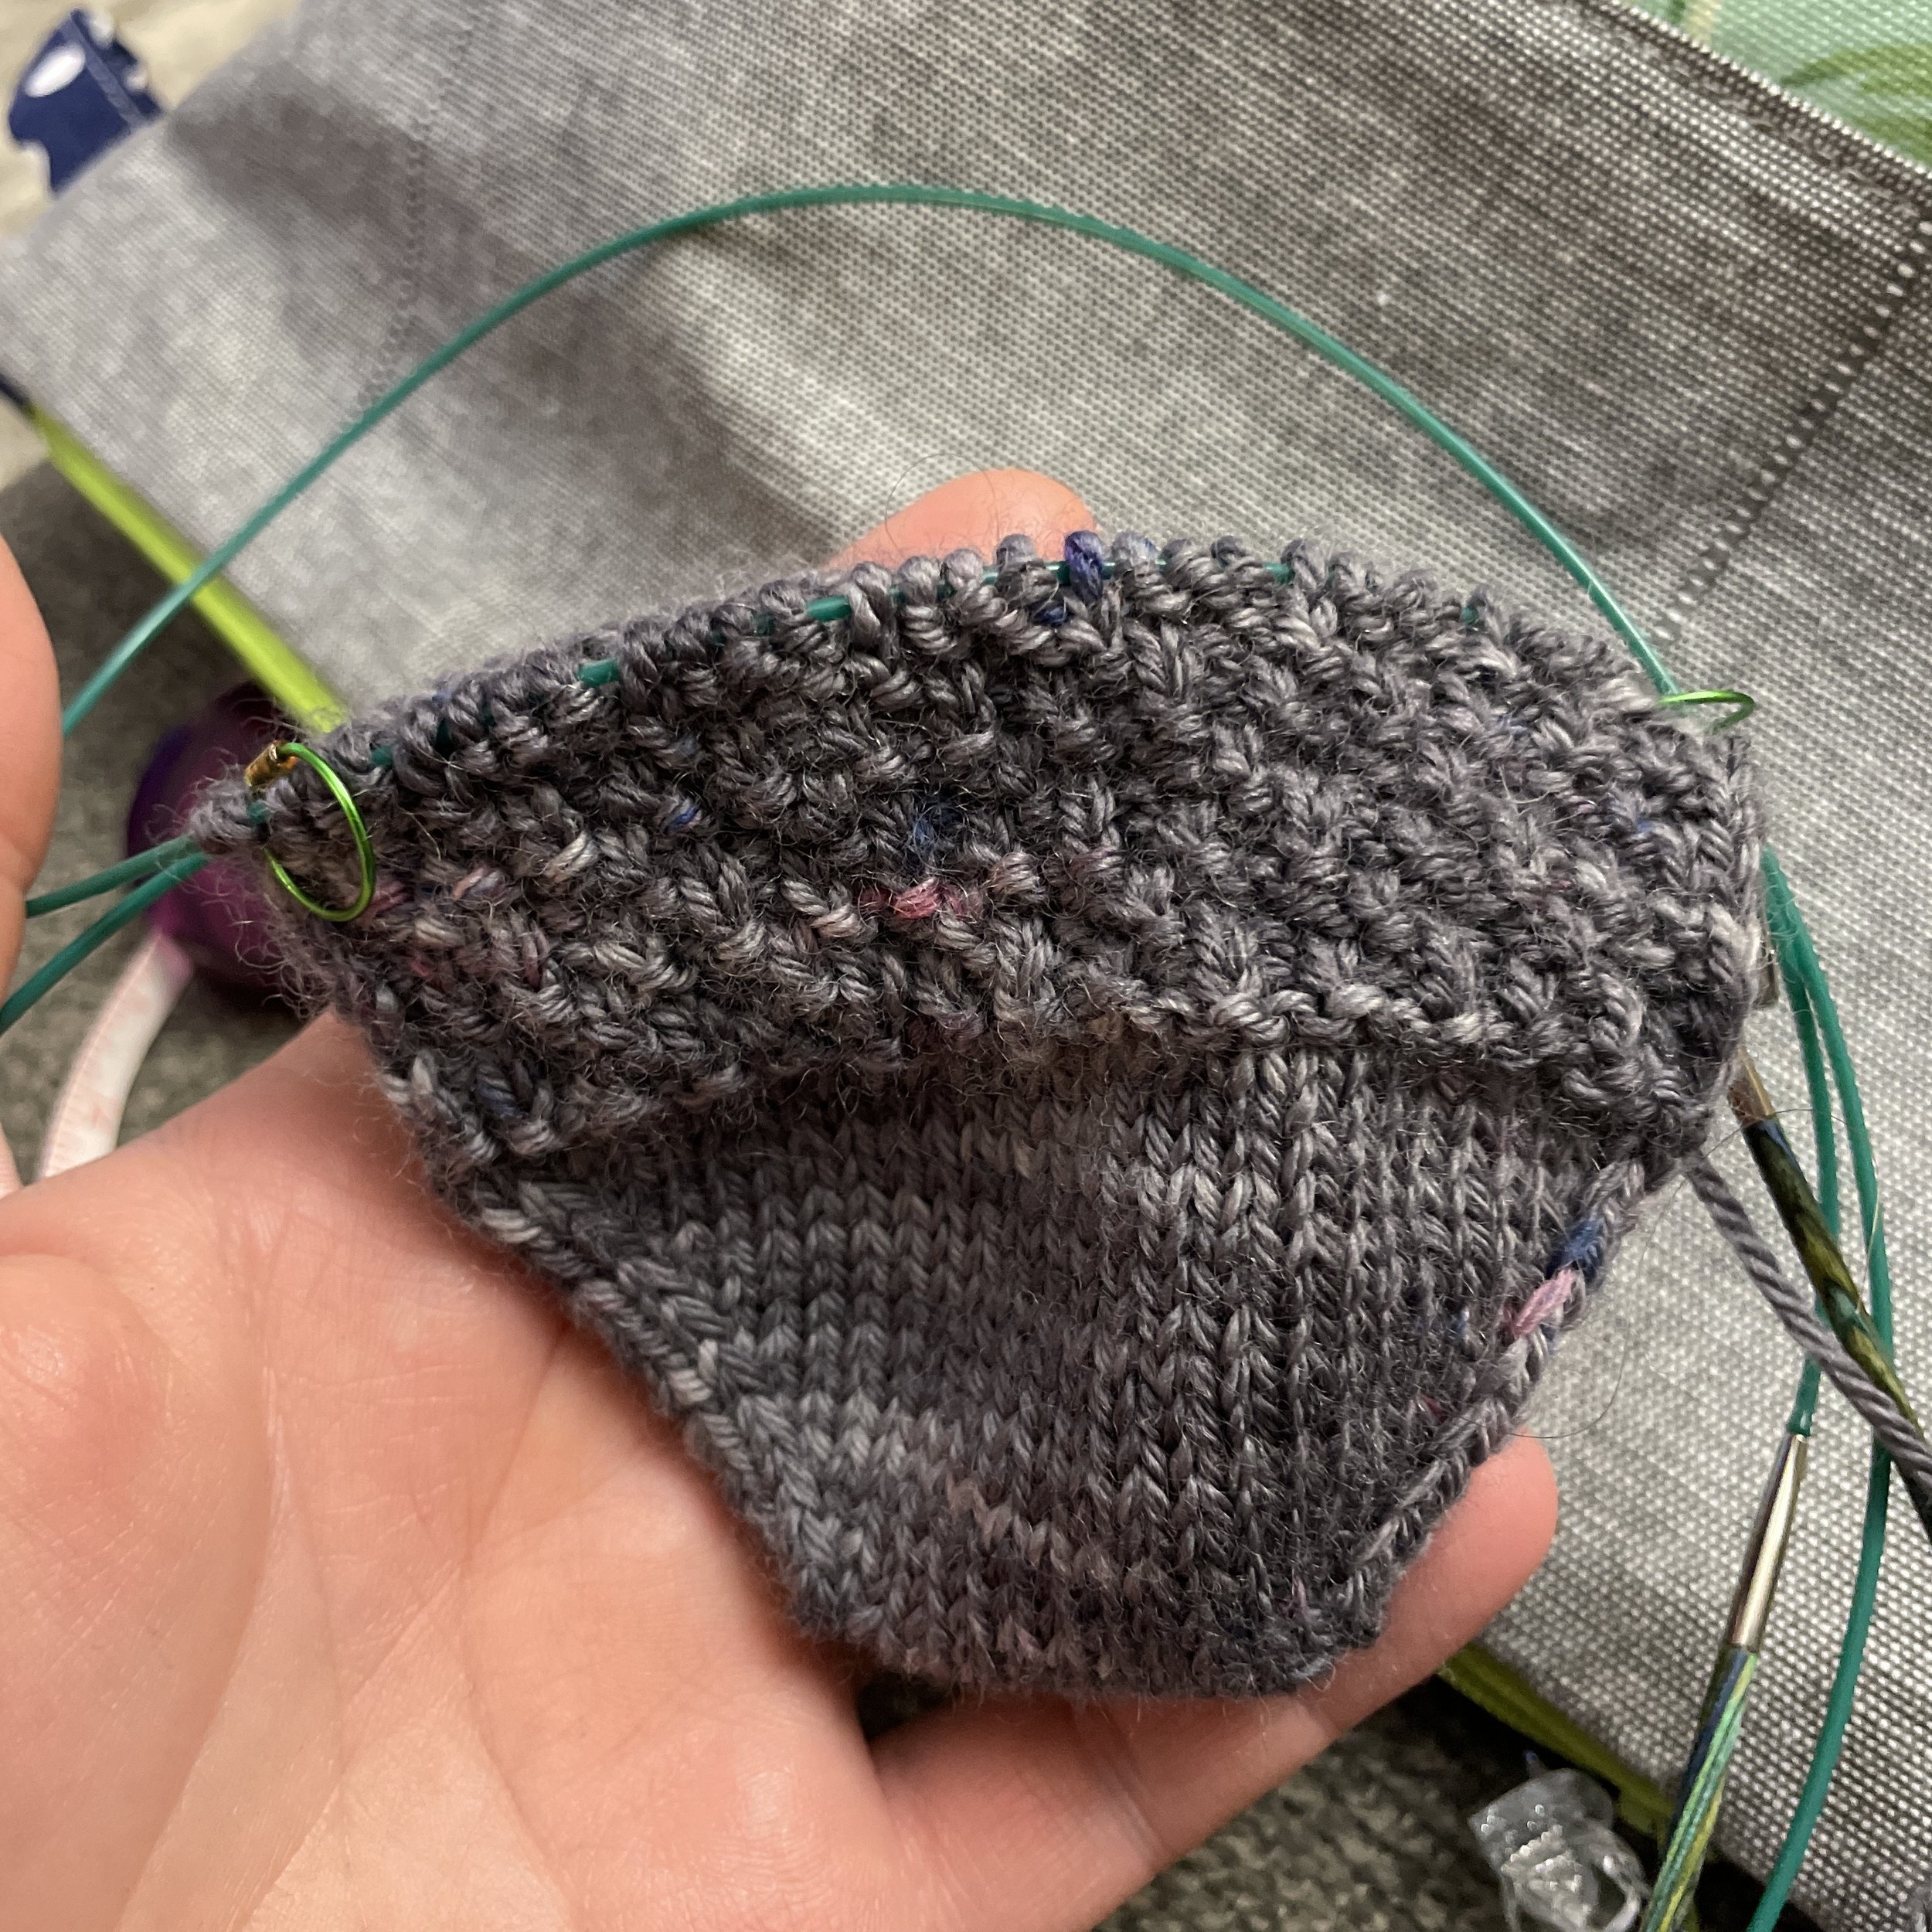
A toe-Up hand knit sock with a Short row Heel still on the needles.

Looks like a totally reasonable short row heel. I’m using the shadow wrap method for this one. Now let’s look at it on a foot.

There’s all this extra fabric hanging around. Maybe I could solve this by working more short rows so that the very center of the heel is narrower. Instead of working until about 1/3 of the stitches is left unwrapped in the middle, I’d aim for about 1” of stitches and make the heel deeper. My math for toe-up gusset and heel flaps uses 1” of stitches to know where to end the heel shape. That number works for a gusset and heel flap, so maybe it’ll work for a short row heel too.

A diagram of the Standard Short row Heel SHape on Top and the Short row shape I want to Make.

A diagram of the Standard Short row Heel SHape on Top and the Short row shape I want to Make.

I didn’t want this pair of socks to linger because than kiddo might out grow them before I can finish. So I decided to solve this too pointy problem by recreating a style of short row heel I’ve seen on some commercial knit socks. Instead of just the two wedges you usually see, like the drawing on the top, I wanted to add a narrow band that sits between the first wedge and the second wedge. The drawing on the bottom shows what that would look like when complete. My hope was that this band would give the short row heel a rounded shape that would hug the heel.

A finished Pair of Hand knit socks with a Modified Shadow Wrap Heel

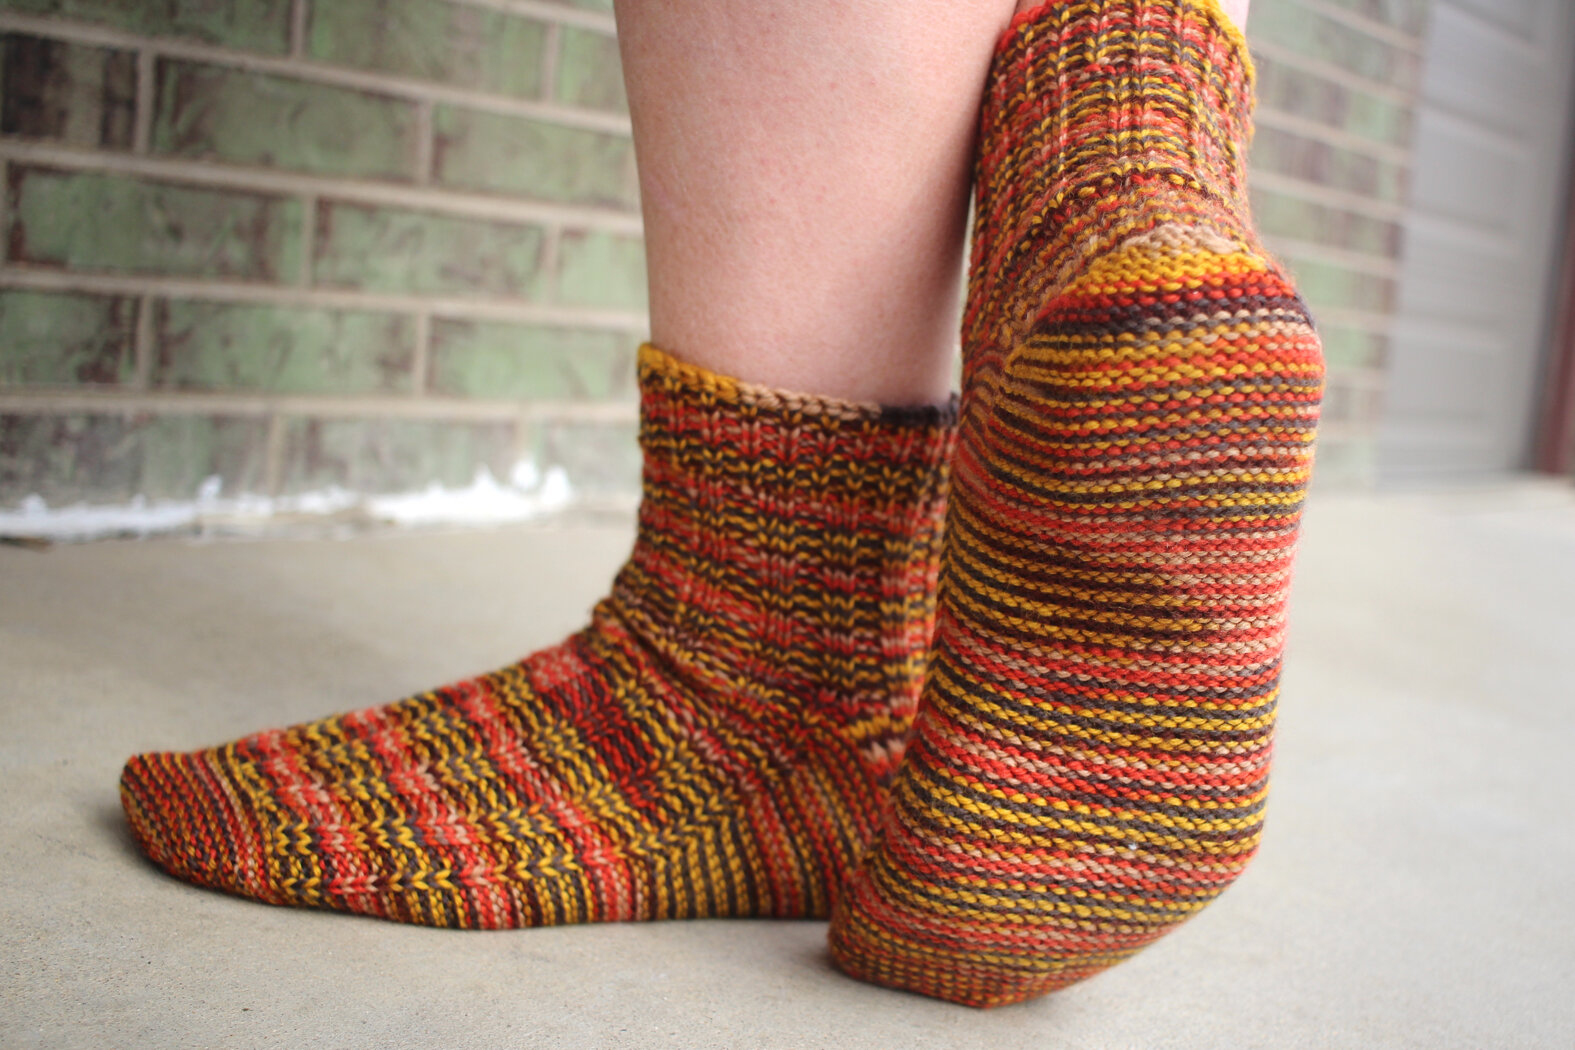
It took a little bit of trial-and-error to get this added shape to work with a shadow wrap heel, but I finally got that little band in the middle! You can barely tell a difference when the sock is laid flat, but the fit is massively better. The heel is not too pointy and there are no little mouse ears poking out at the sides either. I am thrilled this worked. I have a few other ratios and shapes I’d like to try for this center band, but this is a good first step. I’m looking forward to working on this heel modification a bit more.

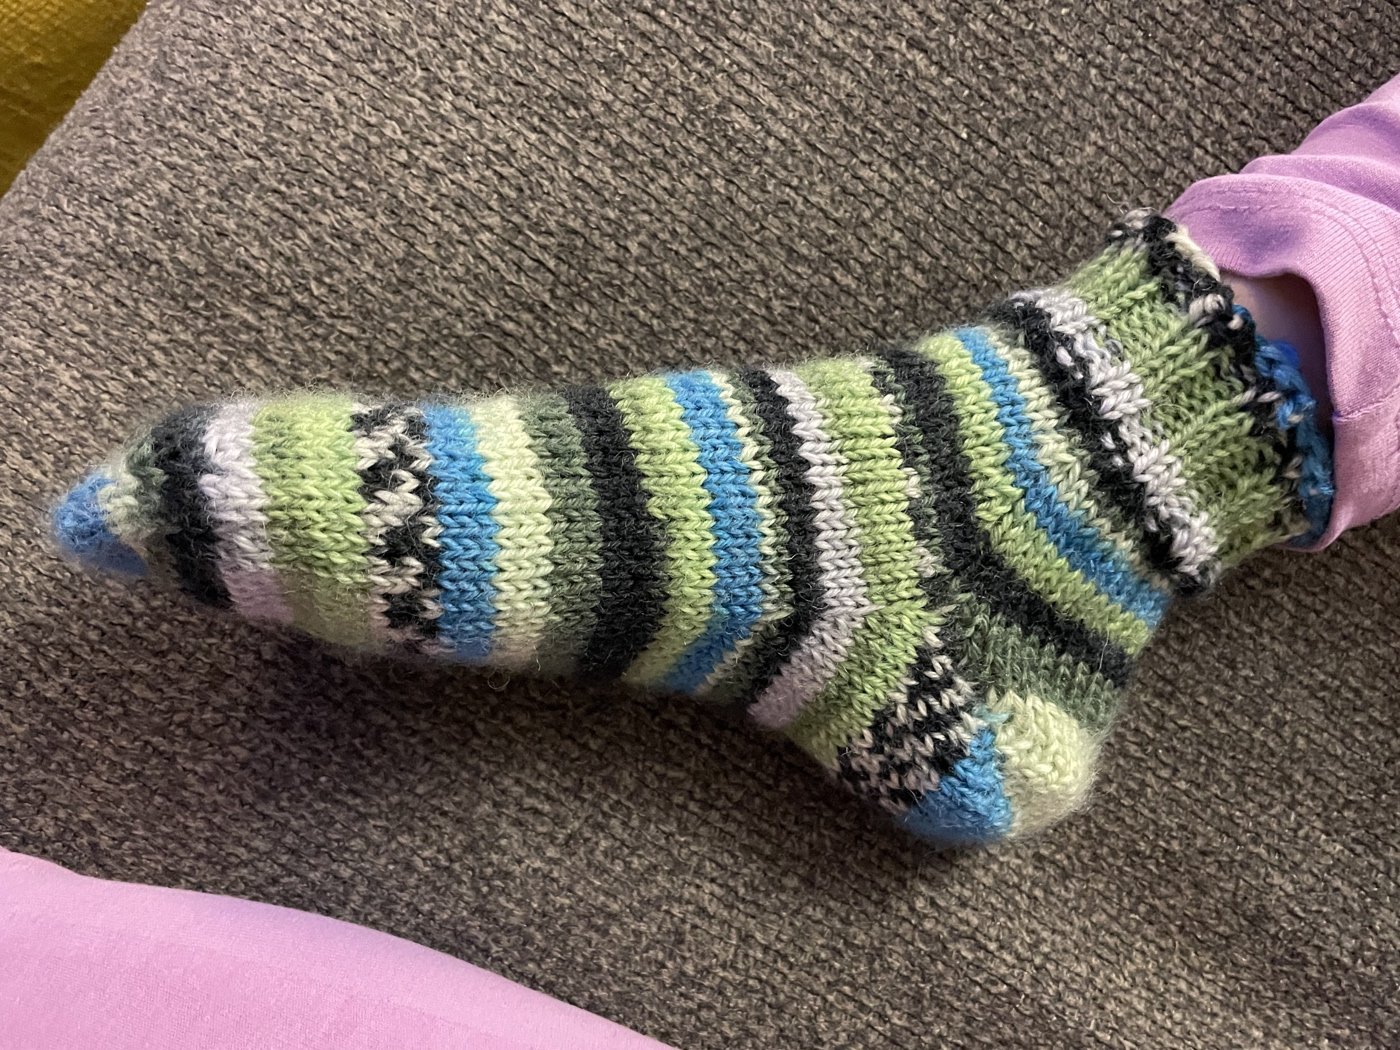
On A foot, The modified Shadow Wrap Heel is noticeably More Rounded and Cups The Heel Better.

On A foot, The modified Shadow Wrap Heel is noticeably More Rounded and Cups The Heel Better.

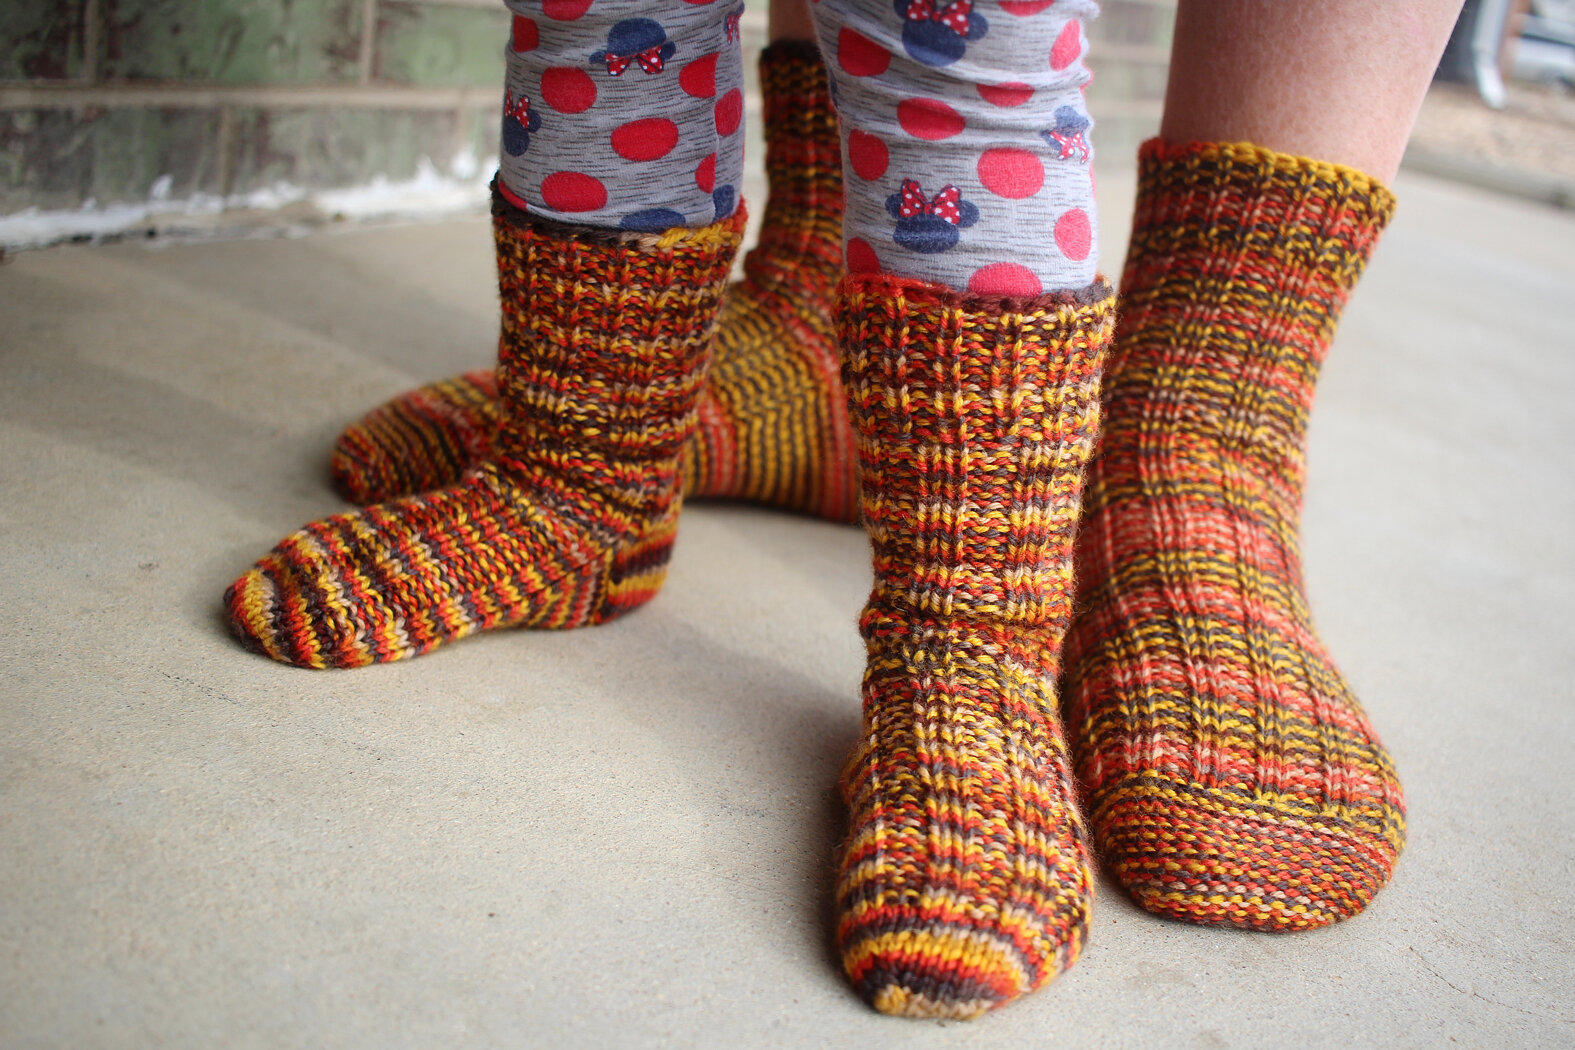
In the mean time, the kiddo gets to wear these awesome socks. There was a brief period of time where she decided she didn’t like them after they were finished. Ughh. But she’s come around and has actually picked them out to wear for the day without any prodding from me. I’ll call that a win.

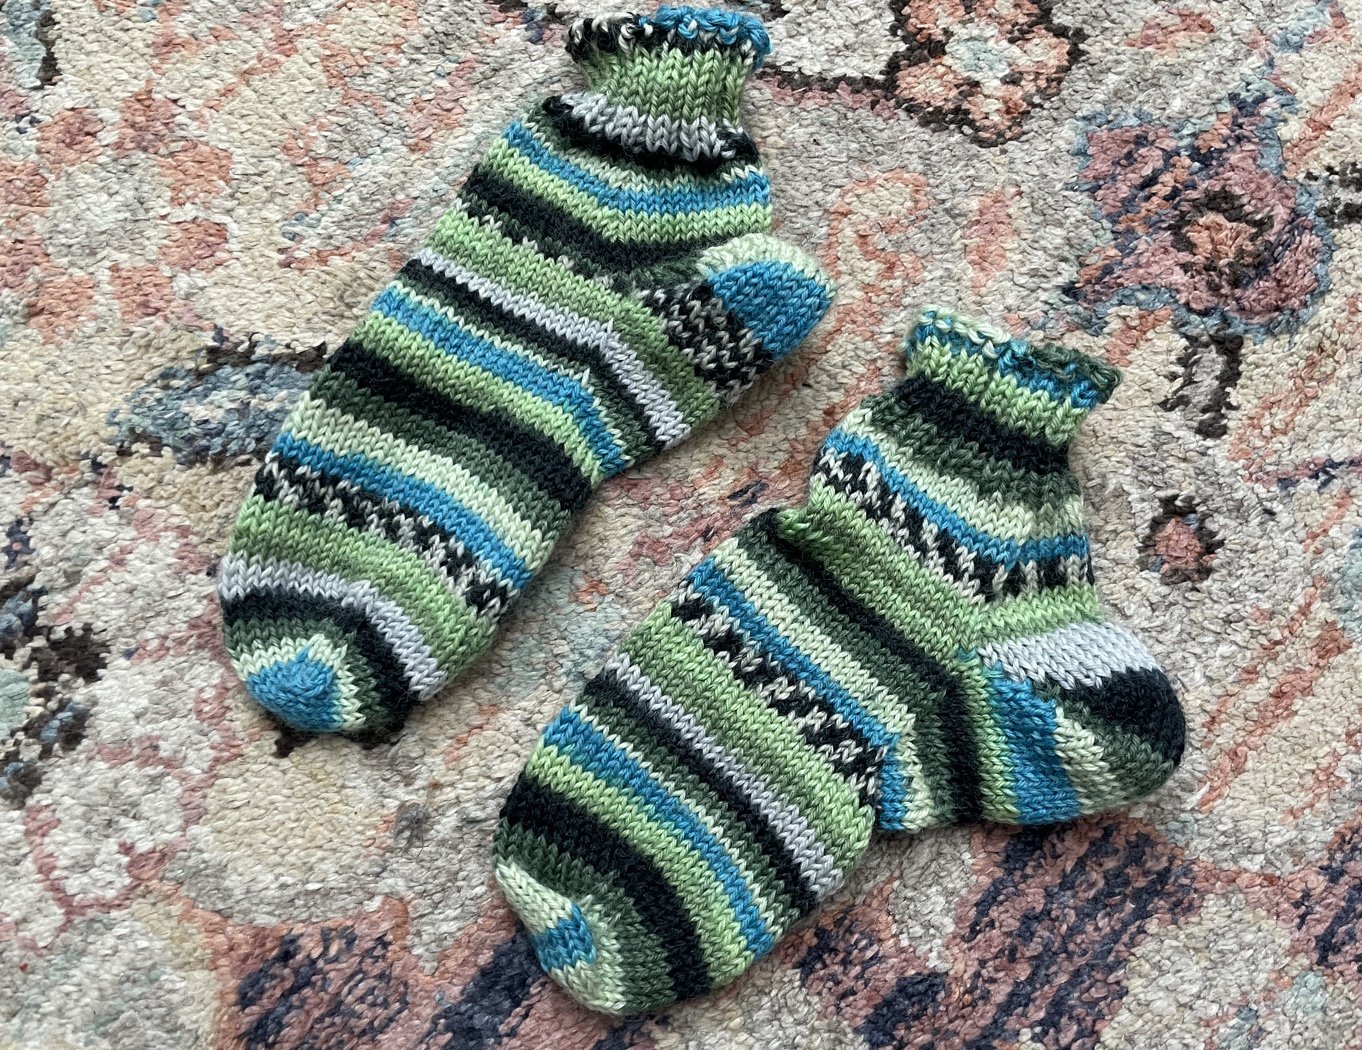
The finished hand knit socks with plenty of room to grow into.

The finished hand knit socks with plenty of room to grow into.

The Specs:

Pattern: My in-progress vanilla short row heel sock

Yarn: Adriafil Knitcol - 67

Yardage: 129 yds

Needles: 2.75mm circulars

Dates: December 27, 2022 - January 11, 2023

FO: Diamond in the Rough Socks

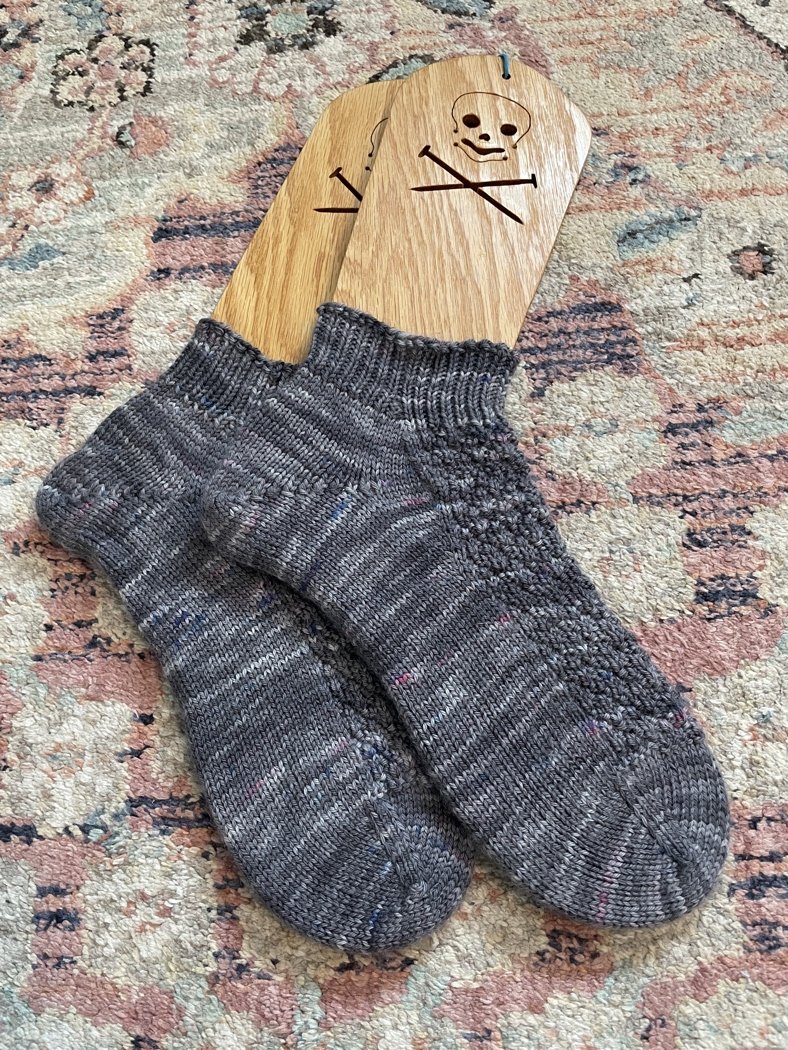
A pair of hand knit socks on a pair of socks blockers.

I might have started on my 2023 goal to try out different sock heels a little early thanks to this pair of socks. After knitting a rather large pair of cabled socks on tiny needles, I was so not ready to cast on for another pair on tiny needles. But some DK weight yarn and 2.75mm needles seemed like a good place to ease back into sock knitting.

My original plan was to follow my default sock recipe: toe-up, gusset and heel flap, a cute stitch pattern on the instep, and a bit of ribbing before binding off. Unfortunately, I didn’t have quite enough yarn for a gusset and heel flap which meant a short row heel was the only option. I’ve avoided this construction in the past because the fit can be annoyingly too tight across the heel and ankle. Since my last attempt knitting a short row heel a great many years ago, I’ve seen it paired with a mini gusset and wanted to give that combination a try. First, I looked up how many stitches/percentage of stitches to increase for a mini gusset. There didn’t seem to be any real consensus. Some patterns called for increasing a scant total of 6 sts, some for 12 sts, and others said do as much as you need. Not particularly helpful. Eventually, I made a short row heel calculator in Numbers so I could do my own math. It really helped me visualize how to work a short row heel and figure out when I’d need to start the mini gusset. I decided to go with a 30% gusset, but probably could have gotten away with increasing closer to 20% since the finished socks are just a teensy bit big.

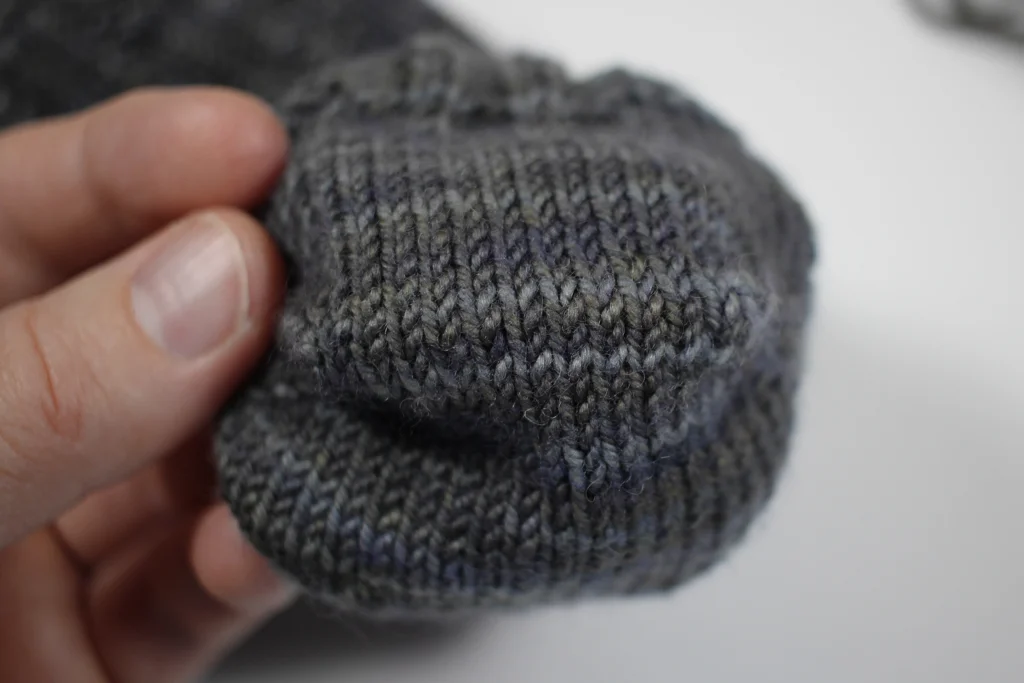
Close up of A Short Row Shadow Wrap Heel and Mini Gusset

Eventually I picked the shadow wrap heel to try for a neat and clean finish because I love lifted increases, and shadow wrap heels are all lifted increases. I was curious if the line of increases would create a noticeable seam on the inside, but I can’t say I’ve noticed it while wearing the socks. So win. I followed what seems to be the standard stitch division for knitting this heel: short row 2/3 of the stitches on each side and leave the remaining 1/3 in the middle alone. This ratio fit well enough, but didn’t really hug the shape of my heel as much as I would have liked. The spot where the short rows fold and get longer again is just a little too pointy in the corners. My brain is already plotting out options to improve the fit.

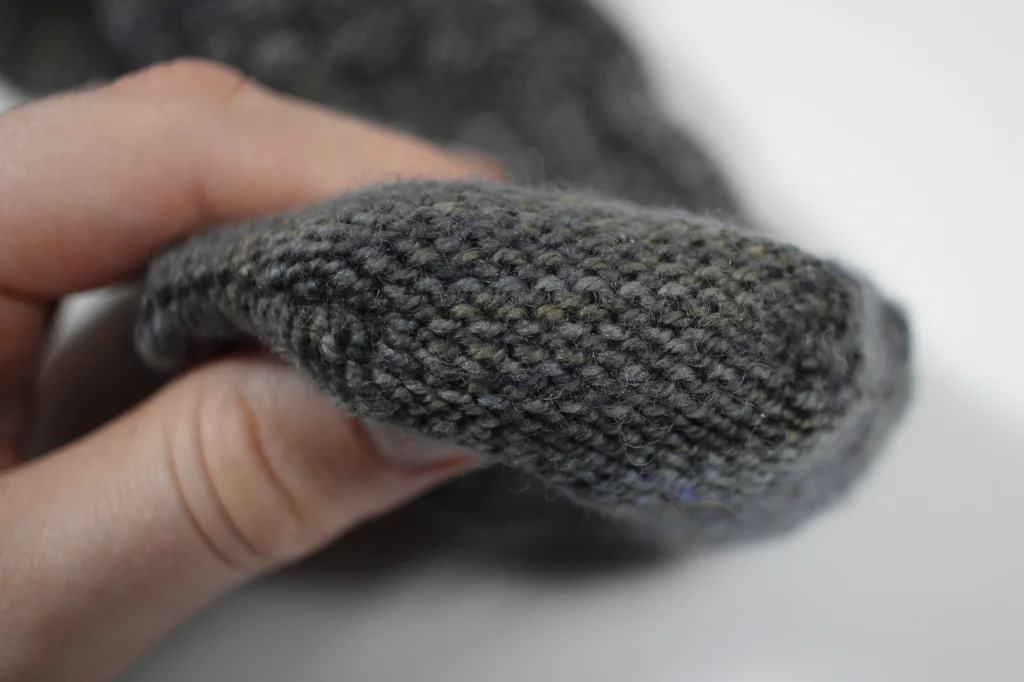
The finished socks are wonderful and I’m glad I stepped out of my comfort zone to try a different heel and a new stitch pattern. I love the texture of the Seersucker stitch mixed with this subtly variegated/speckled gray yarn. The shadow wrap heel looks really good and it’s nice not fussing about with gaps at any of the turns. I’m probably going to stick with this method for my next short row heel too. There are still some tweaks I want make to the overall fit, but I’ll fiddle with that on the next pair. Until then, I’m going to enjoy wearing these and having warm toes.

A pair of gray hand knit toe-up socks with a short row heel on sock blockers.

The Specs:

Pattern: My in-progress vanilla short row sock recipe

Yarn: Freckled Fiber Works DK - (Storm)

Yardage: 92g - 226.3 yds

Needles: 2.75 mm circulars

Dates: December 3 - 19, 2022

A Palette Cleanser

On a complete lark at the beginning of November, I challenged myself to knit every day of the month. There were a few close calls, but I always got a few rounds in on something before heading to bed. The challenge helped me cross a few holiday gifts off my list and finish a pair of socks for the Bearded One that just seemed to drag on and on. More on those beauties later.

After finishing all the projects that I could easily stuff in my bag, it was time to start a new one so I wouldn’t break my knitting streak. After spending so long knitting large socks on tiny needles with tiny yarn, I was not ready to immediately start another pair. I needed a palette cleanser that came in the form of a pretty skein of grey DK weight yarn that would be perfect for a pair of house socks for me. One can’t forgot oneself on the gift knitting list after all.

An in progressed hand knit toe-up sock with a messed up stitch pattern

Not wanting to pick the same ol’ stitch patterns I always do, I tried something new with a little bit of texture. Because I’d never knit this particular stitch pattern before, it took me a repeat and a half to figure out that I wasn’t doing it right.

Here’s a helpful tip I was annoyingly reminded of: Always check if the stitch instructions are for knitting flat or in the round.

Yeah. I was following the flat instructions for Seersucker stitch instead of for in the round. Ugh. So I ripped it back to the toe, restarted with the correct version of the stitch, and have since knit three beautiful repeats. They look they’re supposed to even if they are hiding in the grey yarn.

An October Update

It is definitely Fall around here. The weather is pleasantly cool and breezy. The leaves are changing and piling up. Thanks to a few visits to a local pumpkin patch, I’ve got plenty of pumpkins to set the mood (and carve into Jack-o-lanterns).

Library courtyards remain excellent places to cast on for second socks. I haven’t talked much about this particular pair yet, but they got me to try something new - cabling on the wrong side of the work. The process is a little fiddly, but the results - a no purl princess sole - are totally worth it. I’m thinking about writing up the pattern in a few more sizes, but we’ll see when that happens.

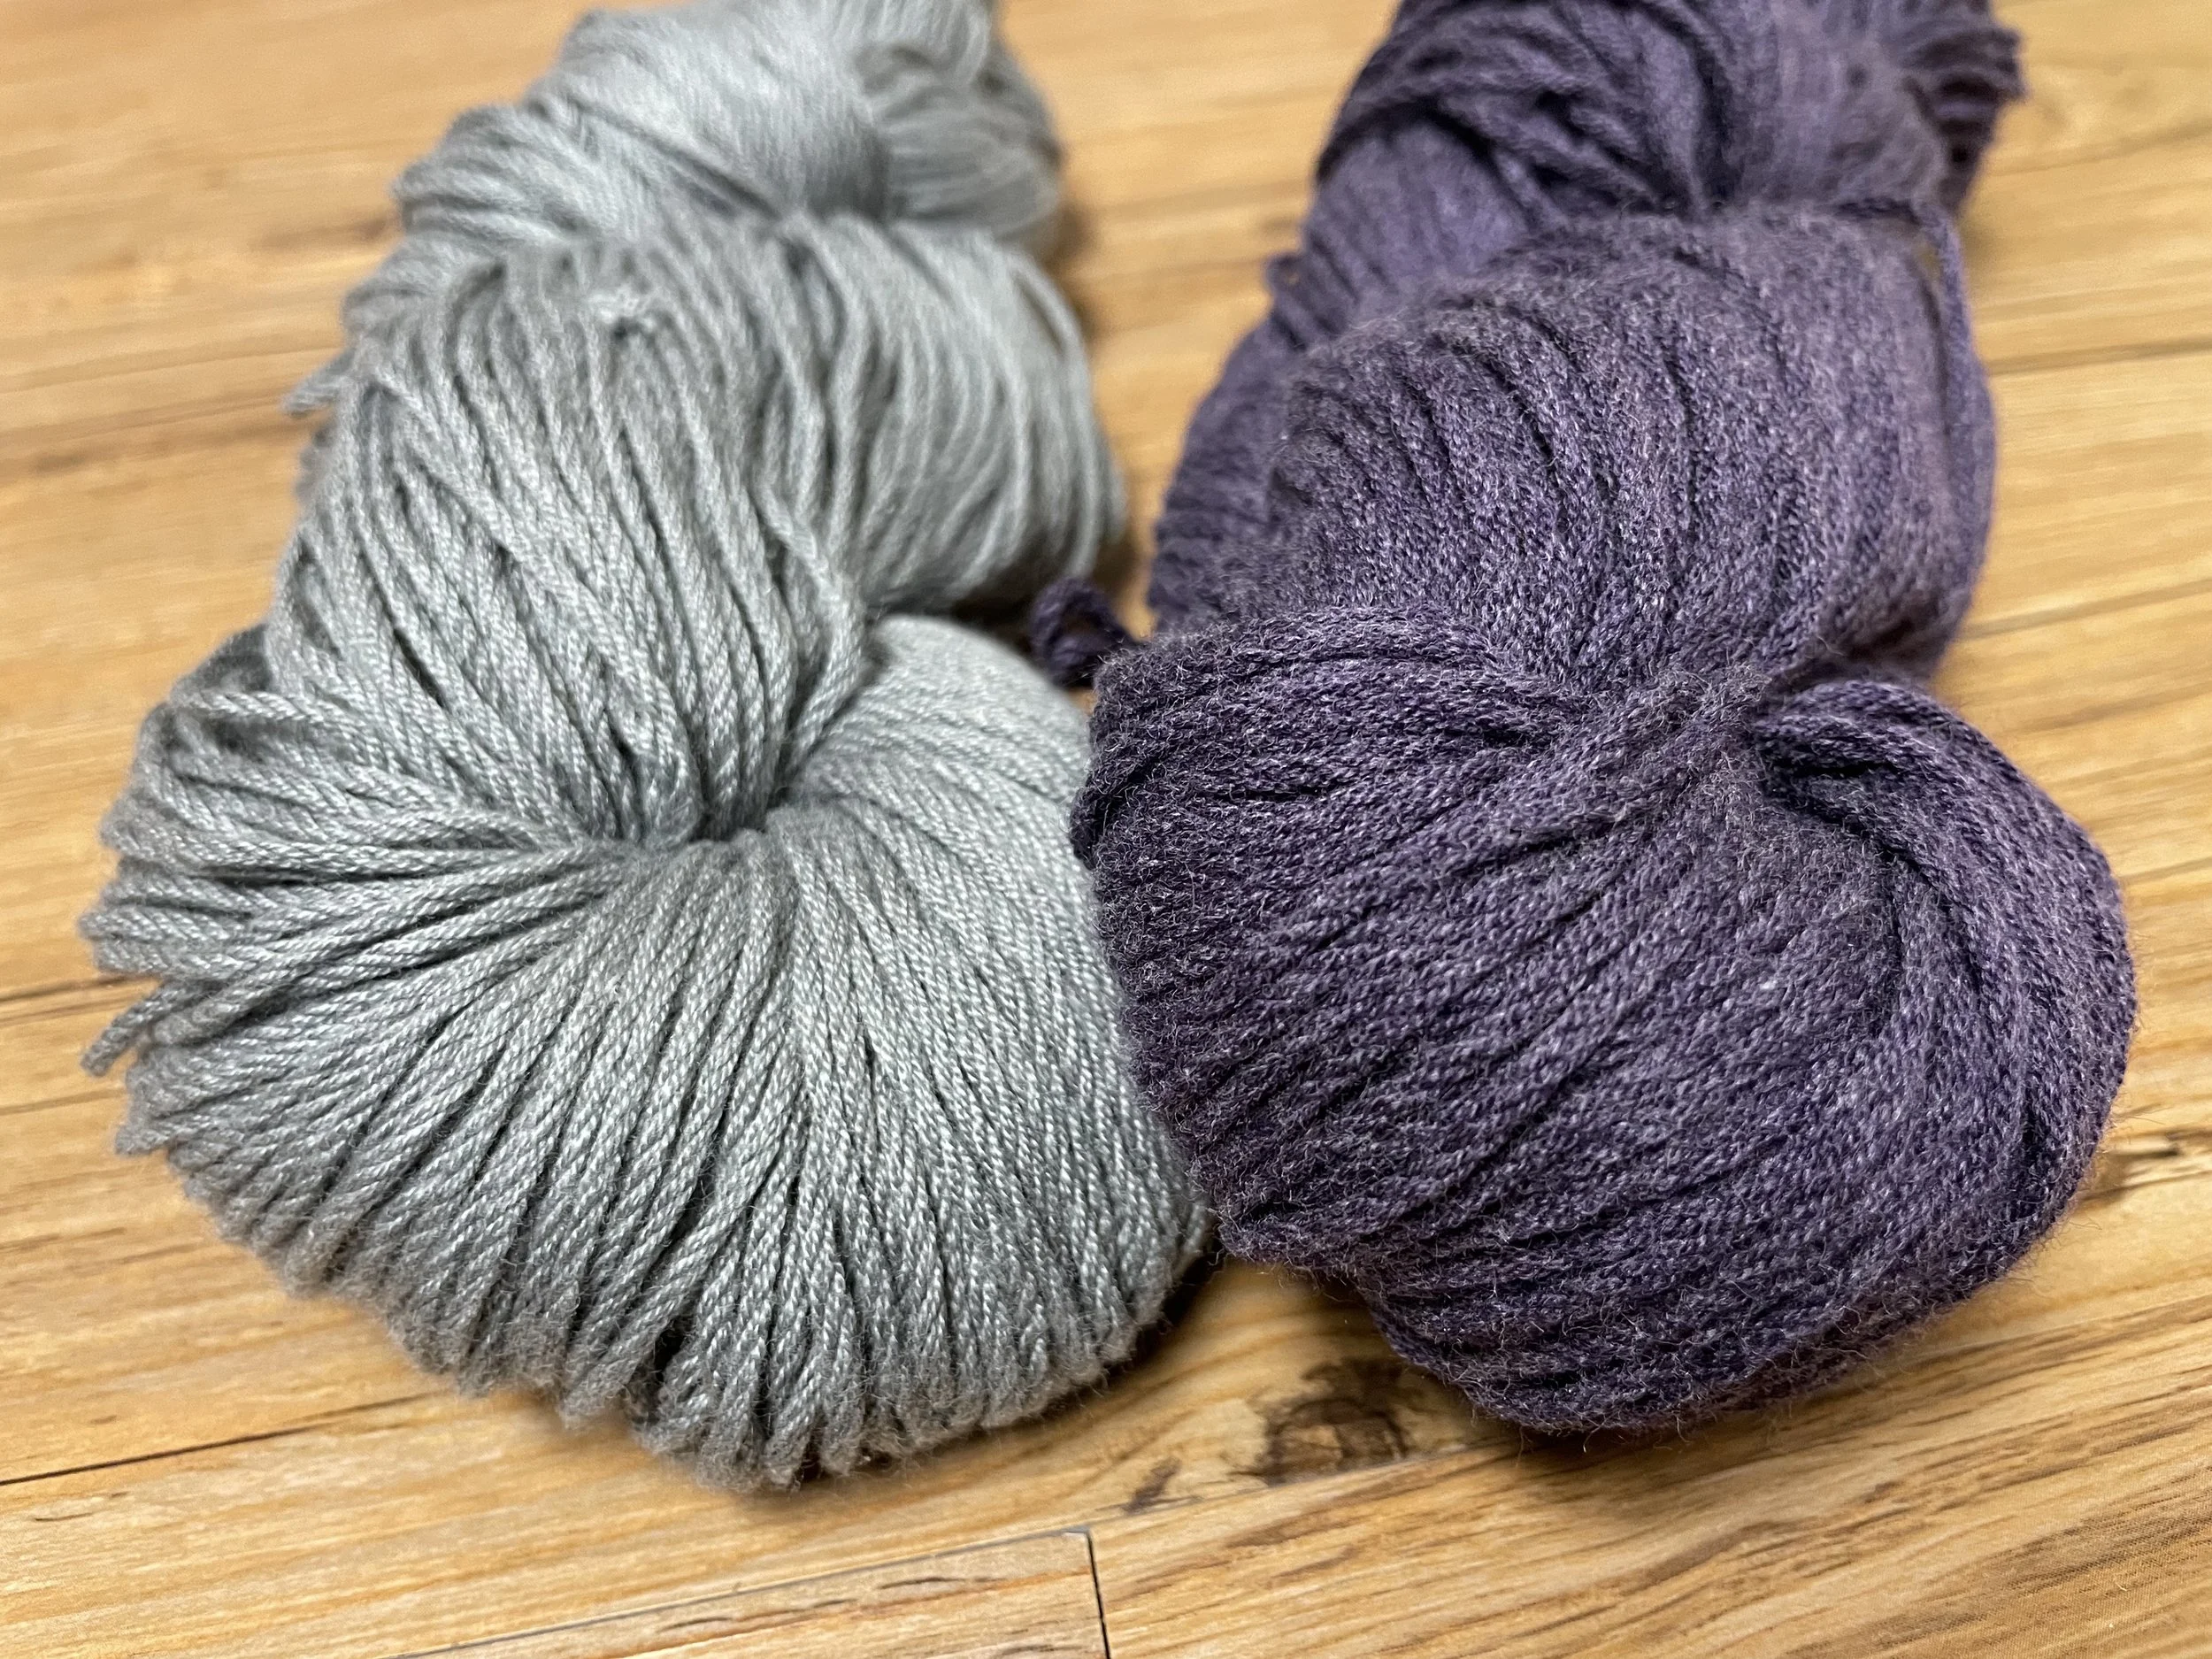
A grey skein and a purple skein of Berroco Weekend yarn.

These unassuming skeins of Berroco Weekend have been sitting in my stash waiting for just the right pattern for years. Said pattern* just so happened to fall into my inbox recently! I pulled out all the yarn from my stash and knit the first piece as a swatch. This is going to be such a wonderful blanket. The only problem is that I don’t have quite enough yarn. I’ve had some luck finding skeins on Etsy, but I’m still a few short. Wish me luck for the search!

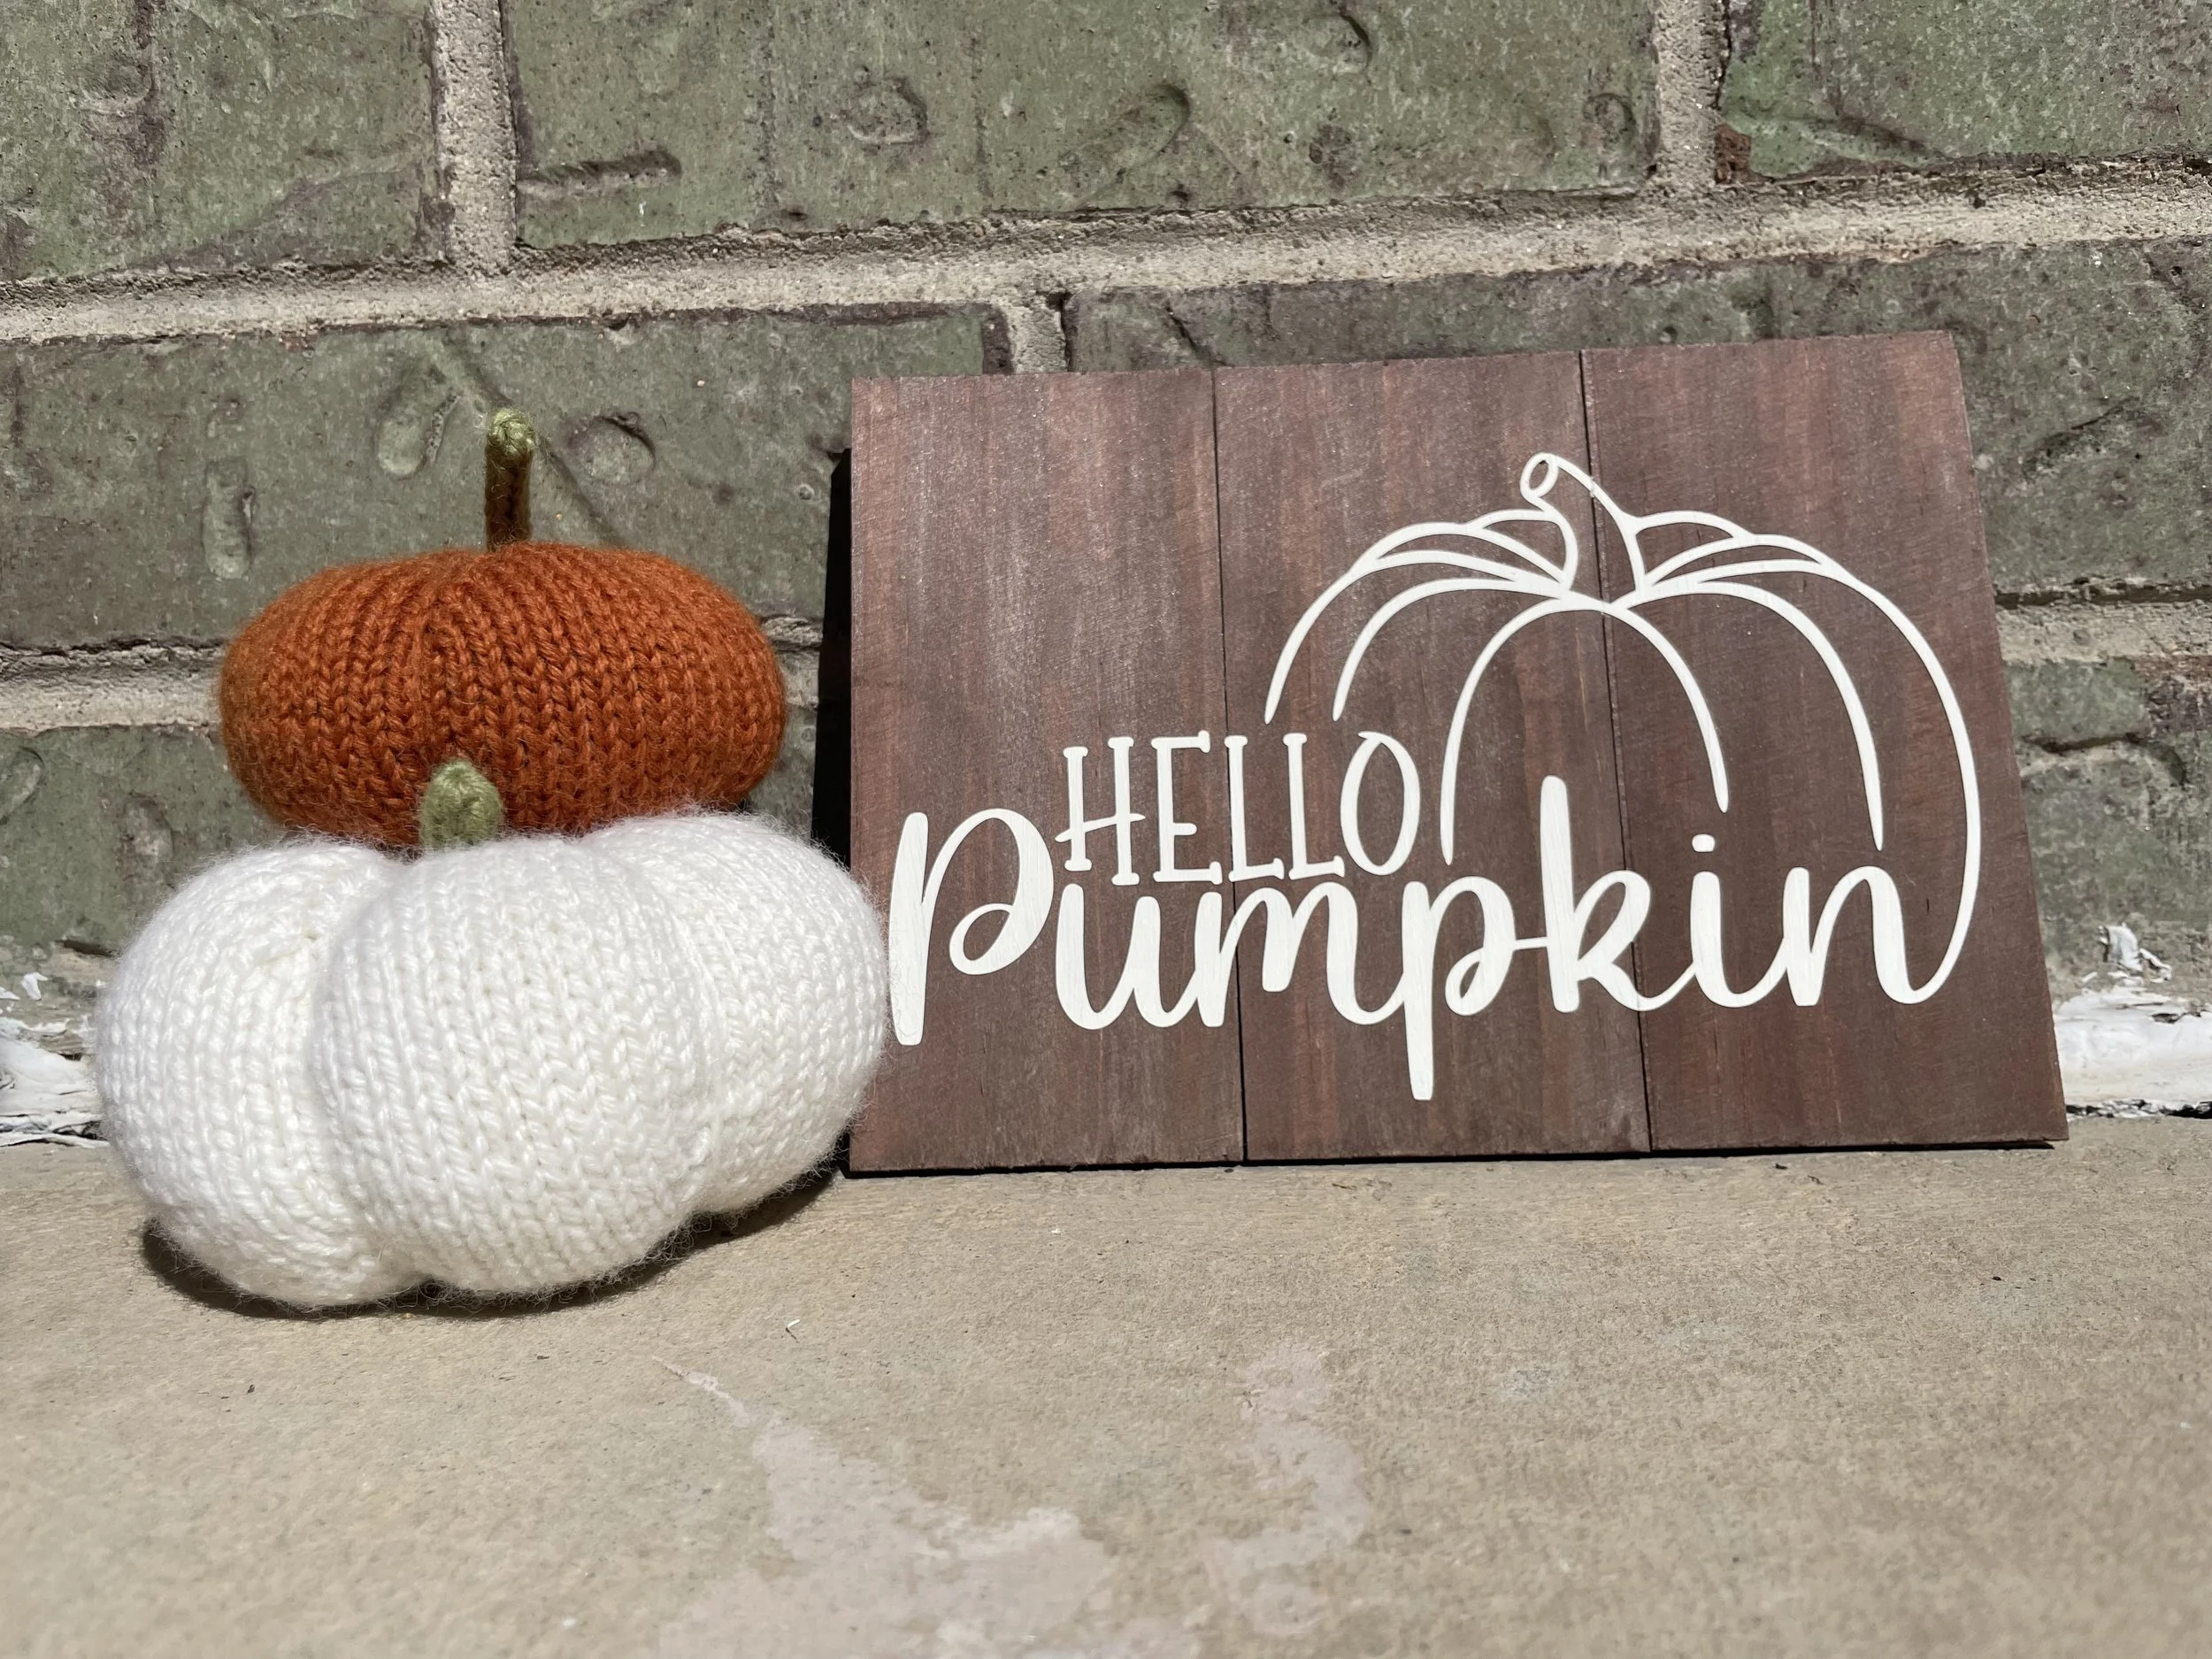
Two knit pumpkins stacked on top of each other next to a sign that says "Hello Pumpkin"

A couple of quick little pumpkins grew off my needles this month! I used the Spice & Clove pattern from Knit Picks which makes for a nice, easily modifiable gourd. The first I knit as written, and the second I knit to 72 sts around and 12 rows tall before decreases. It’s just a bit bigger which is perfect. They both got packed up in a box with the “Hello Pumpkin” sign (made that too!) and mailed off to their new pumpkin patch. Maybe knitting pumpkins is one of my new Fall traditions.
All the email marketing in my inbox and Christmas stuff showing up in the stores already (just let me enjoy Halloween first), keeps telling me it’s time to start working on my gift knits. So, I’m grudgingly making up an end of year gift / things I want to make list. That fun blanket is on it. Ornaments, hats, and socks too. I’m aiming to keep the list short this year, so if something fun catches my eye (or if I want to sleep in), I can.

*This blanket is going to be a gift, so I’m keeping the details a surprise for now.

Double The Stripes

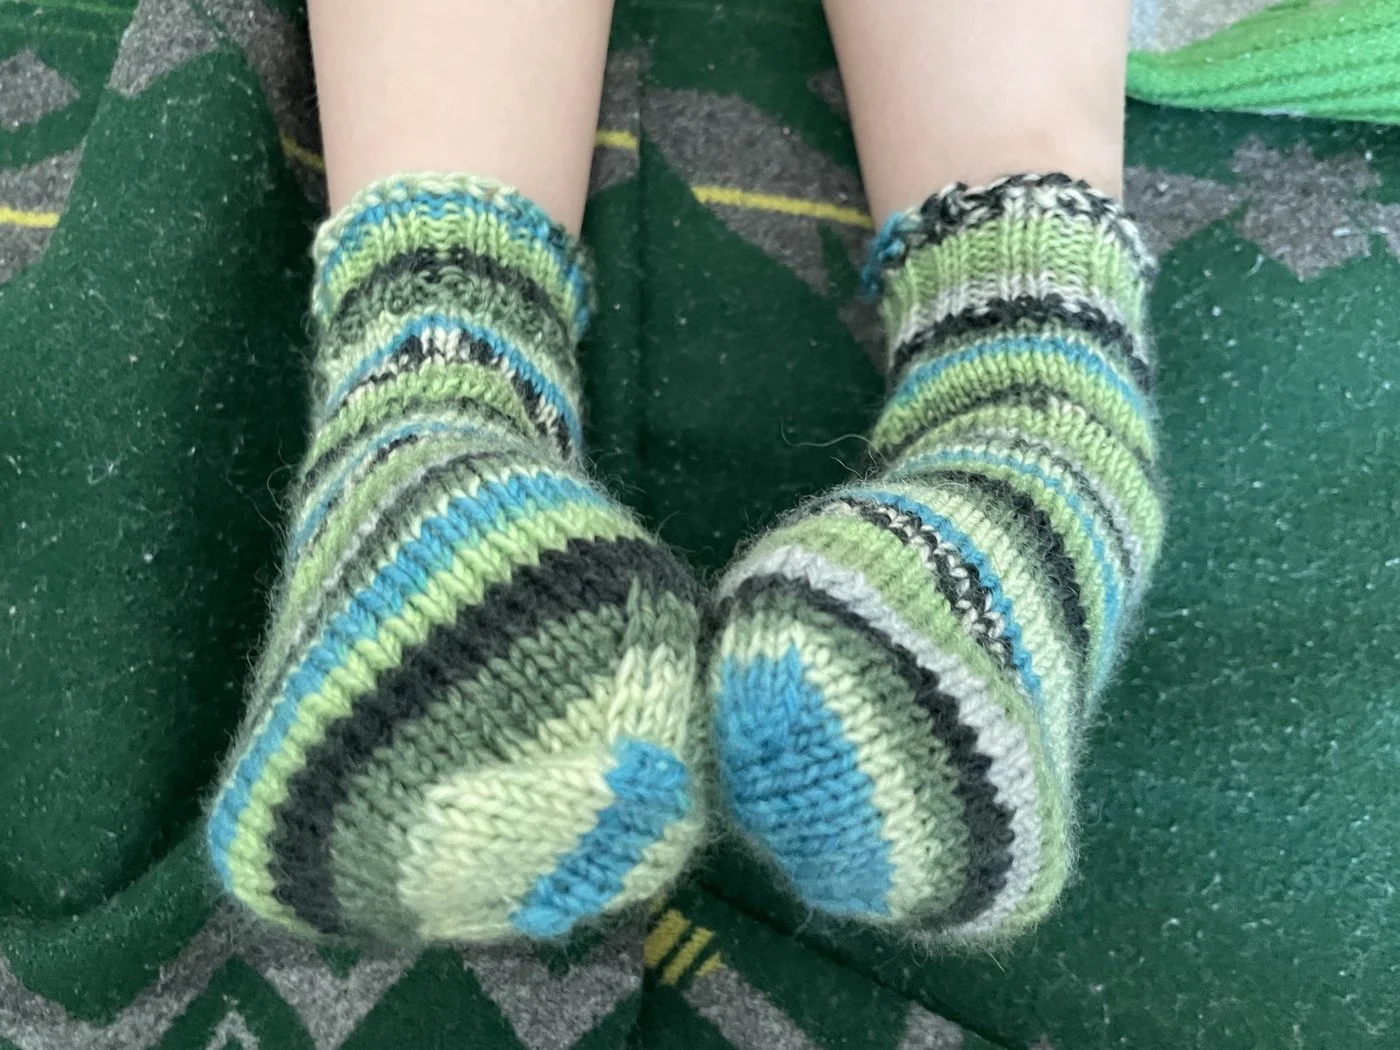
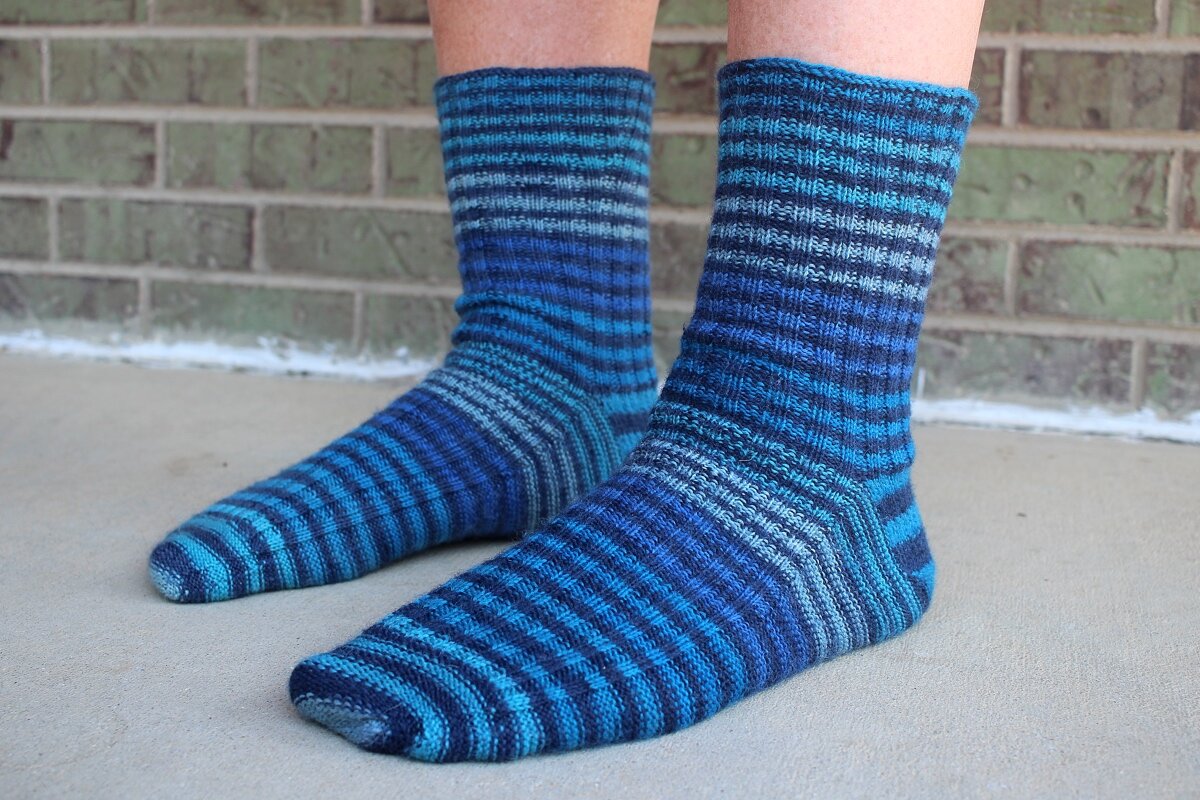
Mom and kiddo wearing matching socks with green, blue, and black stripes.

I’m been struggling to figure out what to say about these socks. They’re both great pairs, but everything I write about them sounds hollow. All this not writing/blogging business is taking its toll, and making it harder to find my voice. So I’m going to let the socks, all four of them, get things started.

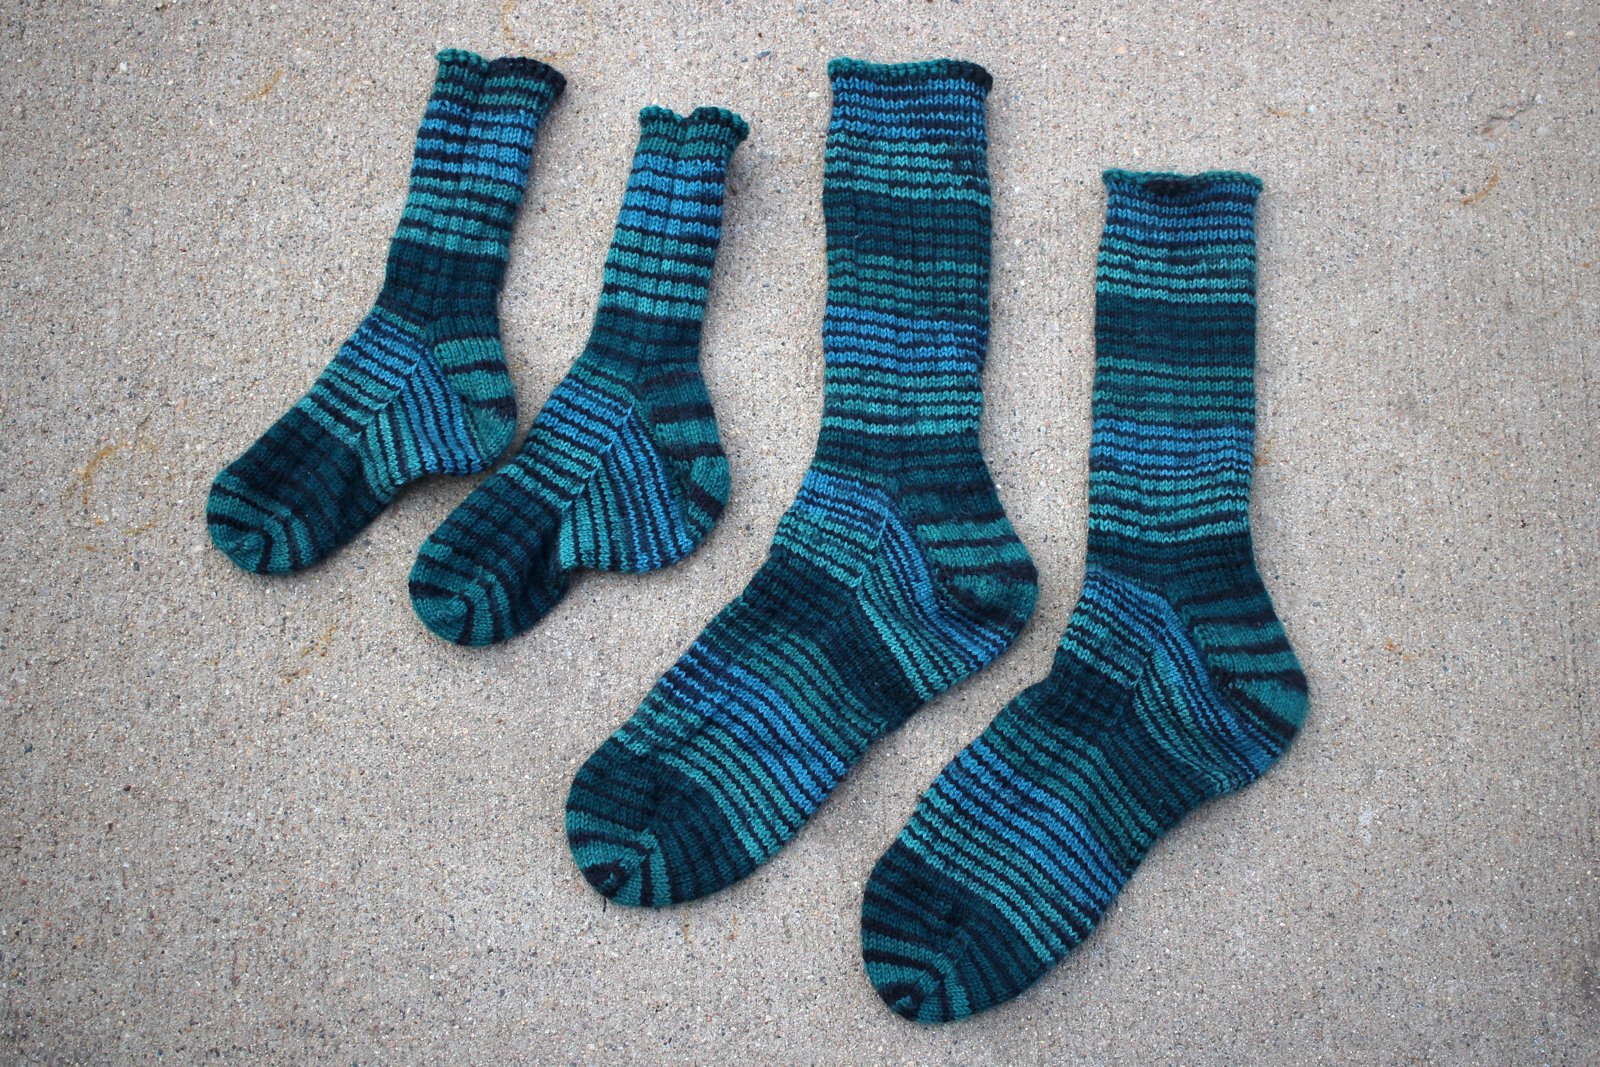
Matching adult socks and toddler socks with matching green, blue, and black stripes.

I was out wandering the yarn aisles one day and came across a few balls of Patons Kroy Sock in a new to me color, Turquoise Stripes. This yarn is a staple of my sock stash and I’ve made so many comfy socks with it. Of course I had to get a few balls because I do love green sock yarn. Then I had a fun idea. Sure I could knit socks for me, but also the Kiddo, and the Bearded One. We could all have matching socks until Kiddo outgrows hers. Sounded like a great idea to me, and enough yarn came home to make it happen.

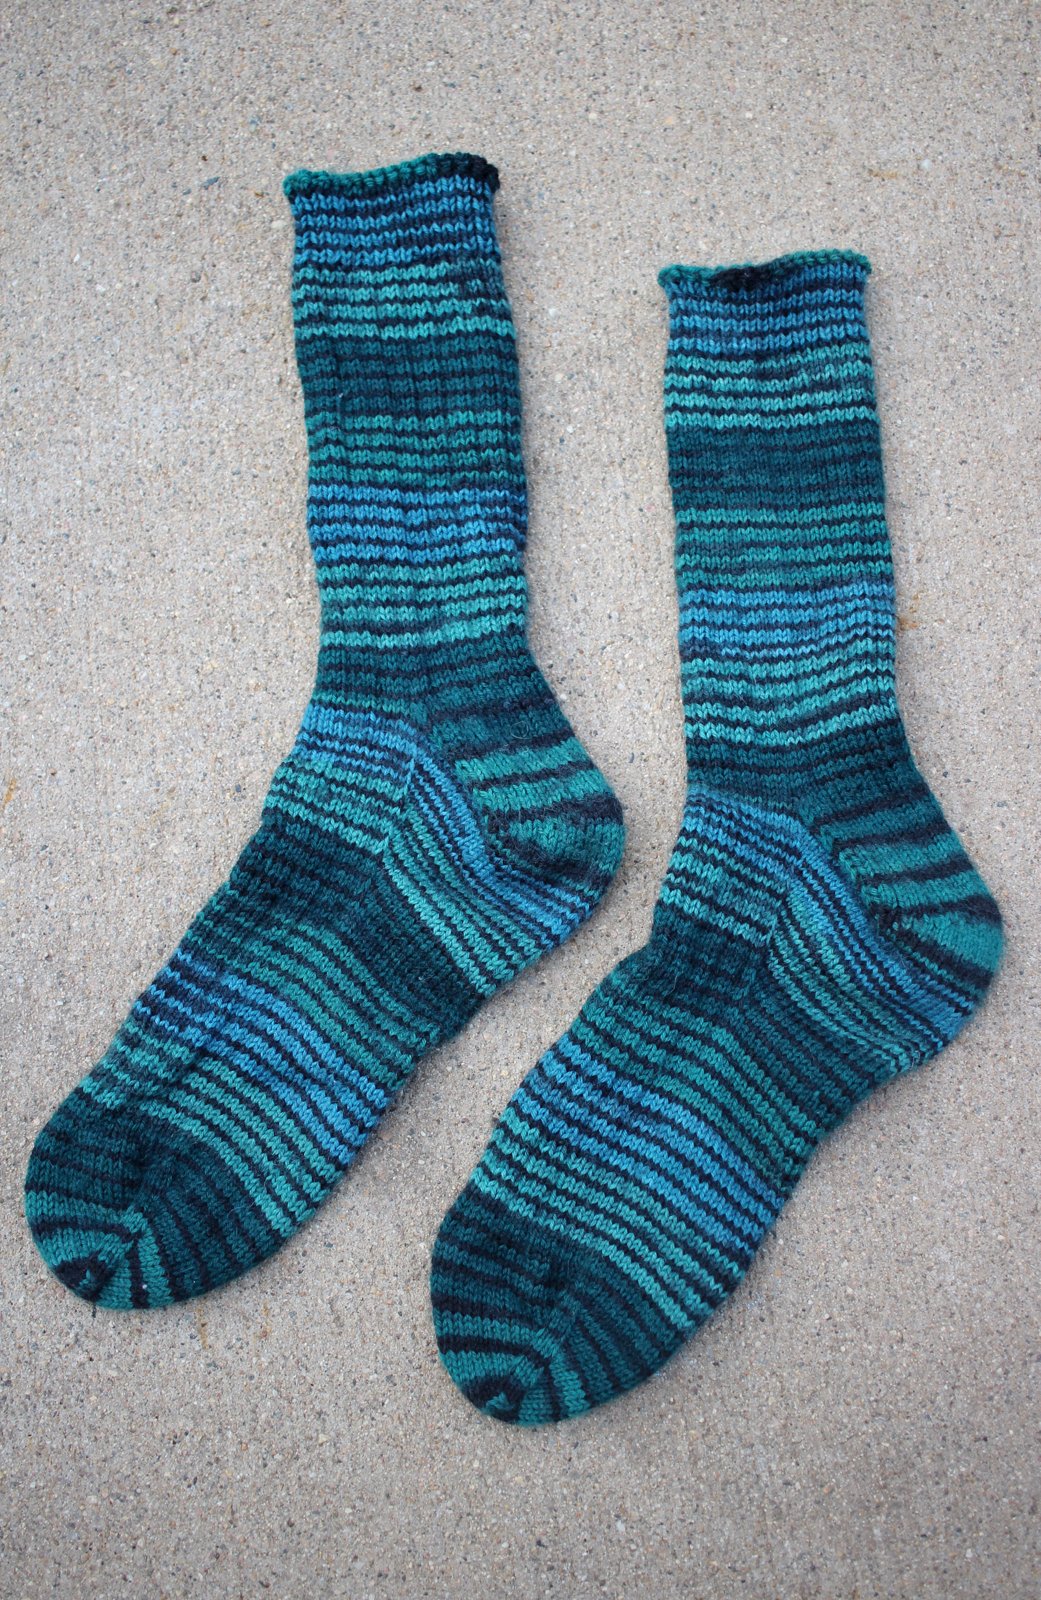
Hand knit adult socks with blue, green, and black stripes laying on concrete.

The first pair I started was for me because both of my most recent finished sock projects were for them. I stuck with my usual toe-up sock pattern. The only change was making the leg and cuff longer because I had the yarn.

I’ve knit this pattern dozens of times, but they were no means a quick project. They were the thing I knit when I had a few minutes of downtime at the playground, or riding in the car, or when I didn’t want to stare at my phone. So these took me about two months to finish. Then I got started on the Kiddo’s pair.

Small kiddo wearing handknit striped socks outside.

You’d think that these small socks would fly off the needles. I certainly hoped they would. But, nope. This pair took me two months to finish too. I also used my default sock pattern for these, just a sized down version. Of course, I made these with room to grow because she’s almost outgrown the last pair I made her at the beginning of the year. Maybe this pair will fit through to next winter. Maybe.

As cute as this pair is, making them was bittersweet. This was the first pair of her socks that needed more than a single 50g ball of sock yarn. It’s a good thing, but I can’t help but be a little sad about it. Probably won’t be long before she can wear my shoes.

Kiddo and mom wearing matching hand knit socks.

After making these two pairs, I decided to knit the Bearded One socks with different yarn. I still love the color and the stripes, but I don’t think they’d look as nice at a larger stitch count. 64 - 70 stitches around seems to be the limit before the stripes turn to static. And I definitely need more than 70 stitches per round to make him a pair of socks. Think I’m going to use the extra yarn to make the kid another pair of socks when she eventually outgrows her current pair. Until then, I’m going to tackle all that gift knitting that’s piling up. Cute unicorns don’t knit themselves.

Some Sock Knitting Woe

An almost finished pair of yellow cabled hand knit socks.

An almost finished pair of yellow cabled hand knit socks.

Gather round (digitally of course) while I tell a tale of woe and sock knitting misfortune. At the center of it all is this pair of socks which the recipient has dubbed the Celtic Waffle socks because the intricate cables remind her of waffles. I’m inclined to agree.

Now these socks are no strangers to ripping. I was a good chunk of the way into the foot of the first toe-up sock when I realized it was too small. So out it came. The second attempt went much better with a larger stitch count even with the long break I had to take in the middle of the gusset. Things were smooth sailing once I got started again. I finished the gusset, turned the heel, knit two full chart repeats, worked some 2x2 ribbing at the top, and bound off. This first sock is a beautiful thing that took a lot of work, planning, and attention. So, not wanting to lose momentum and or take another six months to finish, I immediately started the second sock.

The inside off my sock knitting project bag holding one in progress sock and too little yarn to finish.

The inside off my sock knitting project bag holding one in progress sock and too little yarn to finish.

Sock number two was going great. By this point, I was well past the heel and so happy to be knitting this complicated chart for the last time. Then the yarn started to tangle. Obviously the thing to do was to take the yarn out of my project bag, sort it out, and resume knitting. Instead, I pulled out the yarn, and thought, “Where’s the rest of it?” No amount of shuffling through the papers and accoutrements turned up more hidden yarn or a portal to Yarnia. The rest of the cake definitely didn’t jump out and say, “Surprise! Here I am!” Ugh.

There I was holding a sock that needed three more inches before the bind off in one hand and nowhere near enough yarn to do so in the other. That’s when I figured out just how badly I’d messed up this time. And it was such a simple, but absolutely massive, mistake too. Here it is:

I thought the yarn came in 100g skeins because many skeins of fingering weight sock yarn do. This yarn however came in a 115g skein.

So I could put 57.5g toward a sock instead of 50g. But I forgot all of this when figuring out how tall to knit the first sock. So, when I looked at the grams on the scale, I thought I had way more than yarn to work with than I actually did. And I was so excited to just start that I didn’t way weigh the first sock like I usually go when knitting socks from one skein. That would have been an immediate red flag that something was off. How much yarn did that first sock use? 62 grams. Once again, ugh.

The first finished cabled sock that used way more yarn than I expected.

The first finished cabled sock that used way more yarn than I expected.

I have already decided that I am not ripping out the first sock. The cable would be okay but the leg would be way too short. The sock is just right aside from that whole used too much yarn thing. That means I need to get more indie dyed yarn whenever the dyer dyes more. I haven’t had any luck finding this base in this color for sale or trade anywhere else either. Now I get to play the waiting game for yarn updates.

Now that I’m stuck waiting instead of gleefully finishing this pair, I’m left trying to figure out how to not make this mistake again. I’ll let you in on a secret: this is the second time I’ve done this. That other pair of socks is still waiting for me to unpick the bind off and rip enough out to match both socks. For the third time, ugh.

The mostly finished sock and the little bit of remaining yarn.

The mostly finished sock and the little bit of remaining yarn.

I’ve come up with two things that might help. One, write down how many grams I can put towards each sock in my notes. I keep fairly detailed notes as it is, so this shouldn’t be too hard to remember to do. Two, divide 100g+ skeins in half. I have an accurate scale and scissors so it’s doable. More work upfront (and something I used to do), but better than not having enough yarn to finish a pair or socks.

How do keep your sock WIPs from eating more yarn than you have?

A Sock Duo

One adult and one toddler sized pair of hand knit socks laying on concrete.

One adult and one toddler sized pair of hand knit socks laying on concrete.

One of my crafty resolutions for last year, was to spend the year making socks. I’ve got plenty, but the Bearded One and the kiddo could definitely use a few more pairs. Add in a few more pairs here and there for friends and I’d be set for a year’s worth of portable knitting. So, how many pairs did I make in 2020? Three (2 of which were small kid socks) and 2 pairs in progress. Not exactly the year of socks I was hoping for. While I’m not bothering with resolutions this year, I still want to make socks. Now that 2021 is 5 months in, I’ve been able to add a few more pairs to a few different sock drawers.

Hand knit socks with a reverse stockinette toe and sole.

Hand knit socks with a reverse stockinette toe and sole.

The Bearded One has been asking for more house socks and I had 2 skeins of worsted weight yarn set aside that would do the job nicely. I was in the mood for a quick, simple project so these went fast. The pattern is my basic default sock pattern that I’ve figured out how to flip inside out to make a princess sole without the purling. He reports that the socks are warm and comfy, and that he would happily fill up his sock drawer with a few more pairs.

The Kiddo and the Bearded One wearing their socks. The toddler made a run for it shortly after this photo was taken.

The Kiddo and the Bearded One wearing their socks. The toddler made a run for it shortly after this photo was taken.

Since the cuffs on these socks were on the shorter side, I was going to have a decent chunk of yarn leftover. Enough to, say, make the kiddo a matching pair. She repeatedly wanted to try on the first pair, so I made her a pair too with plenty of room to grow. It makes me so happy to see her pick this pair to wear to bed or just sticking up past the tops of her yellow rain boots. It’s hard to withstand the onslaught of cuteness sometimes.

There wasn’t enough yarn to eek out anything close to a matching pair for me too. But that’s okay when I’m making socks for two people who absolutely love wearing them. Means I have yarn leftover to darn any holes that pop up. And that I can go dig out stash yarn to make matching socks for me and the kiddo. Hey, I didn’t say I wasn’t going to knit any socks for myself this year.

The Bearded One showing off the princess soles of his new socks.

The Bearded One showing off the princess soles of his new socks.

The Specs:

Yarn: 2 skeins Patons North America Classic Wool Worsted - Lotus

Needles: 3.25 mm circulars

Dates: Jan 7 - 21, 2021

A Sock Restart

A partially knit yellow cabled sock sitting next to a yarn cake.

This is the beginning of a beautiful sock. It’s a combination of a good yarn, good cables, and good color. But...it’s too small. All those cable twists (sometimes six a round) really sucked up all the give and stretch usually present in knit fabric.

So, this sock is yarn again and has the potential to be a beautiful sock that actually fits.

Was it frustrating to rip out 20+ rows of a plaited cable knit with fingering weight yarn? Most definitely, but totally worth it to have a comfortable sock that gets worn instead of stuffed in the back of a drawer. Now that I’m starting over, I have a better idea of how I can add ribbing and extra stitches for a better fit. And having a little extra time to figure out how to work around a stiff cable that sucks up stitches doesn’t hurt either. Here’s hoping 80 stitches will be enough this time around.

Crinkled yellow yarn sitting on a table after ripping out a too small sock.

Halfway Finished With 100 Days Of Sock Knitting

A pair of blue striped toe-up socks on sock blockers with one sock flipped inside out.

Back in 2019, I wanted to spend 2020 knitting socks. Socks for me. Socks for the Bearded One. Socks for the kiddo. Socks for friends. Did I knit socks in Janaury? Nope. Did I knit socks in February? Kind of. I started a pair of kid socks, and then they sat untouched for months after my own kiddo pulled out a needle’s worth of stitches. Ugh. Then the 100 Day Project kicked off and I made yarn for 100 Days which didn’t leave much room for sock knitting, but did get me some lovely new handspun. When that project ended, I wasn’t sure what to do next. I’d given up on a year of socks or even six months of socks. 100 days of sock knitting, though? That I could do. I quietly kicked off the project on July 28th, 2020 and got back to work on the lingering kid socks. Those only took a week to finish at a few rounds every day. What was next on the list? These blue-striped beauties for the Bearded One, which thanks to daily knitting, were knit in just under a month.

Blue-striped socks on feet and showing off the princess sole.

While they weren’t unceremoniously removed from their needles by a curious kiddo, knitting these socks wasn’t without aggravation. I’m a stickler for making self-striping yarn match up on each sock. The first step is matching up the yarns and making sure both skeins are in the same point in the color sequence. It’s a good thing I bought this yarn at a discount and got two balls because both of them came with knots. The stripe sequence was completely reversed in the middle of one ball! Thankfully, the largest chunks from both balls were enough to knit matched socks. And I’ve got enough leftovers to make a smaller matching pair for the kiddo. So, pulling the yarn balls apart, cutting, detangling, and spreading them all over the room for a few days was totally worth it.

The other big aggravation was finding two dropped gusset stitches that somehow escaped being knitted together with the edge of the heel flap. That part was all me, and easy enough to sew up at the end.

A close-up of the heel flap surrounded by the reverse stockinette of a princess sole.

The pattern is my own much tweaked and refined default toe-up sock pattern. Tweaking continued with this pair because I had to figure out how to knit the socks so I could flip them inside out after binding off to get a princess sole without purling. Totally worked though it did feel odd to knit a heel flap with the right side inside the sock. The pair got the Bearded One’s seal of approval so they must have turned out great. :D

I’m aiming to get the pattern written up properly in a wide range of sizes as I knit them. Figured I’d start with the biggest size and work my way down. It’s going to be awhile before this particular pattern is anywhere close to finished, but I will keep you updated.

With these socks complete, I’ve knit 2 pairs during my 100 Days of Sock Knitting project. Pair three is on the needles and there are cables afoot with 50 days of dedicated sock knitting time left. More on those socks later though.

The Specs:

Pattern: My own default toe-up sock pattern

Yarn: 437 yds (390.3 m) of Wisdom Yarns Stanza - 703 Burns

Needles: US 1.5 - 2.5 mm circular needles

Dates: August 6 - September 4, 2020

Ravelry Page and more notes here

FO: Kiddo's Socks

A pair of hand knit striped kid’s socks with a gusset and heel Flap. FO:Kiddo’s Socks || withwool.com

The Kiddo does not like wearing socks. If she has any choice in the matter, she’ll pull them off at her earliest convenience and leave them behind/under the nearest piece of furniture. When we’re short socks on laundry day I go check under the crib with a flashlight. Usually turns up at least a pair or two. This wouldn’t be much of a problem if not for cold toddler toes which should really be warm toddler toes. So I finally decided to knit kiddo a pair of wool socks.

Striped hand knit socks overlaying each other.FO: Kiddo’s Socks || withwool.com

I got started and kept right on knitting with the expectation that I’d be pulling these out from under the furniture just like all her other socks. Then she tried them on and surprised the hell out of me by actually liking them! She didn’t pull them off or chuck them under the coffee table. She wore them, walked around in them, and motioned for me to put them on again the next day. When I asked if she wanted mom to make her more socks, she nodded yes and I was positively verklempt. I hadn’t dared hope that she’d like these socks, but she did, and it felt like my heart was going to burst out of chest from happiness. Kiddo can have all the hand knit socks she wants.

She’s also a natural, if wiggly, sock model.

Toddler wearing a pair of striped hand knit socks.FO:Kiddo’s Socks || withwool.com

I made these socks long and oversized, which is probably why she likes them. Her feet have plenty of room to grow, and there’s time enough for me to eventually make another pair. The pattern is one of my own making and it uses lots of ribbing to stretch and fit wiggly growing feet.

Striped hand knit socks worn on briefly still toddler feet.FO: Kiddo’s Socks || withwool.com

While I am very happy with how this pair turned out, the pattern is definitely in need of some tweaks. Good thing I have at least one more pair to knit soon, and plenty of stashed leftover sock yarn to work with. This pair only took about 65 yards (60 m, 14g). Then it’ll be time to figure out how to write it for multiple sizes and lengths in a way that’s clear and easy to follow. It’s going to be awhile before the finished pattern sees the light of day, but that’s okay because it gives me more time to work on getting things right.

How to Work Judy's Magic Cast-On in Knit and Purl

Learn how to work Judy’s Magic Cast-On to seamlessly start knitting in knit or purl. It’s a great cast-on to use for toe-up socks and other projects that start from the center out. #knitting #knittingcaston #knittingtutorials | withwool.com

Judy’s Magic Cast-On burst into the knitting scene in the Spring 2006 issue of Knitty. The technique has become my default way for starting toe-up socks and other center-out projects because of it’s versatility. This cast-on is fast, seamless, and makes a great provisional cast on (but that’s another tutorial). And, if you change how the yarn is wrapped, the stitches won’t be twisted on the needles.

I recently cast on for a pair of toe-up socks that would need a princess sole - where the smooth side of stockinette is against the foot - and didn’t want a noticeable “seam” across the toes. Would it be possible to use Judy’s Magic Cast-On to get started entirely in purl? After a little fiddling and experimentation, I found that it is possible and just as easy to start Judy’s Magic Cast-On in purl as it is to knit.

Let’s start at the beginning. If you know how to work the knit version of the cast-on that doesn’t twist the stitches, skip ahead to Step 8.

Learn how to work Judy’s Magic Cast-On to seamlessly start knitting in knit or purl. It’s a great cast-on to use for toe-up socks and other projects that start from the center out. #knitting #knittingcaston #knittingtutorials | withwool.com

Materials: You’ll need your yarn and a set of circular needles. It’s also possible to work Judy’s Magic Cast-On with double pointed needles, but it will be more finicky to work the first few rows.

Learn how to work Judy’s Magic Cast-On to seamlessly start knitting in knit or purl. It’s a great cast-on to use for toe-up socks and other projects that start from the center out. #knitting #knittingcaston #knittingtutorials | withwool.com

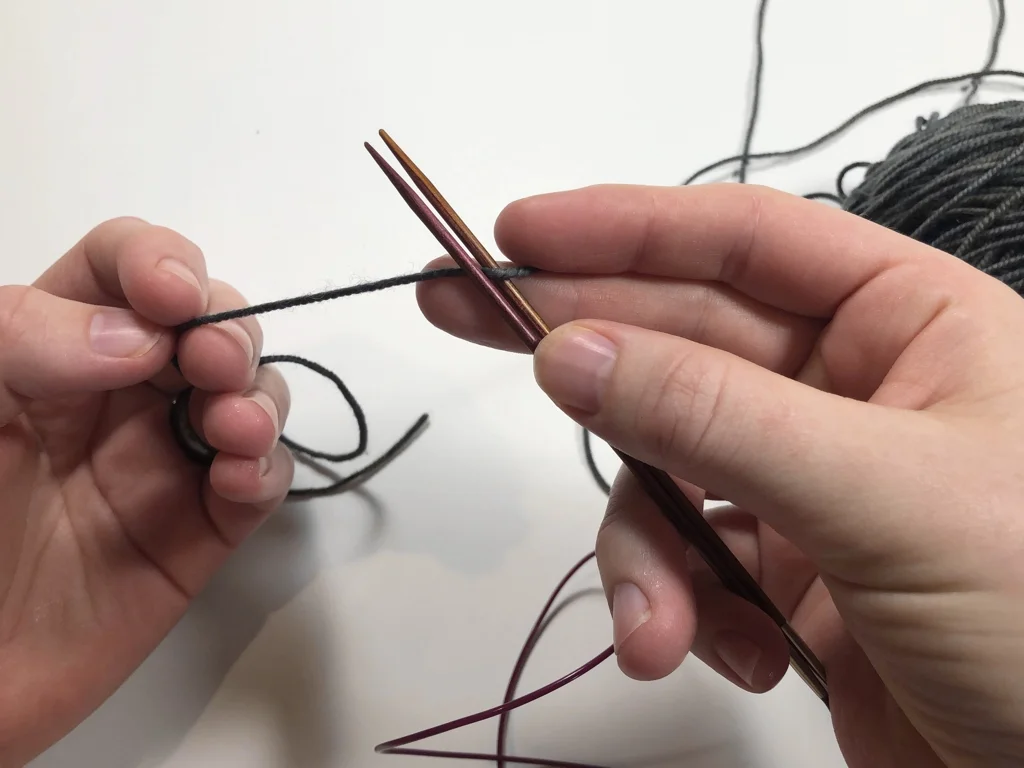
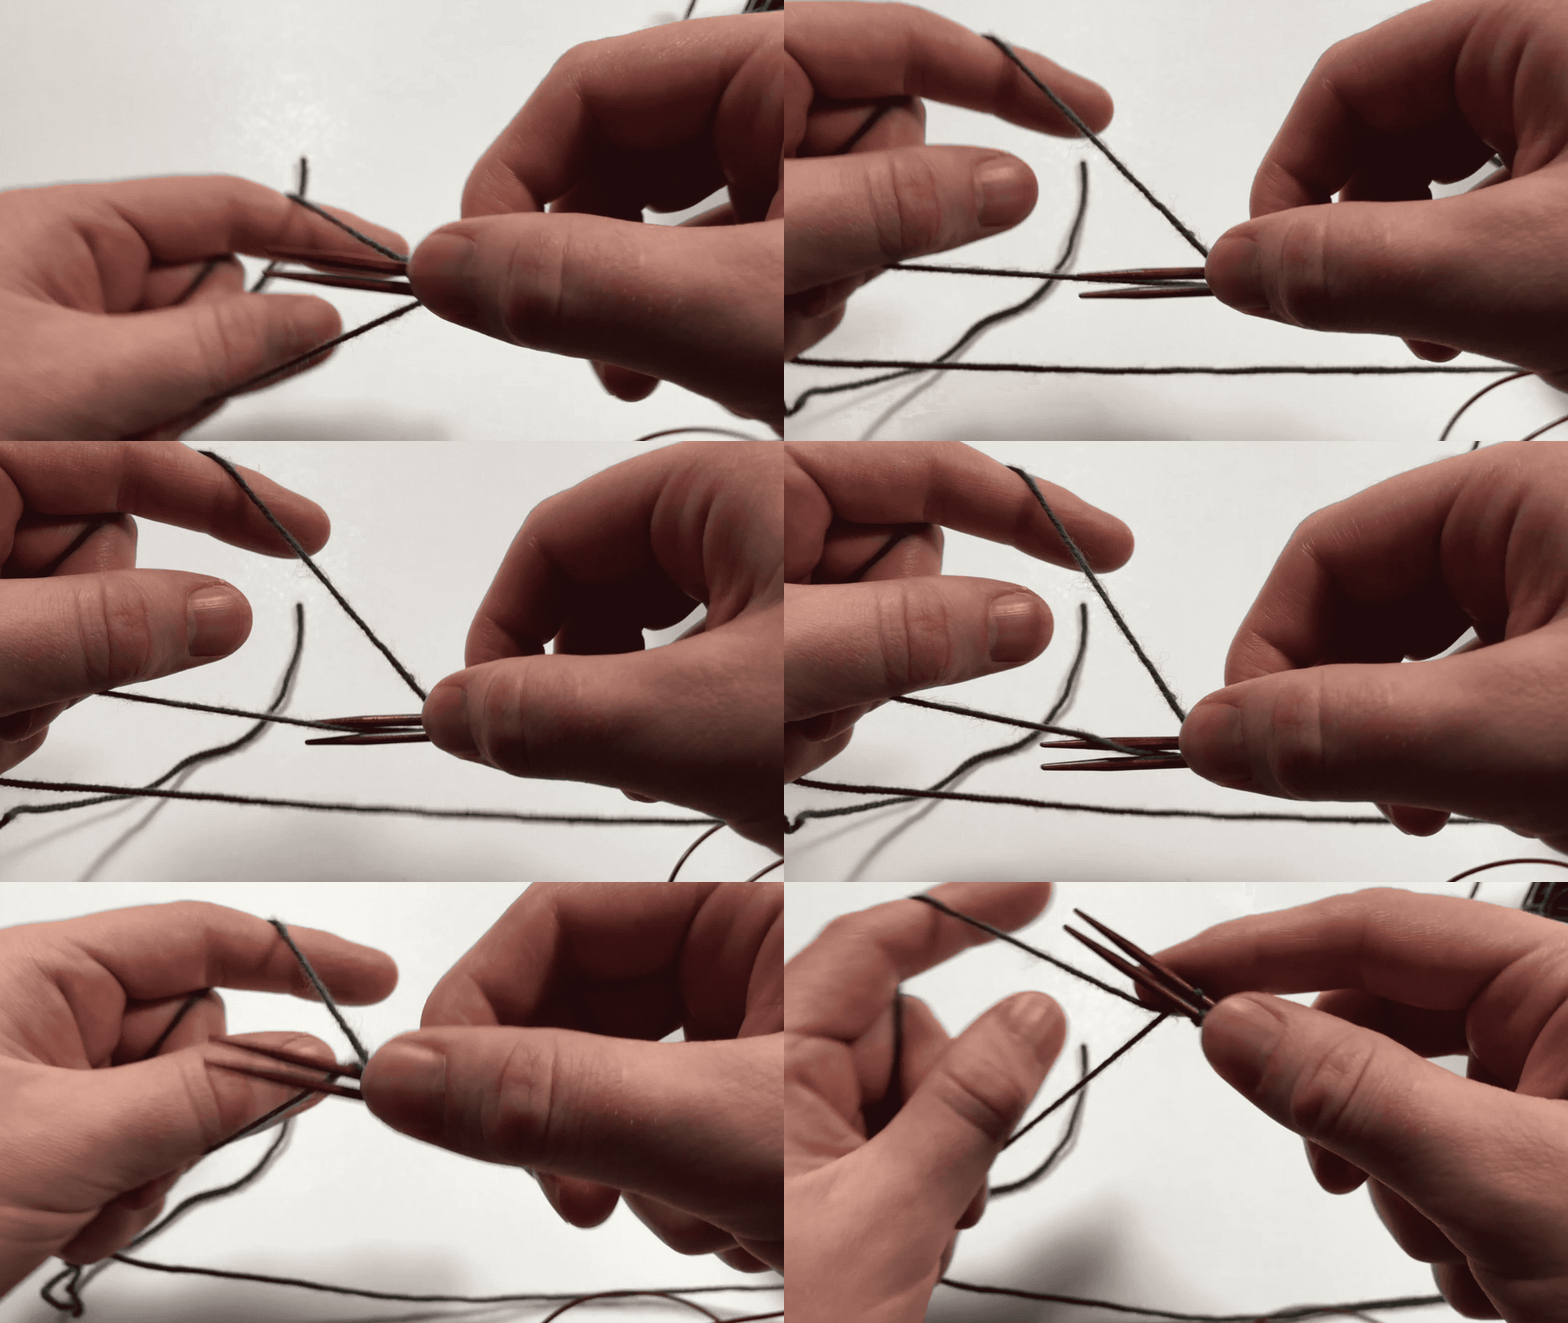
1. Arrange your needles so that both tips are together and pointing left.

Learn how to work Judy’s Magic Cast-On to seamlessly start knitting in knit or purl. It’s a great cast-on to use for toe-up socks and other projects that start from the center out. #knitting #knittingcaston #knittingtutorials | withwool.com

2. Pull the yarn between the needles - leave yourself enough of a tail to create the required stitches and weave in later. 8 inches, or about 20 cm, is usually enough to start a pair of socks. The working yarn will lay over the top needle and the tail will hang down in the middle.

Learn how to work Judy’s Magic Cast-On to seamlessly start knitting in knit or purl. It’s a great cast-on to use for toe-up socks and other projects that start from the center out. #knitting #knittingcaston #knittingtutorials | withwool.com

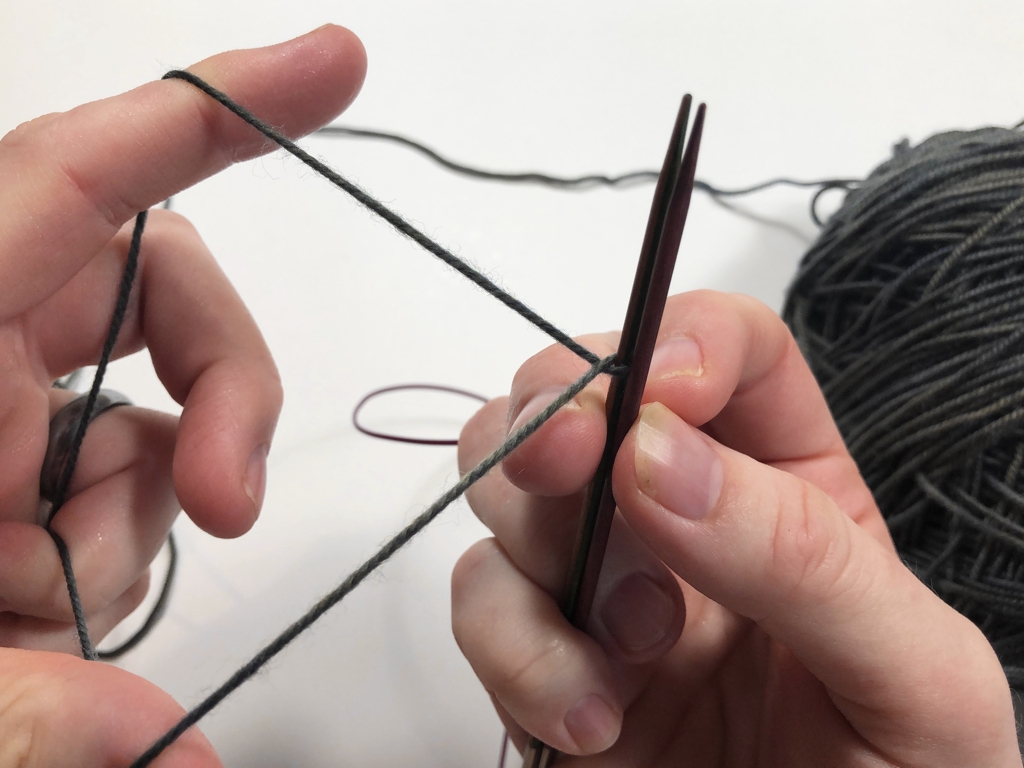
3. Twist the tail and working yarn together around the top needle - this counts as the first stitch. The yarn will now form a V between the needles and your hand. The tail, which was at the bottom, will now be held at the top over the pointer finger. The working yarn will now be held at the bottom over the thumb.

How the stitches are wrapped is very important. When wrapped as demonstrated here the stitches will sit untwisted on the needles. If wrapped as shown in the original Knitty tutorial, you’ll have to knit through the back of the stitch to seat them correctly on the needle during the next round.

Learn how to work Judy’s Magic Cast-On to seamlessly start knitting in knit or purl. It’s a great cast-on to use for toe-up socks and other projects that start from the center out. #knitting #knittingcaston #knittingtutorials | withwool.com

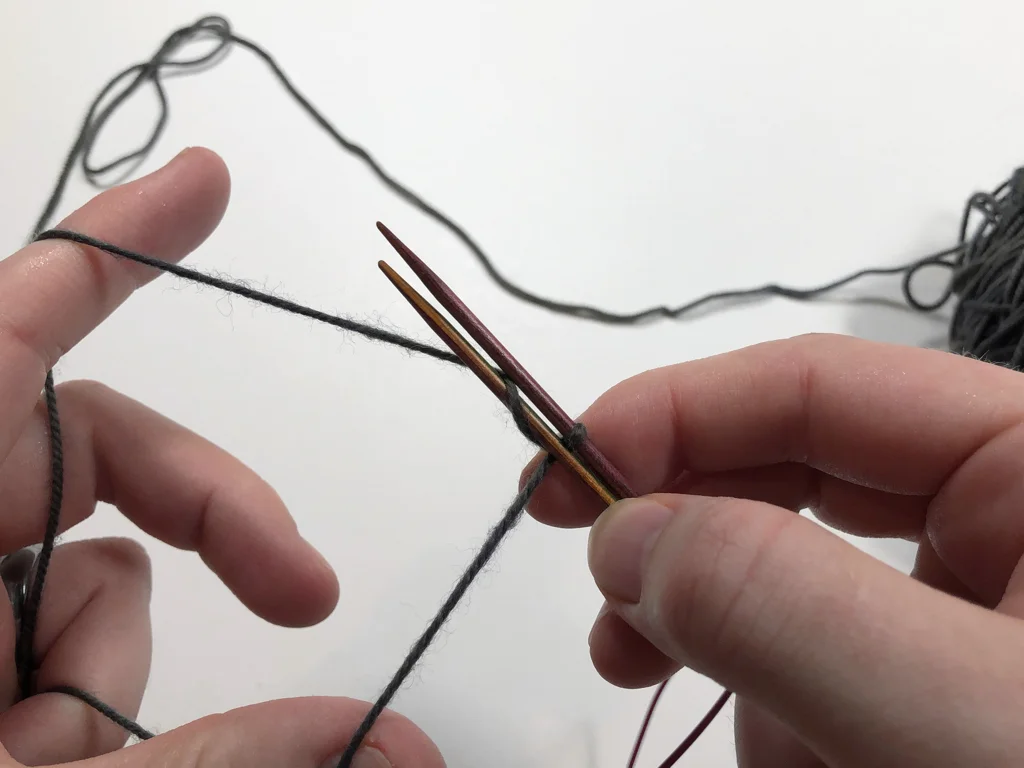
4. To make a stitch on the bottom needle, wrap the top yarn up and into the gap between the two needles.

Learn how to work Judy’s Magic Cast-On to seamlessly start knitting in knit or purl. It’s a great cast-on to use for toe-up socks and other projects that start from the center out. #knitting #knittingcaston #knittingtutorials | withwool.com

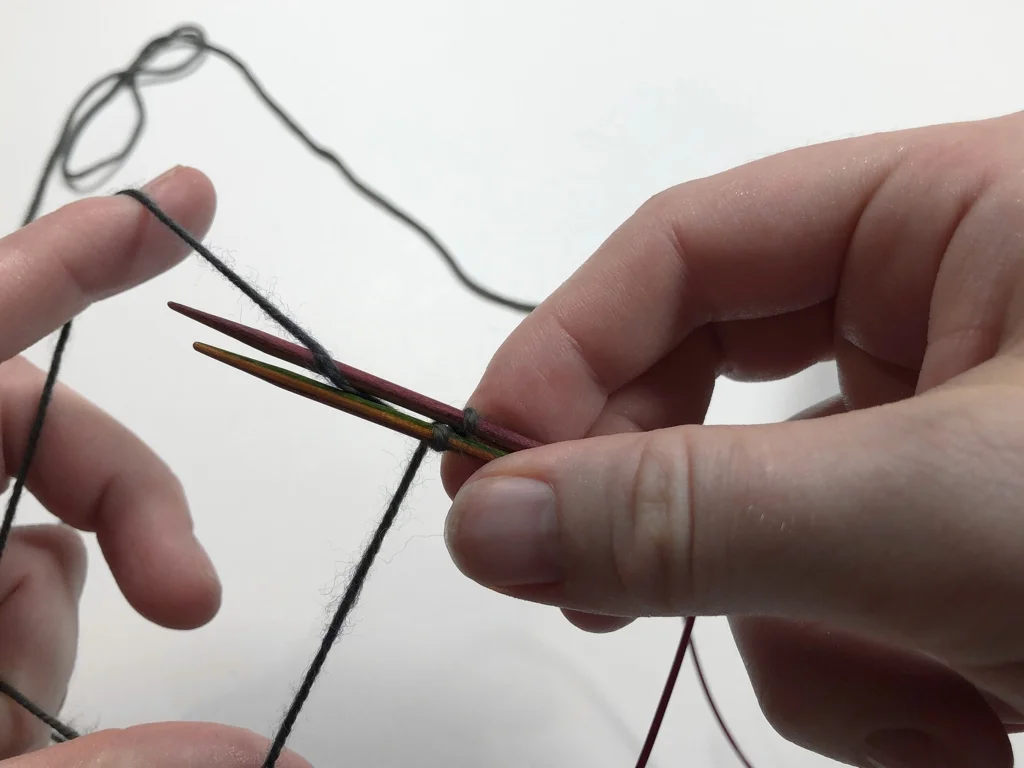
5. To make a stitch on the top needle, bring the bottom yarn into the gap between the needles and then up and around the top needle. The movement is like working a yarn over.

Learn how to work Judy’s Magic Cast-On to seamlessly start knitting in knit or purl. It’s a great cast-on to use for toe-up socks and other projects that start from the center out. #knitting #knittingcaston #knittingtutorials | withwool.com

6. Repeat steps 4 and 5 until you have the required number of stitches on your needles. Pushing the stitches together as you work will help keep them the same size. When a pattern calls for casting on 20 stitches with a toe-up cast on, that means to make 10 stitches on each needle because this cast-on creates pairs of stitches.

Learn how to work Judy’s Magic Cast-On to seamlessly start knitting in knit or purl. It’s a great cast-on to use for toe-up socks and other projects that start from the center out. #knitting #knittingcaston #knittingtutorials | withwool.com

7. Take the tail yarn and tuck it between the needles next to the first stitches. It should sit on the same side as the purl ridge created by the cast on. You’ll have to hold in place until the first few stitches are worked, but then it will be secure.

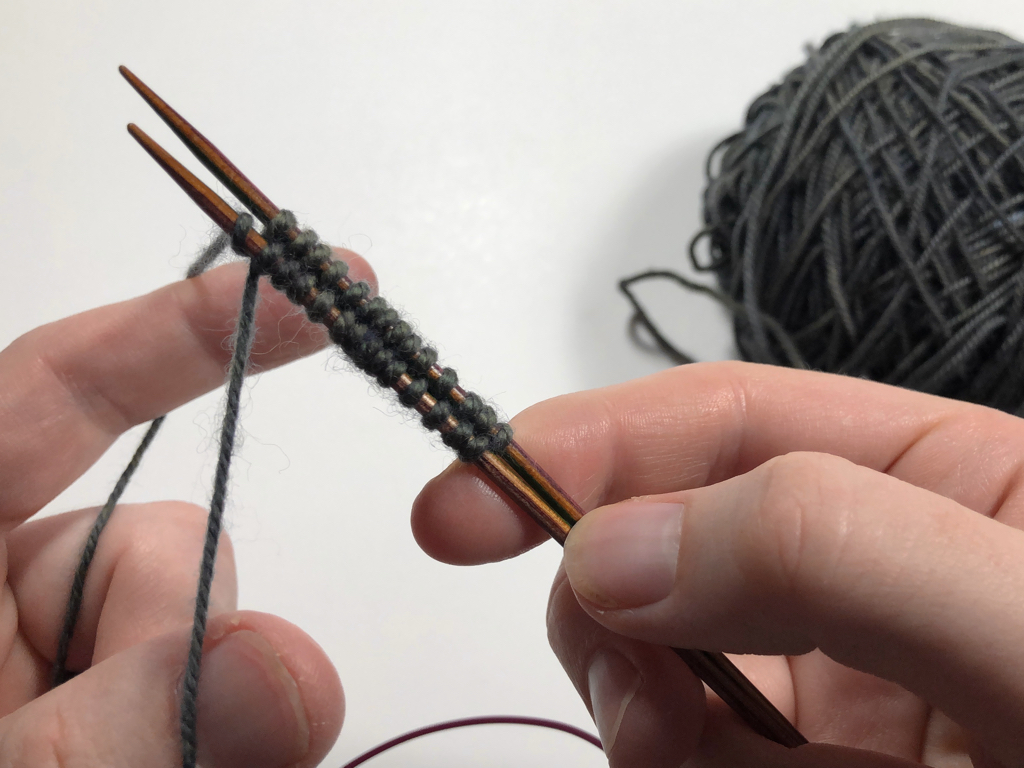
8. Turn the work so the tips are now pointing right. The first stitch on the new top needle is the beginning of the round. If you’re starting a pair of socks, the top stitches form the top of the toe and the bottom stitches form the sole.

Here’s where things change depending on whether you want the knit or the purl side as the right side of your project.

Learn how to work Judy’s Magic Cast-On to seamlessly start knitting in knit or purl. It’s a great cast-on to use for toe-up socks and other projects that start from the center out. #knitting #knittingcaston #knittingtutorials | withwool.com

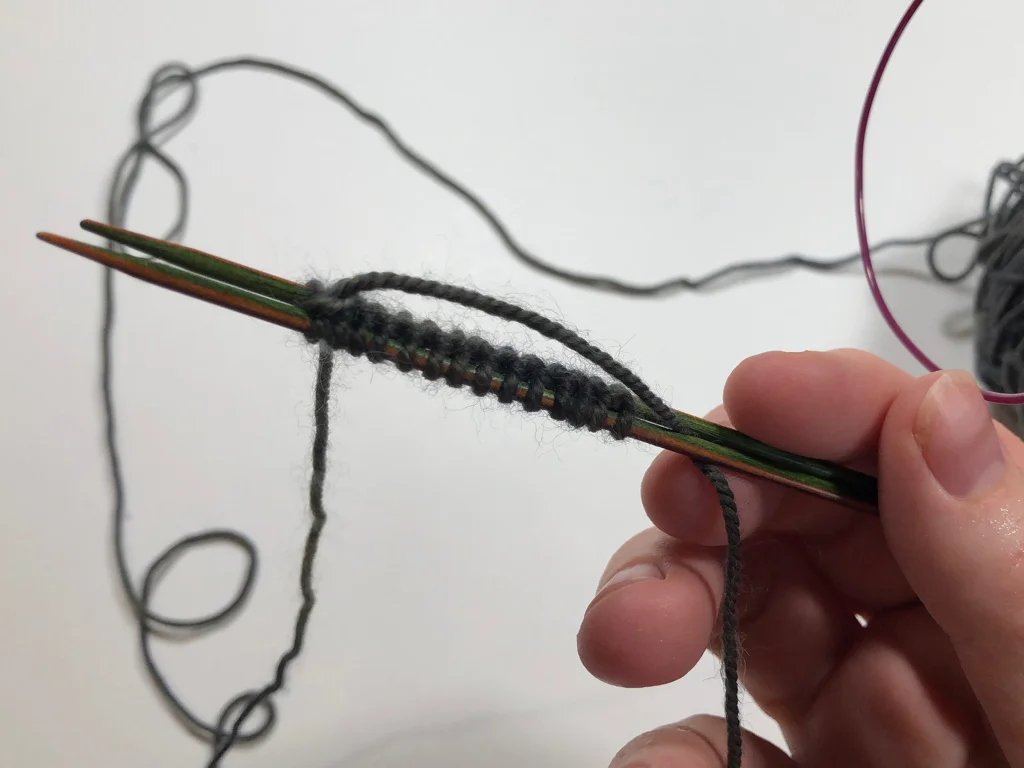
To start with the usual knit side out, make sure the smooth side of the cast on is facing you and knit as usual.

Learn how to work Judy’s Magic Cast-On to seamlessly start knitting in knit or purl. It’s a great cast-on to use for toe-up socks and other projects that start from the center out. #knitting #knittingcaston #knittingtutorials | withwool.com

To start in purl, keep the purl ridge facing you. The tail end of the yarn will be laying across the front of the stitches. Instead of knitting, purl the first round and continue as stated in your pattern.

If you’re working with circular needles, pull the bottom needle out and start working the first stitch of the top needle. If you used double points, bring in a third needle for half of the stitches on the top needle. After you’ve worked a few rows and created more structure, you can add additional needles.

One additional note: When starting a pair of socks, I like to work one plain round and then begin the toe increases. The extra row creates a smoother edge and gives a better base for increases.

Learn how to work Judy’s Magic Cast-On to seamlessly start knitting in knit or purl. It’s a great cast-on to use for toe-up socks and other projects that start from the center out. #knitting #knittingcaston #knittingtutorials | withwool.com

Here’s what a finished sock toe looks like with knitting as the right side.

Learn how to work Judy’s Magic Cast-On to seamlessly start knitting in knit or purl. It’s a great cast-on to use for toe-up socks and other projects that start from the center out. #knitting #knittingcaston #knittingtutorials | withwool.com

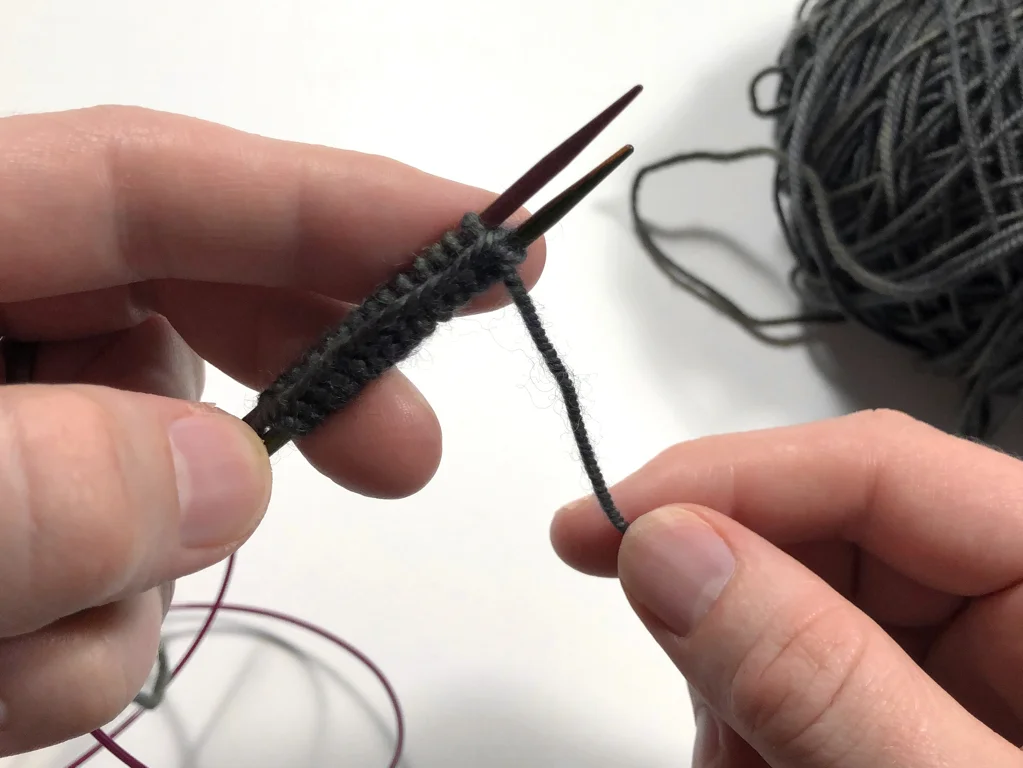
Here’s what the purled sock toe looks like after all the increases are done. Not a seam or bunched up stitch in sight. I had already wove in the tail before taking this photo, but it will be hanging from the outside of your work when starting in purl. You’ll have to bring to the other side before weaving it in.


If you enjoyed and learned something from this tutorial,

 
Buy Me a Coffee at ko-fi.com
 

Thank you for your support! It means so much! Happy knitting!

The Last Knits of 2017 and Then Some

You wouldn’t know it by the snow falling outside, but it’s 2018 and the frenetic season of gift knitting is over and done. Well, not done for me. There’s still a few unfinished projects still on the needles, but they’re smaller things. Still, I am happy with what I did get finished, and it’s no small amount of knitting.

Scarves, hats, shawls, and socks - 2017 saw a lot of gift knitting. | withwool.com

This is the second time I’ve knit the Elder Tree Shawl as a gift. One of these days I’ll make one for me. The pattern can be subtle or so so dramatic, especially if you add beads to every leaf. I used a single skein of Colinette Jitterbug which made a shawl-ette perfect for wearing tucked in to a coat. I also added beads to the picot bind off for extra sparkle.

Scarves, hats, shawls, and socks - 2017 saw a lot of gift knitting. | withwool.com

I wasn’t sure what to make for a friend of mine, so I asked her what she wanted. She requested baby socks. Funny how well asking works. I picked up 2 skeins of Patons Kroy Socks FX, each a different color, and got to work. The charts in Kate Atherley’s Custom Socks where really helpful for getting the measurements I needed once I knew the length. As for the pattern, I used my my own basic toe-up recipe and sized it down. Both pairs came out pretty cute if you ask me, and there’s room to grow too.

Scarves, hats, shawls, and socks - 2017 saw a lot of gift knitting. | withwool.com

I tried something a little different last year and put something for myself on the gift list too, the Owl in the Thicket hat. It wasn’t a reward for finishing everything else, but a gift for myself because why not. I bought the pattern and the yarn a year ago and never made it to casting on. So I pulled out one of my favorite knitting bags and made a kit. I wound the yarn, printed the pattern, got the right needles, put the beads on my Fleegle beader, and gathered all the notions. While I didn’t actually cast on until after New Year’s Day, it was so nice to have that kit ready and waiting. I’ve finished the brim and am a few rows into the body charts. It’s been awhile since I’ve knit such a complicated chart, and I’m enjoying the change of pace. The yarn is lovely too. Why did it take me a year to get started!?

As for the stuff I didn’t finish, the first projects was a pair of socks for the Bearded One. Still working on the cable design for that one. The other is a hat which I’m halfway through designing. Plus, there’s a handful of ornaments from previous years which I haven’t started yet. At least I have a plan. Is anyone else finishing up their gift knits in January or getting on with the new 2018 knits instead?

Sock Knitting Tutorials & Tips for #Socktober

Happy #Socktober! Check out these tips and tutorials to knit comfy, well-fitting socks. | withwool.com

And it's Socktober, a month all about knitting socks. I've written a few tutorials demonstrating different sock knitting technique. If you have any questions, ask away! And happy knitting!

As for my own sock knitting, I've got a pair on the needles, but haven't made it past the toes. Still have to figure out out to combine cables, ribbing, and a princess sole. More on that later as I figure it out. 

Afterthought Heel Tips & Tricks

A Knitting Conundrum

I can’t settle on a stitch pattern for this sock. Cables? Texture? Ribbing?&nbsp;

This is a sock toe, and the first of a pair that I’m making for the Bearded One. It also happens to be one of my most confounding pieces of knitting I’ve got going right now. Not because it took frequent try-on’s to make sure the stitch count is correct. Not because of its 76 stitch circumference. Not because I’m knitting the sock inside out so I can skip purling a princess sole. Nope, all of that stuff is stuff I’m used too - even knitting a pair of socks inside out.  The problem is that I can’t decide what stitch pattern to use over the top of the foot and up the cuff.  

My original back of the envelope plan was to work an alternating 2x2 rib for the entire sock. For example, *k2,p2* for 8 rounds, and switch to *p2, k2* for another 8 rounds. Repeat until bind off.  Now I’m not sure. 38 stitches for half the sock is a lot of space to cover, and I wanted to add some interest both for the eye and my fingers. And of course I want the Bearded One to like them too. Does that mean cables? A simple texture pattern? Some sort of edge detail going up the side of the foot? I have no idea. Good thing the yarn is pretty and nice to look at while I ponder my choices.

Any tips to help me solve this knitting conundrum? 

FO: Meadow Multi Socks

Toe-up socks with afterthought cuffs make perfect travel knitting. | withwool.com

It’s March and it feels a little strange to be thinking about holiday parties right now, but that’s when I cast on for these socks. I needed something to keep my hands busy at a potluck last December and a pair of toe-up socks were just the thing. Then the pair was my constant companion, even if I didn’t always take them out of my purse. They flew cross-country and back, went to movies, binge watched tv, and went skiing with me too. I’ve got a lot of memories knit into these socks even if they are just a simple 2x2 rib.    

Toe-up socks with afterthought cuffs make perfect travel knitting. | withwool.com

The pattern is my own default toe-up vanilla sock with an afterthought leg. Ever since trying Cat Bordhi’s Houdini Socks pattern, I really prefer it over working an afterthought heel. When you bind off the cuff, you’ve got a finished sock - aside from weaving in ends - that’s ready to wear. That beats having to come back and add a heel any day of the week. 

Toe-up socks with afterthought cuffs make perfect travel knitting. | withwool.com

The weather’s been on the weird side for the past few weeks. It snowed for a couple of days, and by the end of the week temps were in the 70’s. I didn’t need a jacket, let alone a pair of wool socks. And now it’s chilly again. Weird. At least the socks are ready to warm my toes when it does get cold. 

Toe-up socks with afterthought cuffs make perfect travel knitting. | withwool.com

The Specs

Pattern: My Default Toe-Up Sock with an Afterthought Cuff

Yarn: Knit Picks Stroll Multi - Meadow Multi

Needles: 2.25 mm circulars

Dates: December 13, 2016 - February 18, 2017 

@Ravelry

Handspun Experiments: Opposing 3-ply Sock Yarn

Is handspun 3-ply opposing sock yarn more durable than a traditional 3-ply construction? | withwool.com

The end goal for this yarn was always going to be a pair of socks. So I followed the internet’s advice which recommended spinning a high-twist opposing 3-ply construction. What makes this construction special is that one ply is spun in the opposite direction which is supposed to add elasticity and increased durability. I started with 8 oz of Louet Northern Lights Top, color Blue Spruce, which is space-dyed and a blend of similar wool types. It’s not as soft as Merino, but seemed much more durable. 

A post shared by April Klich (@aprilklich) on

I split the top lengthwise into 3 more or less equal sections for each of the 2 skeins. I spun each ply with a fairly firm twist to stand up to the extra wear and tear of socks. 2 of the plies had Z-twist, and 1 had S-twist. Plying a balanced yarn was a trial since the S-twist skein took in even more twist and would kink up when given half a chance. Next time, I’ll experiment with putting less twist on the opposing ply and make up for it during plying. You can read more about how I spun the yarn here.

Is handspun 3-ply opposing sock yarn more durable than a traditional 3-ply construction? | withwool.com

I didn’t photograph the pair (find all the knitty details here) when I finished them, and the socks got about a month of regular daily wear before camera time. While spinning the yarn, I was worried about holes. Now I’m pretty sure the socks will felt before a hole even thinks about opening up. The stitches on the bottom of the sole have already started felting together and loosing some of their stretch. The stitches on the side and top are still distinct and flexible though. Any eventual repairs I have to make will probably be more difficult because of the felting, but at least I’ll notice the holes before they get too big. 

Is handspun 3-ply opposing sock yarn more durable than a traditional 3-ply construction? | withwool.com

The jury is still out on whether or not the opposing ply yarn construction is more durable than a traditional 3-ply. I will keep you updated though as things develop. And when I spin a traditional 3-ply as sock yarn.

There’s one other skein of opposing 3-ply sock yarn stashed away for me. This skein is my first attempt at an opposing ply sock yarn. It’s a true fingering weight spun from Falkland top. Once I’m ready to whip up another pair of vanilla socks, I’ll give this yarn a try. I can’t be the only one without handspun socks in this house after all.

FO: My First Handspun Socks

My first pair of handspun socks is off the needles and on to happy feet! | withwool.com

When I was first learning spin, one of my far way goals was to spin durable yarn for socks. It took me a few years to reach the point with my skills and confidence to try and actually succeed. Then it took me another year (or was it two?) to spin more sock yarn and finally use it for socks. This pair was for the Bearded One, which is why I finally took the plunge and cast on. When I knit to keep my own toes warm, other sock yarns and fun patterns somehow keep distracting me.

My first pair of handspun socks is off the needles and on to happy feet! | withwool.com

The yarn was always going to be the star of the show. When I sat down to design the pattern, I knew that the striping and mottled colors would only obscure a more detailed stitch. So I went with my standard vanilla sock with 2x2 rib which would also make for a well-fitting sock. I also added a princess sole, where the stockinette side of the fabric is against the foot, to smooth out any bumps that might have come with using a sometimes thick-and-thin yarn. The downside to the princess sole was that it slowed me down since I had to purl a big chunk of every row. That changed when I knit the second sock inside out, and worked the reverse of pretty much every stitch. Take my word for it, it’s much easier working lifted increases on the knit side of a fabric. 

My first pair of handspun socks is off the needles and on to happy feet! | withwool.com

I had a few worries when I cast on for this pair. One, would the half pound of yarn I spun be enough? It’s not like a I could go to the store and buy more. Two, would knitting smooth out the unevenly plied and unruly sections of yarn? Now I know the answers to both those questions are an obvious yes, but figuring that out definitely kept me on my toes. I have a few yards leftover for darning. Plus, I can’t point out the sections where the yarn was more snarled than smooth. 

The best part is that all that work - picking a yarn construction, spinning the yarn, setting the twist, designing the pattern, and then knitting two huge socks - has been rewarded. This pair is the Bearded One’s new favorite out of the many pairs of socks I’ve made for him. Knowing that does a spinner/knitter’s heart good, and makes sure the hand knit socks keep coming. 

My first pair of handspun socks is off the needles and on to happy feet! | withwool.com

Pattern: My own basic vanilla sock with 2x2 ribbing and a princess sole

Yarn: Tour de Fleece 2016 Sock Yarn 

Needles: 2.75 circulars

Dates: September 22 - December 11, 2016

@Ravelry 

Knitting Handspun Socks Part 2

I’m knitting a sock inside out! | withwool.com

I’m still knitting my first pair of socks from handspun (you can read part 1 of the tale here). It’s also the first time I’ve tried adding a princess sole - the smooth side of stockinette stitch is against the sole of the foot instead of the bumps - to a pair of socks. The socks have been great purse knitting, but the making the first sock was slow going because off all the purling on the sole and gusset increases. 

I’m knitting a sock inside out! | withwool.com

Why is so easy to overlook the simplest solution to a problem and instead go with a more complicated fix? After I turned the heel and knit the heel flap, a light bulb went off in my head. I could knit the second sock inside out! The only purling I’d have to do would be for the top half of the toe and the ribbing. I used the same cast on at the toe and the same increases. Instead of purling the sole, I purled the top half of the toe. I reversed the rib pattern from *k2, p2* to *p2, k2*. I’m glad I went with a simple stitch pattern over the foot otherwise knitting the sock inside out would be a little more complicated. 

I’m knitting a sock inside out! | withwool.com

The little bit of effort I put in upfront has been worth it because the second sock is zooming along. It’s almost time to knit the gusset which will actually be easier to work inside out. The combination of purled increases and marled yarn made it really hard to tell if I’d correctly worked an increase row on the first sock. Or if I was even on an increase row. Happy to have solved that problem this time around.

Okay, now it’s time to double check my gusset math and get back to the gift knitting.