
How to Work Judy's Magic Cast-On in Knit and Purl
/
Judy’s Magic Cast-On burst into the knitting scene in the Spring 2006 issue of Knitty. The technique has become my default way for starting toe-up socks and other center-out projects because of it’s versatility. This cast-on is fast, seamless, and makes a great provisional cast on (but that’s another tutorial). And, if you change how the yarn is wrapped, the stitches won’t be twisted on the needles.
I recently cast on for a pair of toe-up socks that would need a princess sole - where the smooth side of stockinette is against the foot - and didn’t want a noticeable “seam” across the toes. Would it be possible to use Judy’s Magic Cast-On to get started entirely in purl? After a little fiddling and experimentation, I found that it is possible and just as easy to start Judy’s Magic Cast-On in purl as it is to knit.
Let’s start at the beginning. If you know how to work the knit version of the cast-on that doesn’t twist the stitches, skip ahead to Step 8.
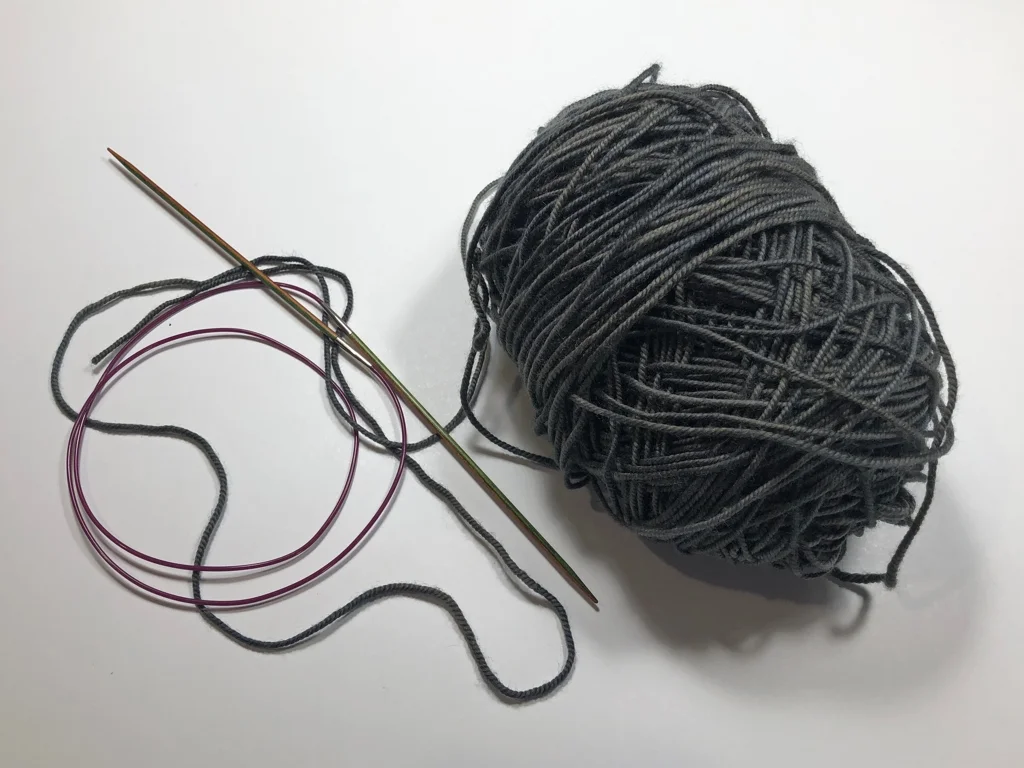
Materials: You’ll need your yarn and a set of circular needles. It’s also possible to work Judy’s Magic Cast-On with double pointed needles, but it will be more finicky to work the first few rows.
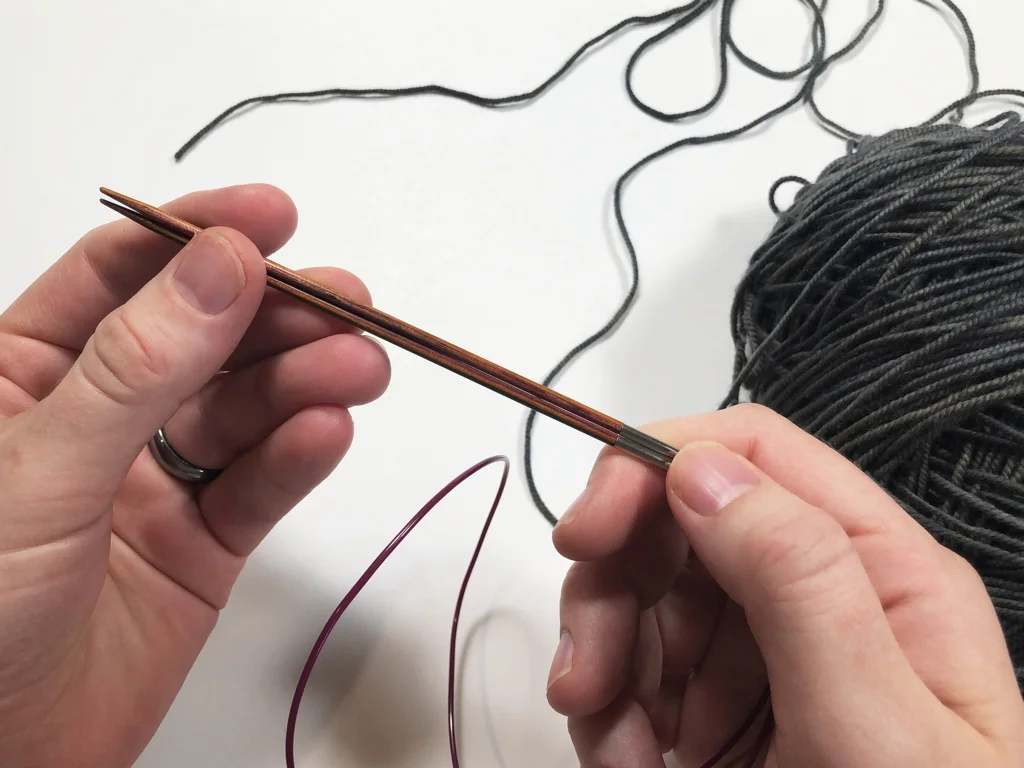
1. Arrange your needles so that both tips are together and pointing left.
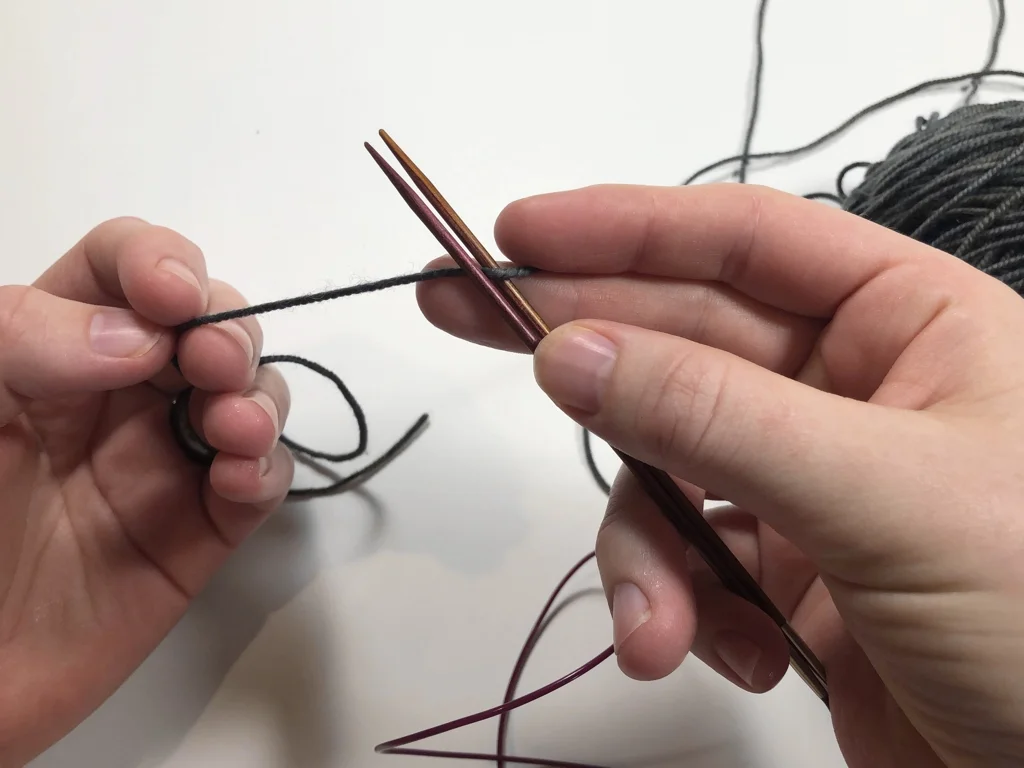
2. Pull the yarn between the needles - leave yourself enough of a tail to create the required stitches and weave in later. 8 inches, or about 20 cm, is usually enough to start a pair of socks. The working yarn will lay over the top needle and the tail will hang down in the middle.
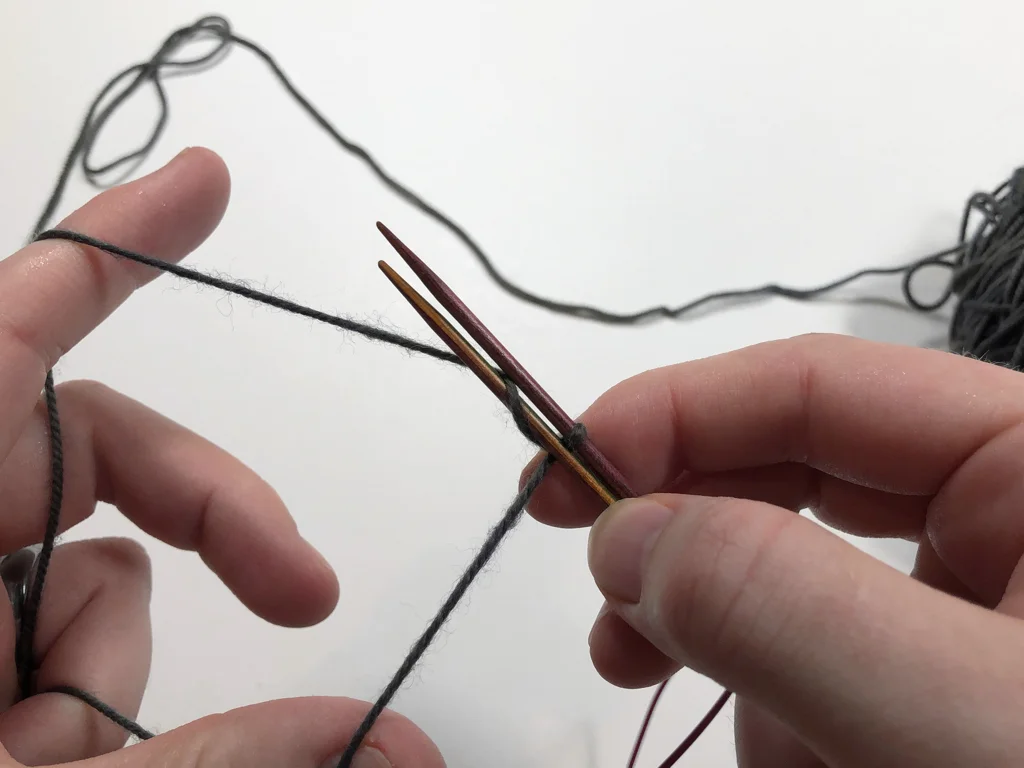
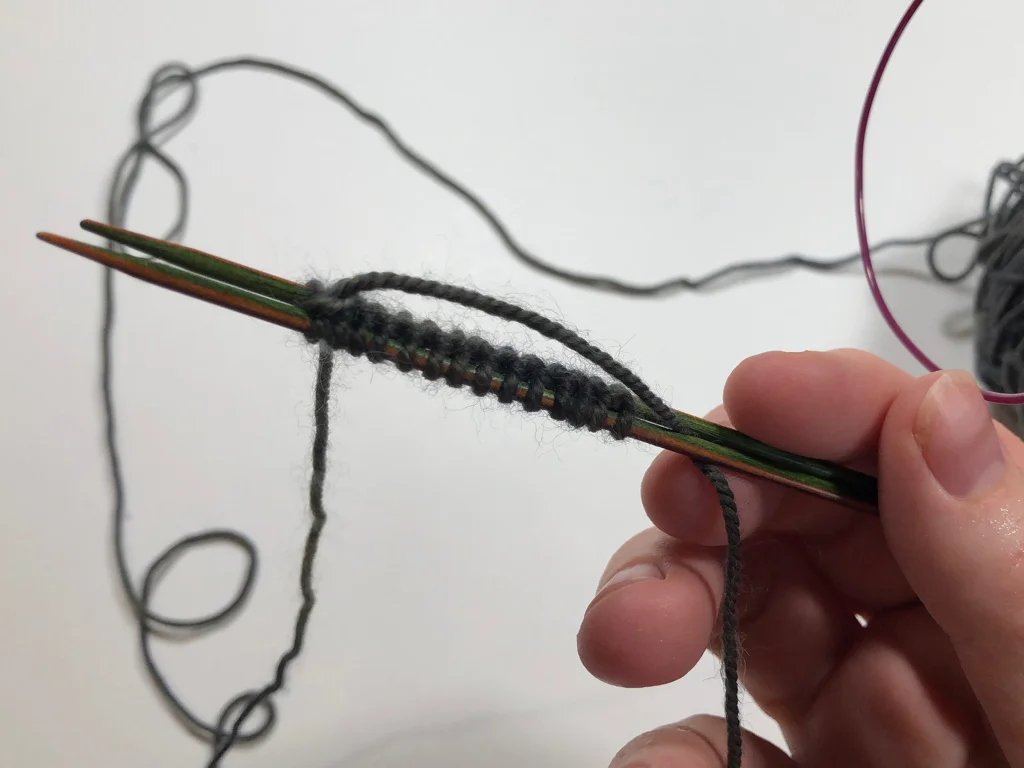
3. Twist the tail and working yarn together around the top needle - this counts as the first stitch. The yarn will now form a V between the needles and your hand. The tail, which was at the bottom, will now be held at the top over the pointer finger. The working yarn will now be held at the bottom over the thumb.
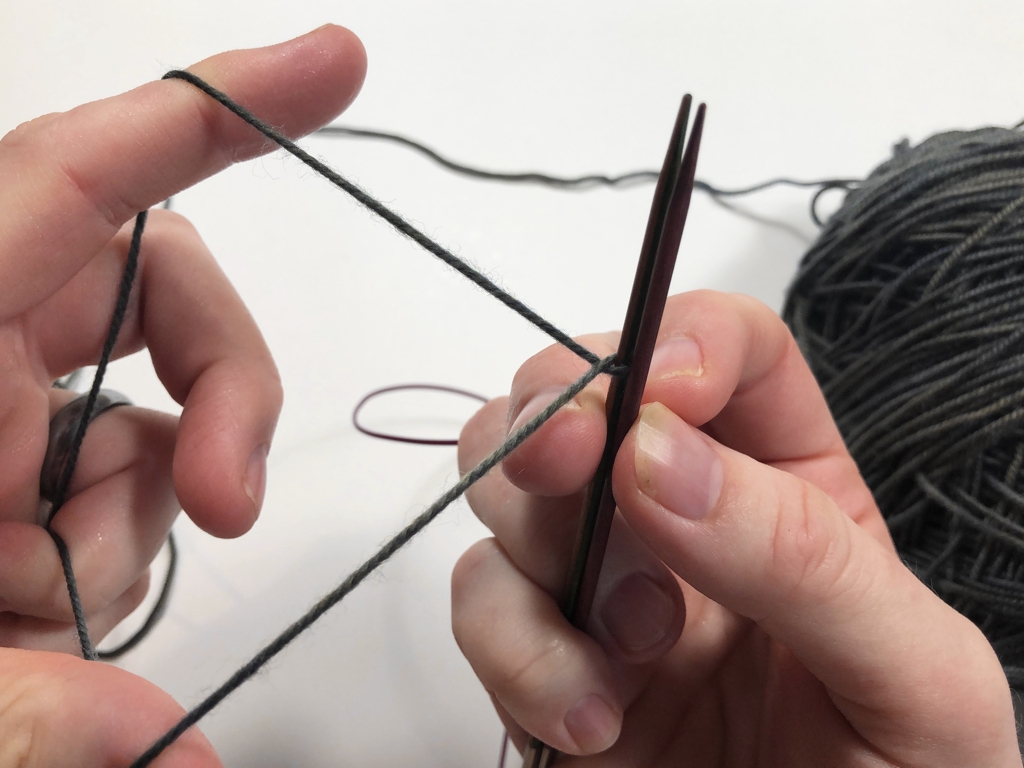
How the stitches are wrapped is very important. When wrapped as demonstrated here the stitches will sit untwisted on the needles. If wrapped as shown in the original Knitty tutorial, you’ll have to knit through the back of the stitch to seat them correctly on the needle during the next round.

4. To make a stitch on the bottom needle, wrap the top yarn up and into the gap between the two needles.
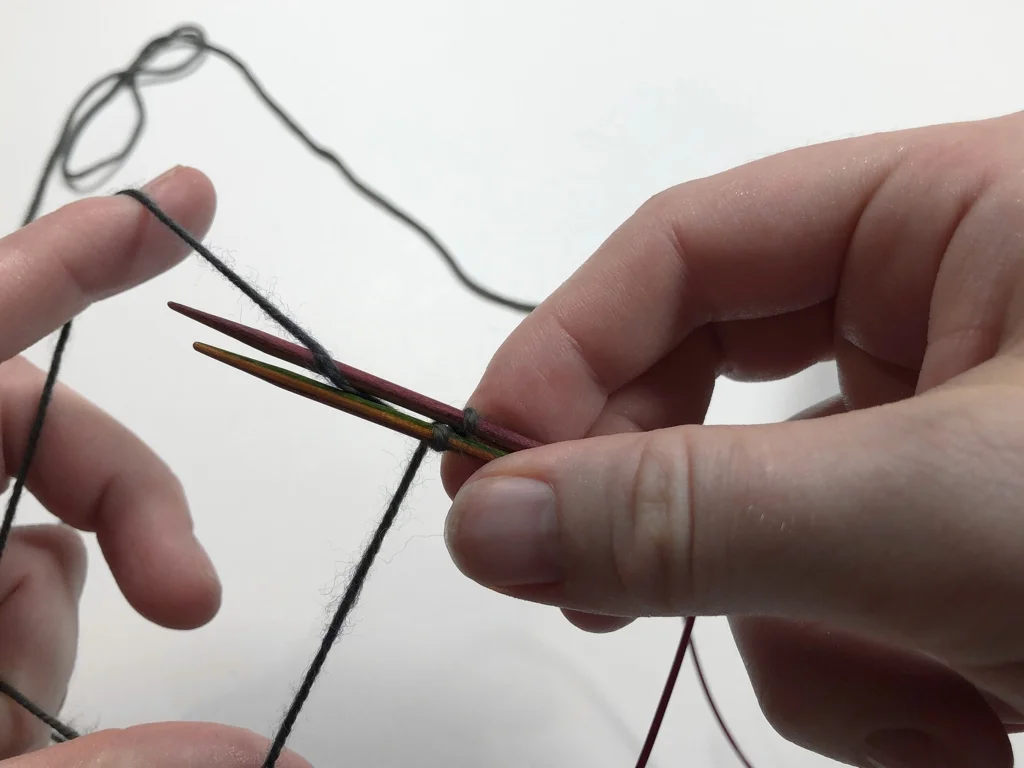
5. To make a stitch on the top needle, bring the bottom yarn into the gap between the needles and then up and around the top needle. The movement is like working a yarn over.
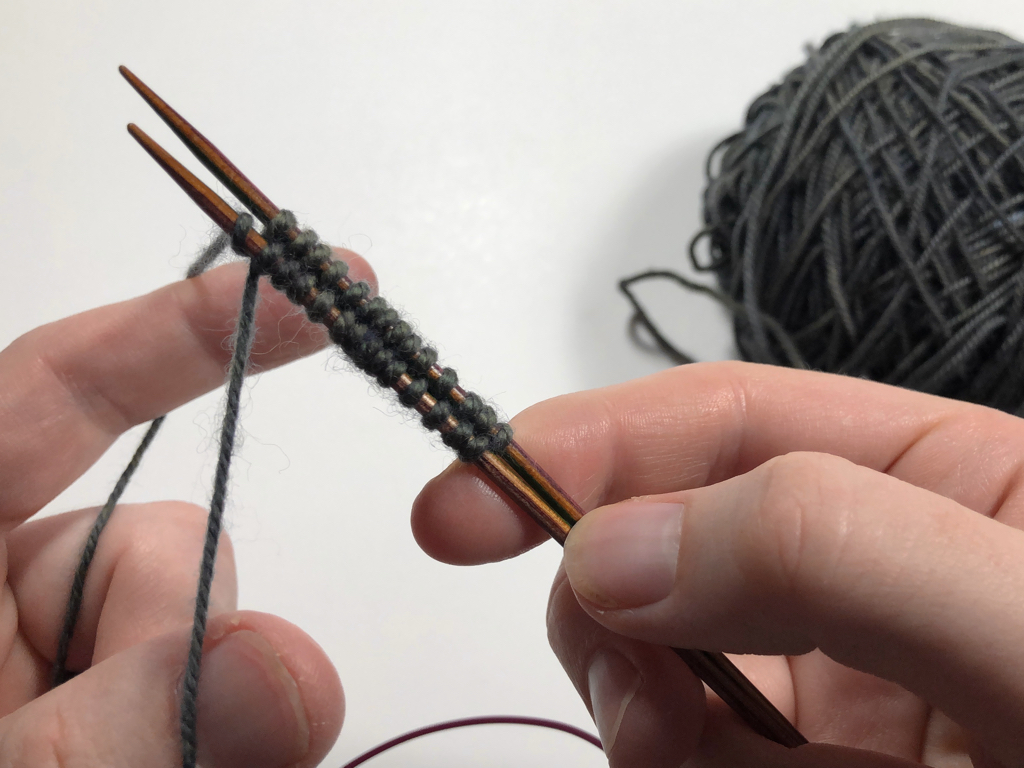
6. Repeat steps 4 and 5 until you have the required number of stitches on your needles. Pushing the stitches together as you work will help keep them the same size. When a pattern calls for casting on 20 stitches with a toe-up cast on, that means to make 10 stitches on each needle because this cast-on creates pairs of stitches.
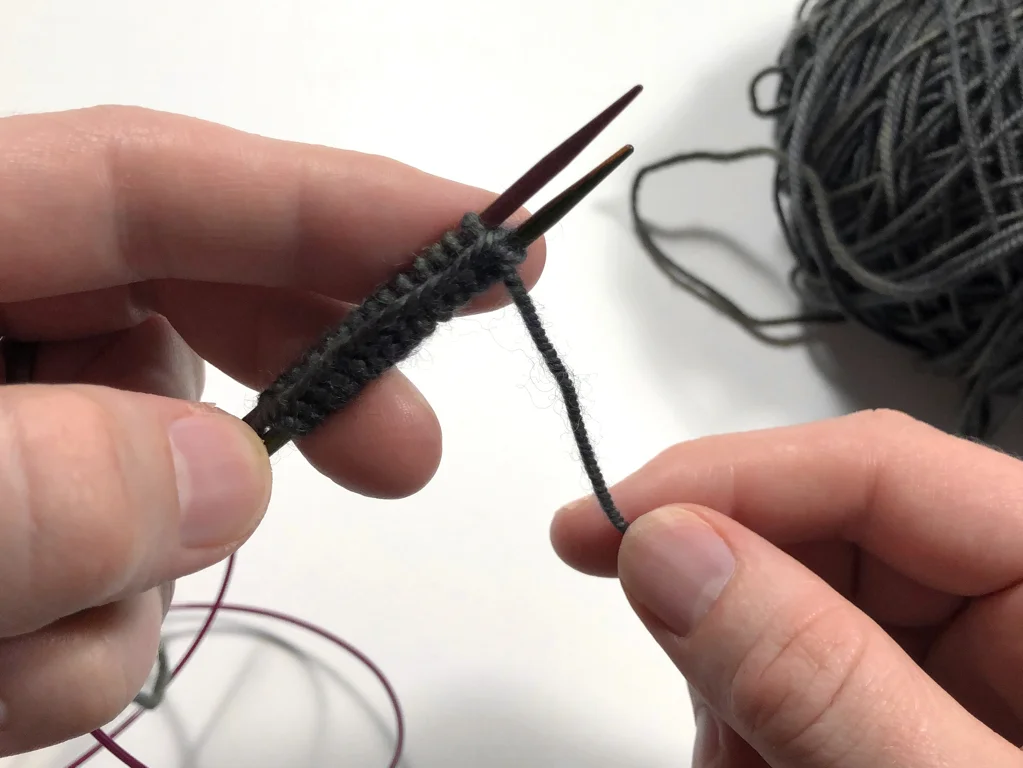
7. Take the tail yarn and tuck it between the needles next to the first stitches. It should sit on the same side as the purl ridge created by the cast on. You’ll have to hold in place until the first few stitches are worked, but then it will be secure.
8. Turn the work so the tips are now pointing right. The first stitch on the new top needle is the beginning of the round. If you’re starting a pair of socks, the top stitches form the top of the toe and the bottom stitches form the sole.
Here’s where things change depending on whether you want the knit or the purl side as the right side of your project.

To start with the usual knit side out, make sure the smooth side of the cast on is facing you and knit as usual.

To start in purl, keep the purl ridge facing you. The tail end of the yarn will be laying across the front of the stitches. Instead of knitting, purl the first round and continue as stated in your pattern.
If you’re working with circular needles, pull the bottom needle out and start working the first stitch of the top needle. If you used double points, bring in a third needle for half of the stitches on the top needle. After you’ve worked a few rows and created more structure, you can add additional needles.
One additional note: When starting a pair of socks, I like to work one plain round and then begin the toe increases. The extra row creates a smoother edge and gives a better base for increases.
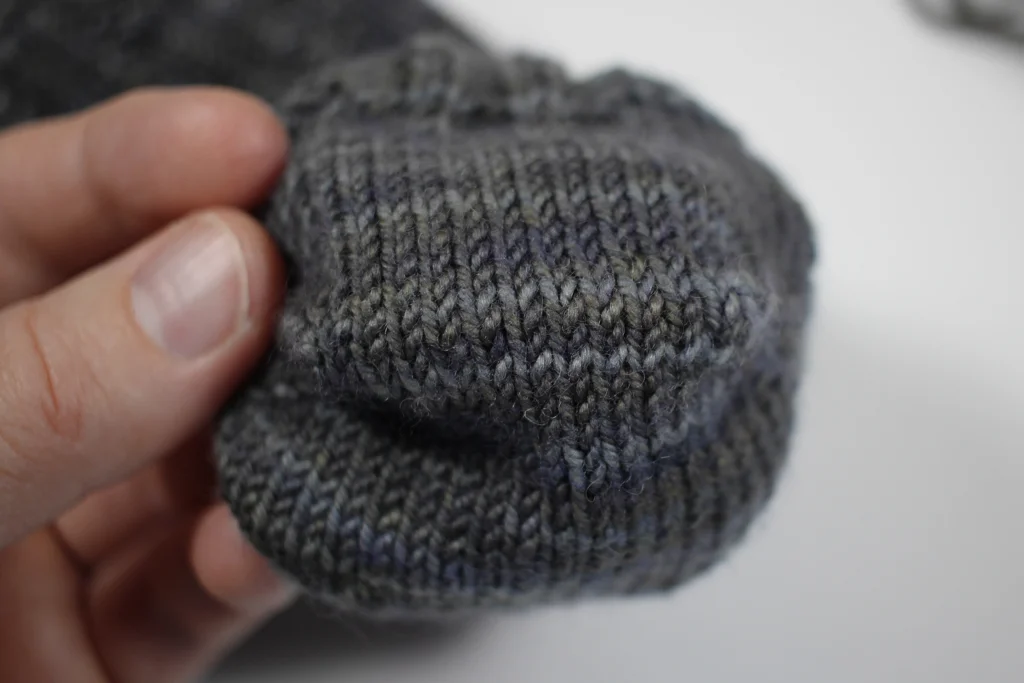
Here’s what a finished sock toe looks like with knitting as the right side.
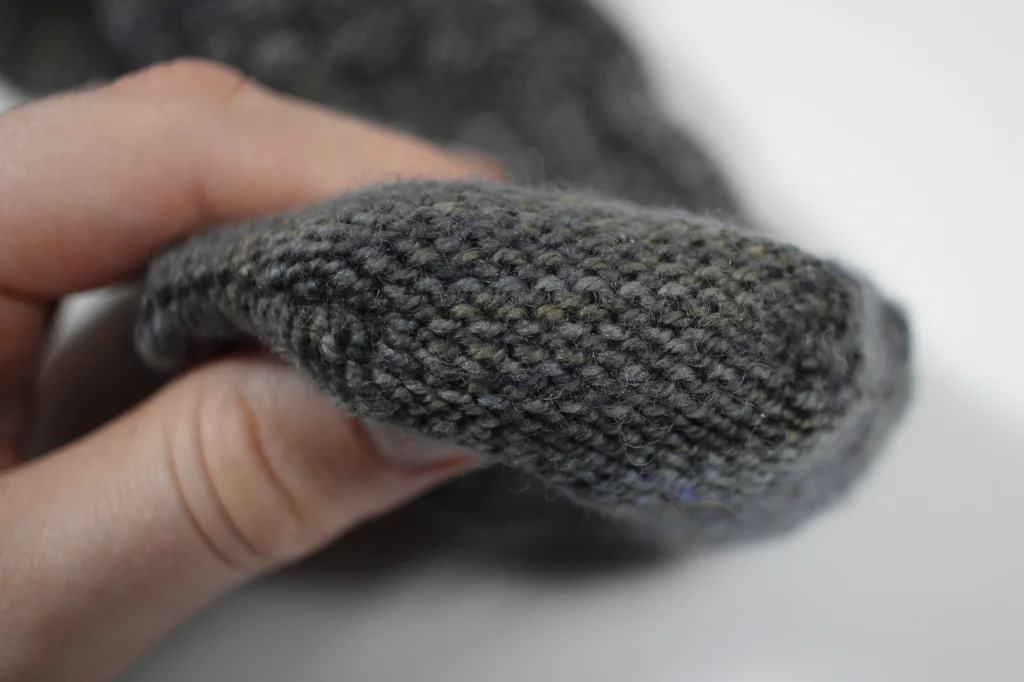
Here’s what the purled sock toe looks like after all the increases are done. Not a seam or bunched up stitch in sight. I had already wove in the tail before taking this photo, but it will be hanging from the outside of your work when starting in purl. You’ll have to bring to the other side before weaving it in.
If you enjoyed and learned something from this tutorial,

