Wander the Web 35

Will Rogers State Beach

Will Rogers State Beach

Fun and interesting links from the week.

Labyrinth Room Series by Matthew Borrett

The hand embroidery on this quilt label is wonderful.

The amazing Pinch Library and Community Center in Yunnan, China.

A brief tour of the Ístex Fiber Mill.

It’s so interesting to look into other people’s Bullet Journals.

Peppercorn Bracelet the Second

On the same day I wrote about the first Peppercorn Bracelet, my mom sent me an email asking me to make one for her too. My Mom’s absolutely awesome so she went to the top of the list. When I was out and about searching for yarn, I found the perfect bronze-colored glass beads in a yarn shop. A good trip.

This Peppercorn Bracelet worked up even faster than the first. Using the recommended number of beads will do that. The second reason was because I switched to a crochet hook instead of using double pointed needles. Working fine hemp cord with the DPN’s was hard on the fingers. The needles poked holes in my skin and left my finger tips sore. Using a crochet hook made the whole process pain free and wonderfully fast. I was able to finish the whole bracelet in an afternoon instead of having to space the work out over several days. 

After making two of these, especially from hemp, I can tell you that there is one step that absolutely can not be skipped - blocking. When the bracelet is fresh off the needles or the hook, it’s going to twist and curl up on itself. It won’t lay or hang well and it certainly won’t look its best. The one minute it takes to block the piece is well worth it. Put the bracelet under water just long enough to get it wet. Tug the ends a few times to straighten it out and hang the bracelet up to dry. That’s it.

The Specs

Pattern: Peppercorn Bracelet by Kourtney Robinson

Yarn: Fine Hemp Cord

Beads: Mill Hill size 6/0 seed beads, 16606

Hook: 2.75 MM

Almost A Yarn Crawl

I love living in a city large enough to have more than one yarn shop. Last weekend was the 2014 LA Yarn Crawl which included 29 shops. 29! When I first heard about the Crawl, I had grand dreams of touring the city, visiting the shops, and buying all the yarn. Then I saw that I’d have to drive at least 45 minutes, assuming traffic was perfect, to get to most of them. That dream did not live long. 

My yarn hopping hopes weren’t completely dashed though because of the WildFiber pop-up shop. There was skein upon skein of pretty skein but I didn’t have a plan for any of it. So, I walked out with the only skein that called my name, Zen Garden Yarn Serenity 20. To be honest, I don’t have a plan for it either but I’m a sucker for a good green. This one, named Teak, is a ridiculously soft blend of superwash merino, cashmere, and nylon. Might turn into a shawl or a luscious pair of mitts.  I’m sure the yarn will let me know eventually.

How To Keep A Handspun Yarn Journal

Write down ratios, twist direction, yardage, and more so you'll always know how you spun your favorite handspun. How To Keep A Handspun Yarn Journal | withwool.com

When I first decided to teach myself to spin, keeping notes seemed like a good idea. As soon as there was actual yarn coming off the spindle, which took longer than expected, I made a little notebook from index cards bound together with a rubber band and a paper clip. After each little skein was finished, it got a page in the notebook that included the fiber, color, yardage, and weight. There were plenty of exclamation points whenever I hit a new yardage record, say spinning 70 yards when the most I’d spun before was 54. Eventually, I got lazy. I wanted to spin more I wanted to jot things down. I spun and told myself I’d update my notes later. Yeah, that never happened. I don’t know where that notebook is but I’m sure it’ll turn up. 

Now that I’ve got an awesome spinning wheel, I’ve come round to taking notes again. The ‘Favorite Things’ post from the Sweet Georgia blog was a perfect reminder why I should. When I spun on spindles, I had a hard time producing consistent yarn over multiple skeins. Why bother with notes? With my wheel I can set ratios, tension, and count treadles which makes it easier to spin multiple consistent skeins. Keeping notes is suddenly much more important because spinning for large projects actually seems possible. Handspun with a consistent weight and gauge is crucial when the end goal is to knit it into a sweater.

I’ve started using Ravelry to track some of the information I need. The ability to stash fiber and handspun is a great feature and I’m glad to have it but I don’t always update it like I should. Plus, I don’t have to worry about single strength or finding wifi with a notebook. 

The first step in keeping a handspun journal is finding the right notebook. I went with the Moleskine Cahier because I like the size and the 3-pack is a good price. Also, grids forever.

Write down ratios, twist direction, yardage, and more so you'll always know how you spun your favorite handspun. How To Keep A Handspun Yarn Journal | withwool.com

Here’s a sample of what my notes look like. At the top, the date starts with when the fiber was first prepped and ends when the twist is set. Then a project name. Next up is the info on the fiber: dyer, type, color, and amount. Info for the finished skeins includes yardage, weight, and WPI before and after setting the twist. The remainder of the notes are all about the spinning process. Where the singles spun S or Z? How were they plied? What was the tension and ratio? How did I split the fiber? How did I handle the color - barber pole, fractal, or chain-ply? What is the final yarn going to become? Is it a gift? Am I trying to recreate a previous yarn? Just spinning for the joy of it? It’s all there.

Write down ratios, twist direction, yardage, and more so you'll always know how you spun your favorite handspun. How To Keep A Handspun Yarn Journal | withwool.com

At the very bottom of the page is one last thing, a page number. What good is keeping a notebook if you can’t find anything in it? Having page numbers means that the first page of the book can be an index. When it’s time to document a new project, the title and the page number go here. No more flipping pages to find info about that skein spun months ago. Even better, the index makes it easy to record more than just finished yarn. Write down your spinning bucket list. Plan for Tour de Fleece or Spinzilla. Catalog stash acquisitions or make a spinning shopping list. 

Write down ratios, twist direction, yardage, and more so you'll always know how you spun your favorite handspun. How To Keep A Handspun Yarn Journal | withwool.com

The ‘Favorite Things’ post reminded me of something else I’ve been meaning to do - labeling handspun. After all the important details go in the notebook, the info is copied onto a mail tag and then tied to the skein with baker’s twine. When I pick out handspun from the stash, the yardage and weight are right at my fingertips which makes deciding what to make slightly easier. 

Checking In

Way back in January, which isn’t as far away as it seems, I shared my pattern design goals for 2014.  The last day of March seemed like as good a time as any to check in, take stock, and stay accountable.

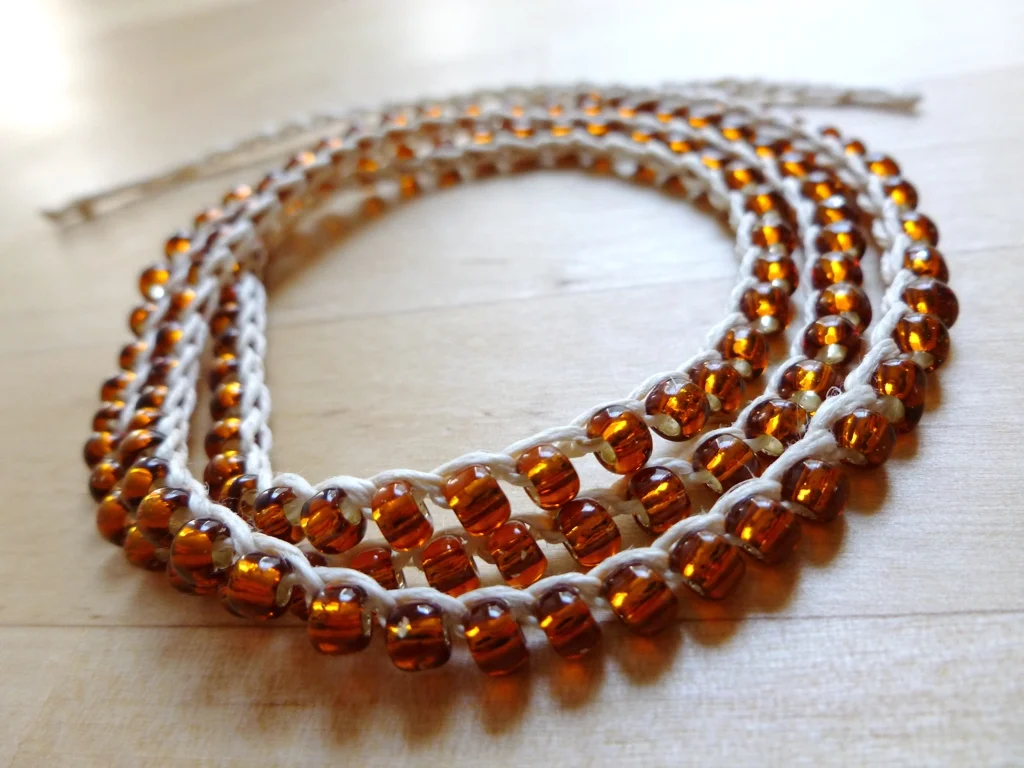
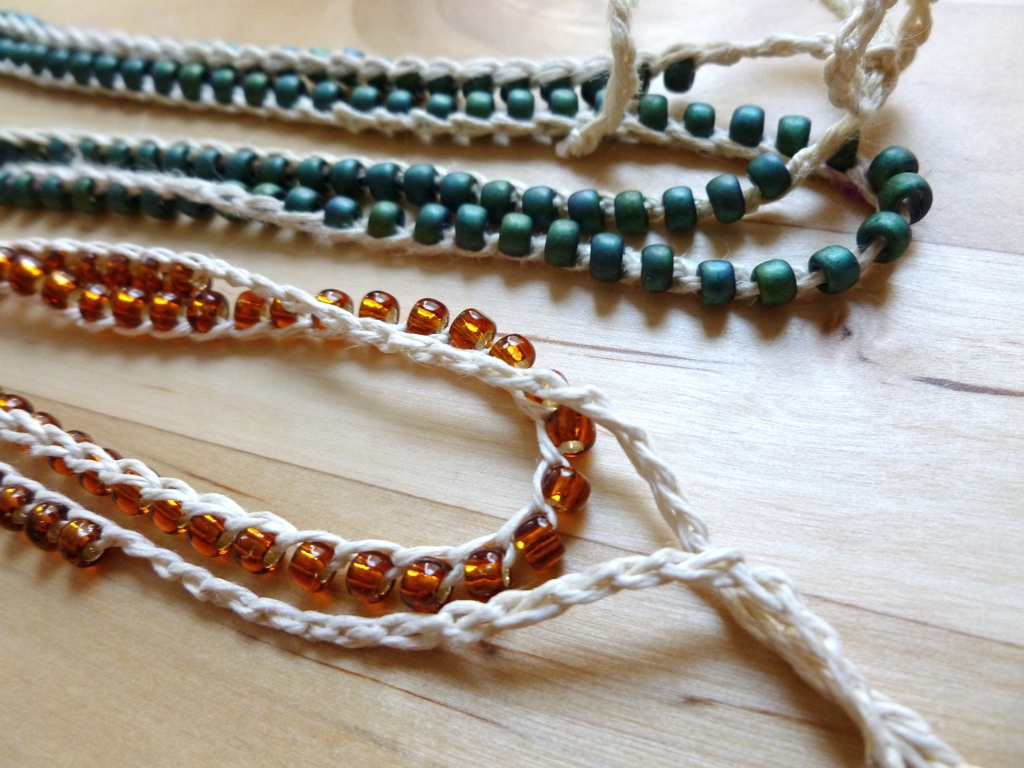
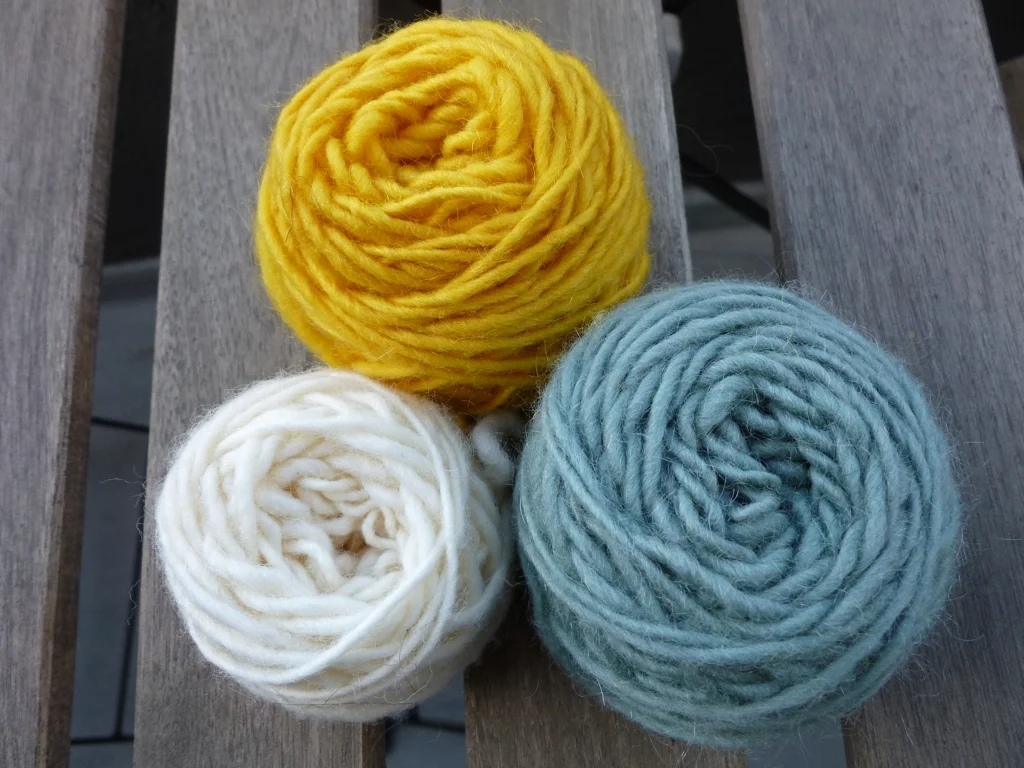
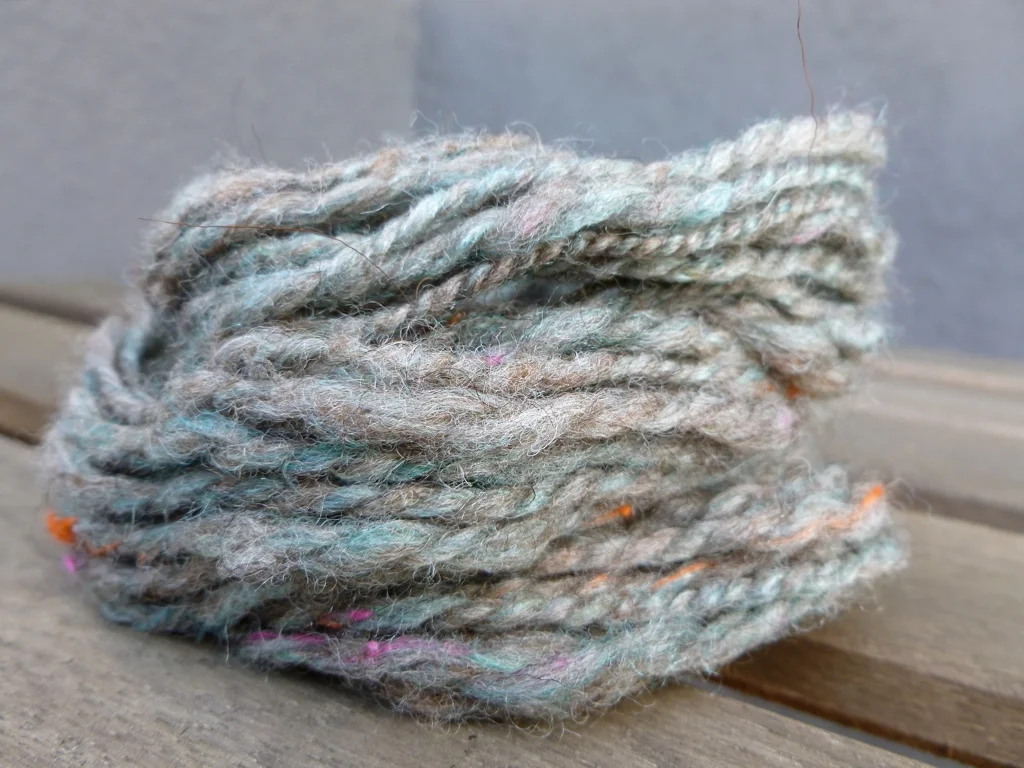
I only had one major goal, to design and release 1 pattern every 2 months. We’re 3 months into 2014 and I haven’t released a single knitting pattern. Good thing I didn’t push myself to release a pattern a month or I’d be really dejected right now. The thing is, I’ve been putting in the work. The first pattern I worked on this year is finished aside from the final necessary steps - the layout, proofreading, editing, and photography stuff. Still a lot of work to be done but those tiny little balls of yarn are proof that the knitting is finished. The pattern itself won’t be released until Summer is on it’s way out. Maybe I can come up with a name by then. Why does coming up with a good name have to be so hard?  

The second pattern of the year was a set of kitchen towels and washcloths that I submitted to Holla Knits. These towels were the first pattern that I’ve ever submitted for publication by someone else. Submitting a design was a goal I’ve had for a long time and a hidden goal for this year. Dropping the swatches in the mail box was exciting and nerve-racking at the same time. The set wasn’t accepted but it’ll be showing up here just as soon as I finish the samples and put the finishing touches on the pattern. Just might be my first release of the year. 

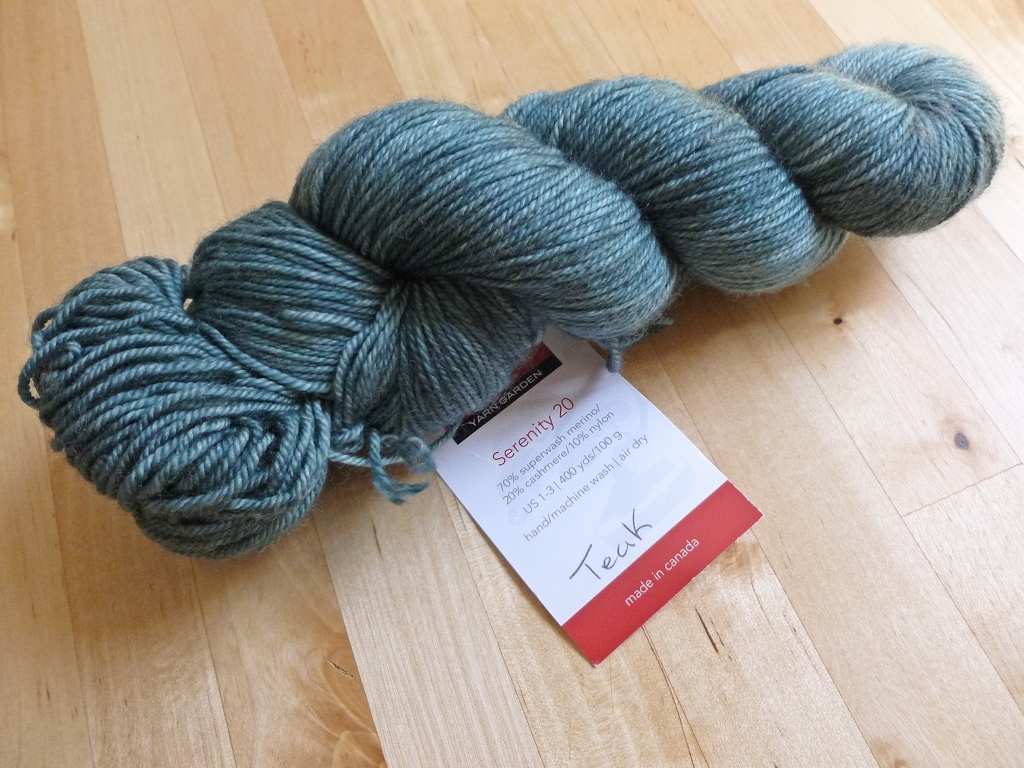
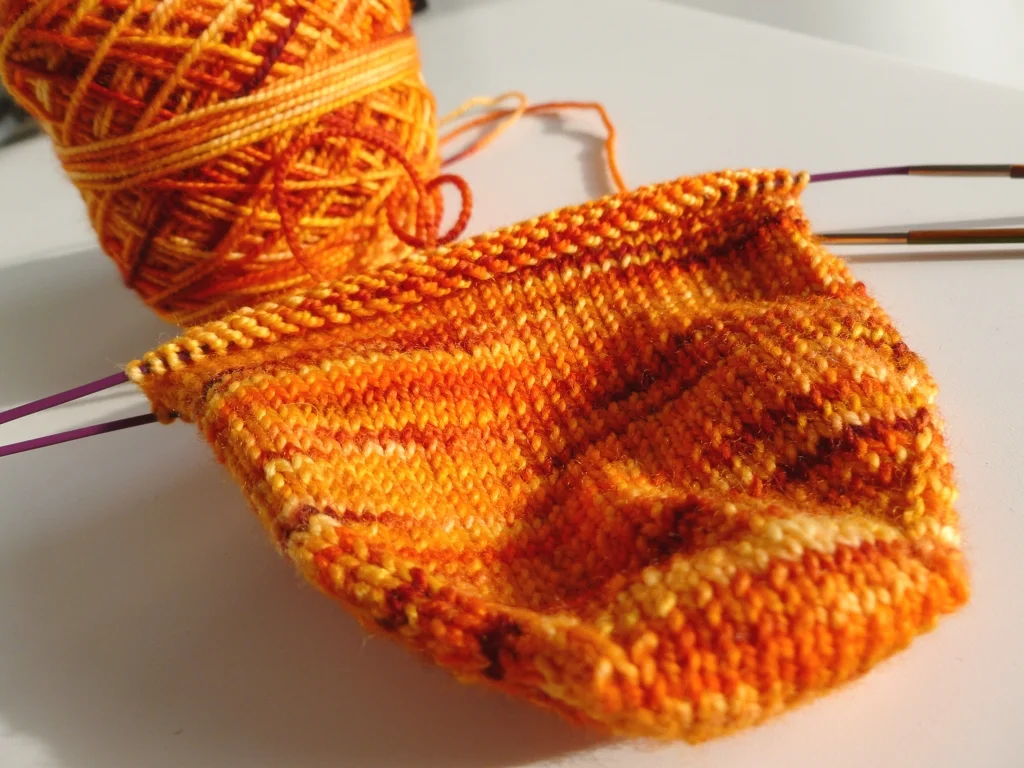
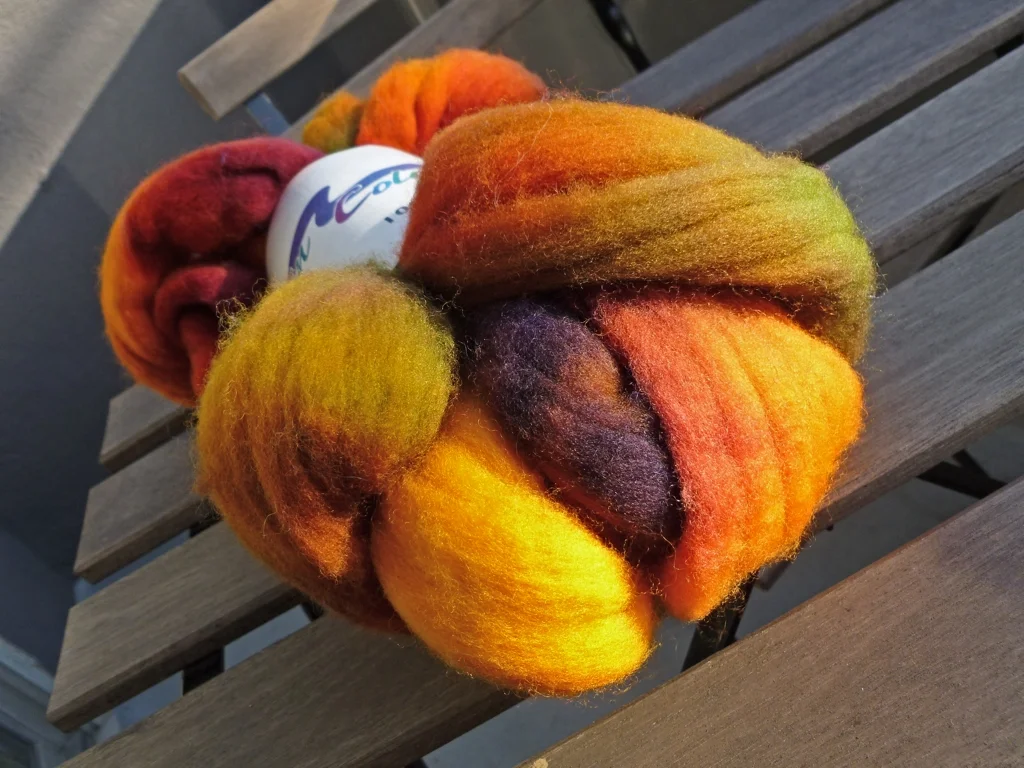
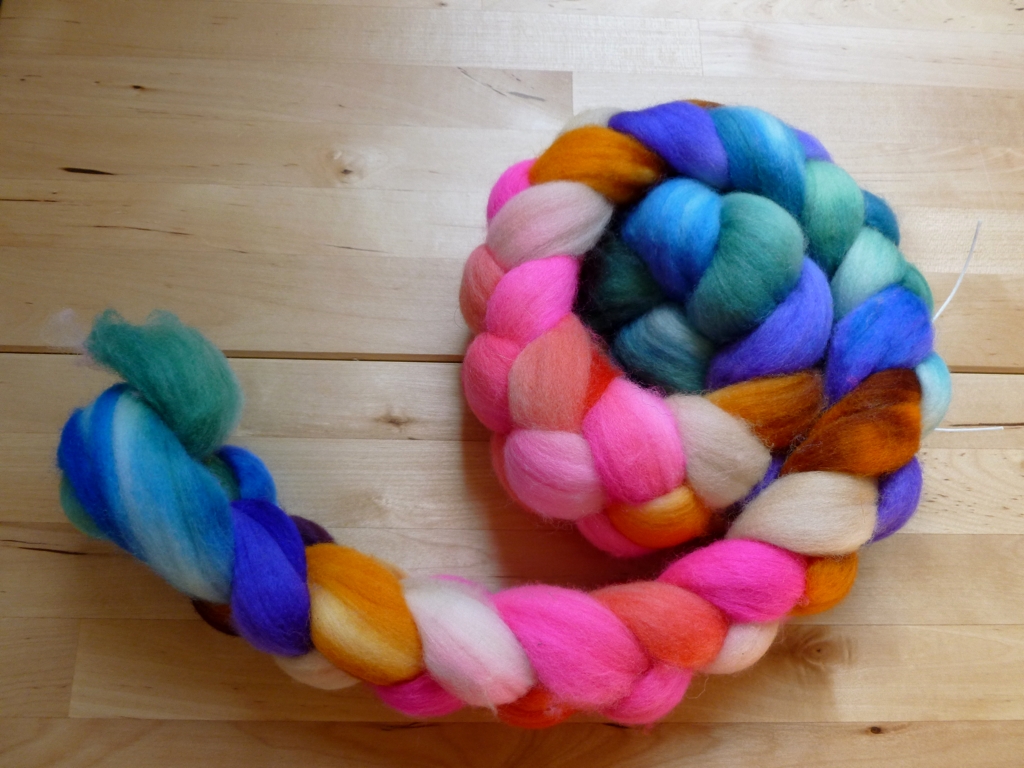
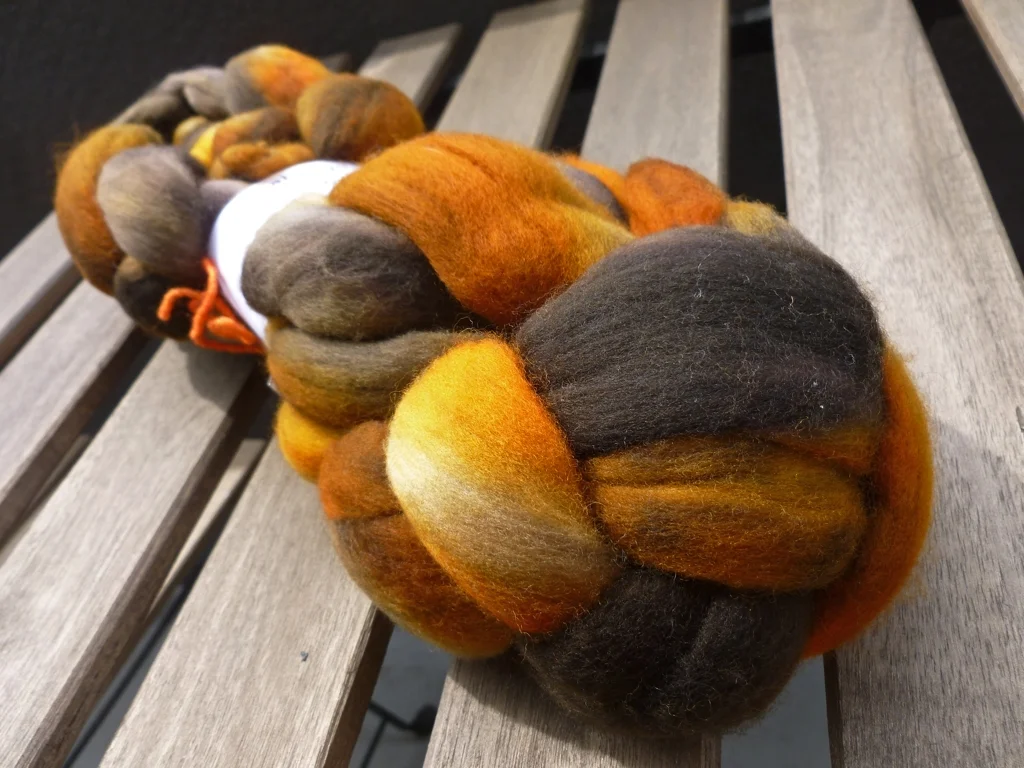
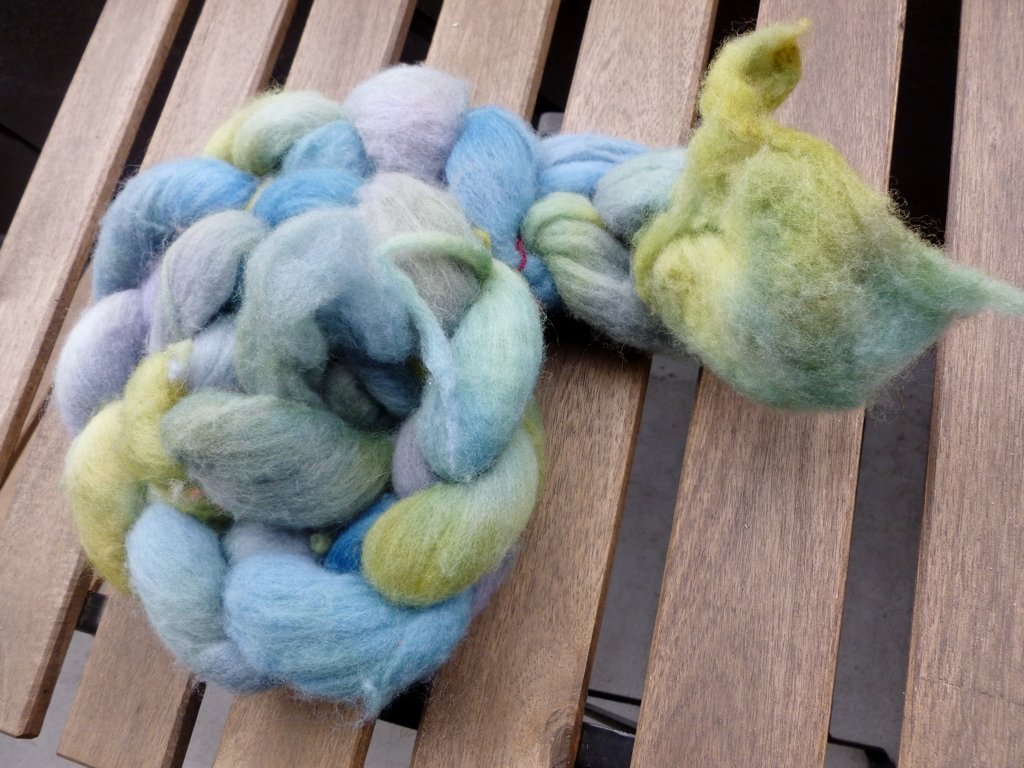
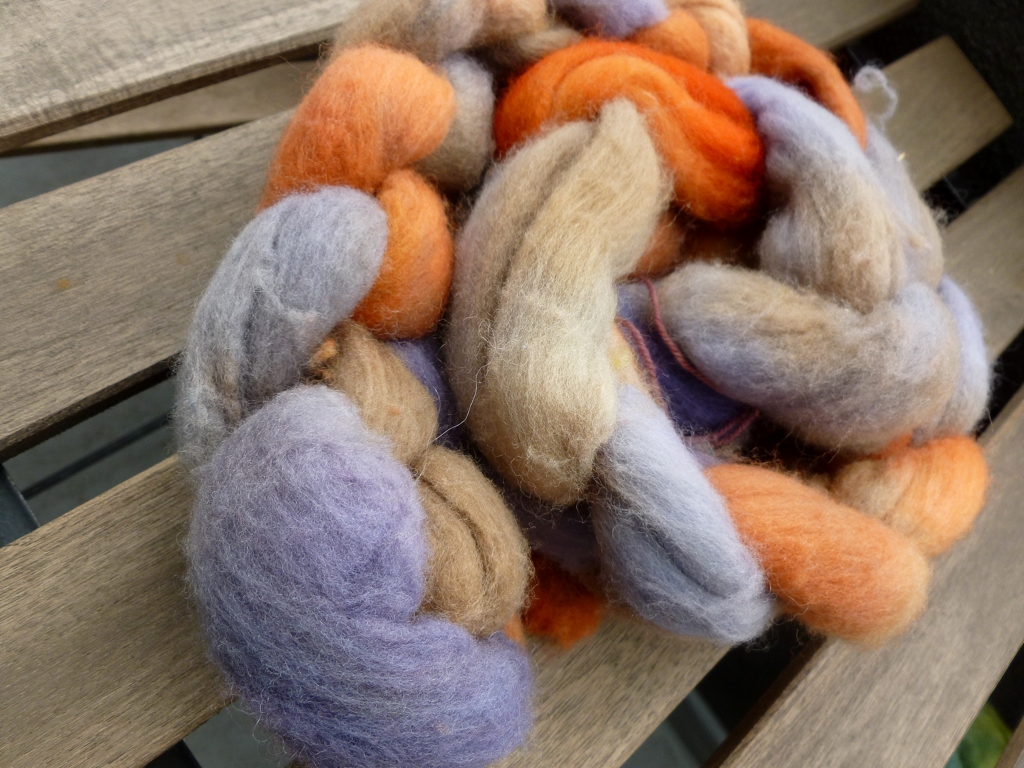
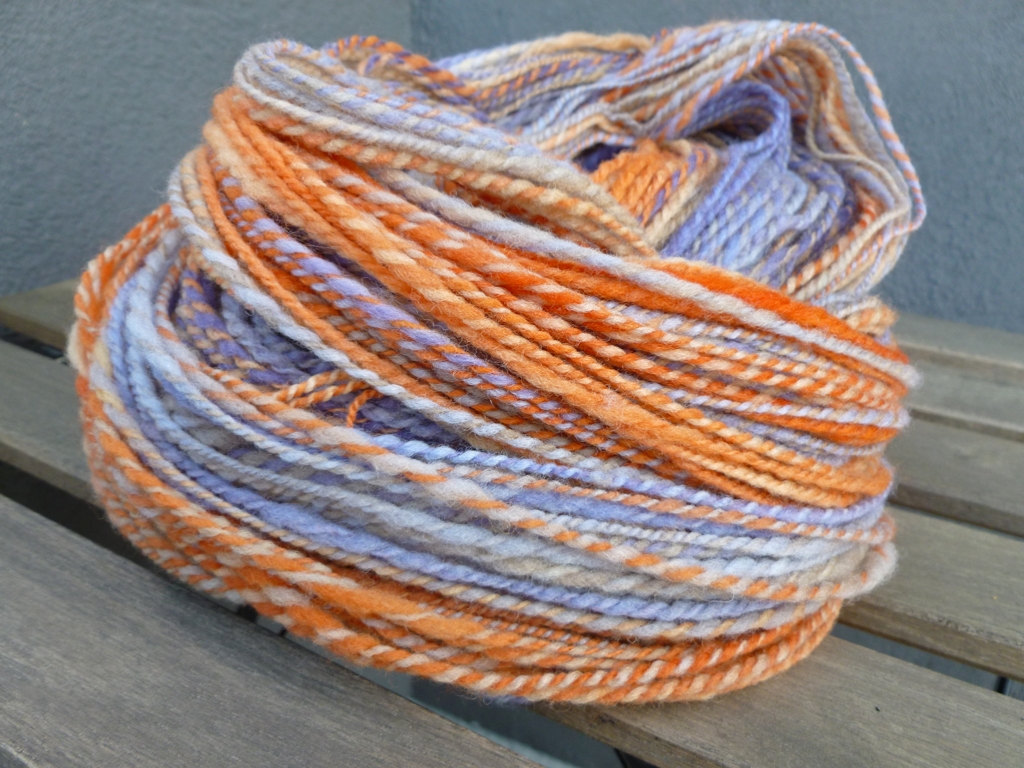
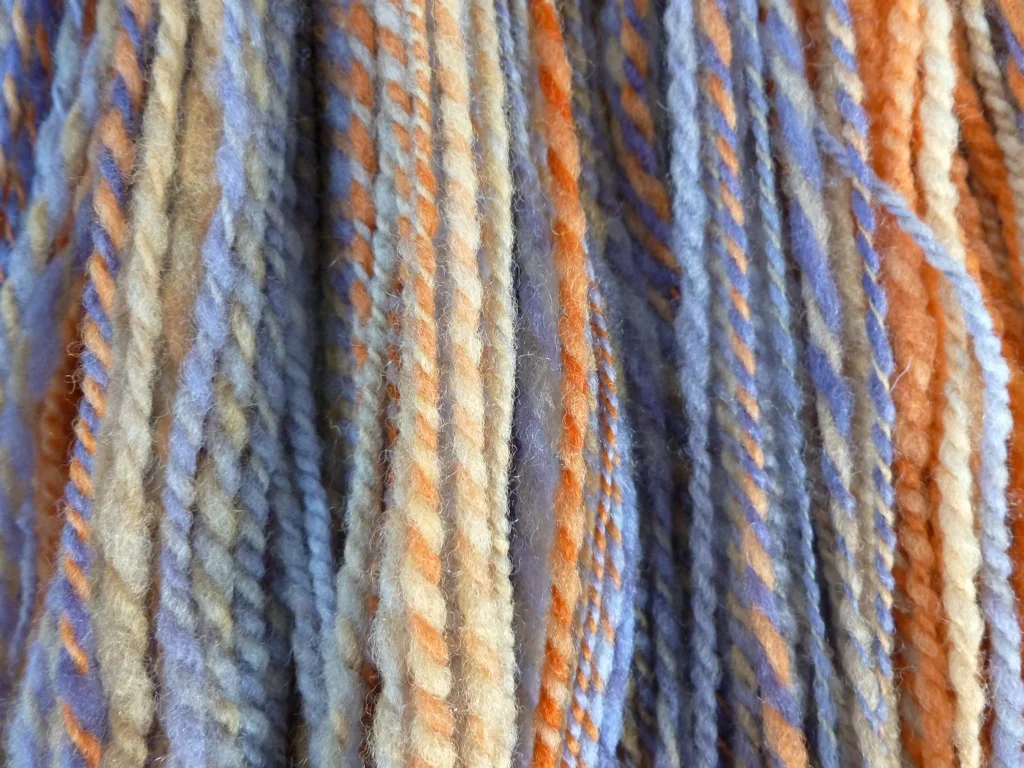
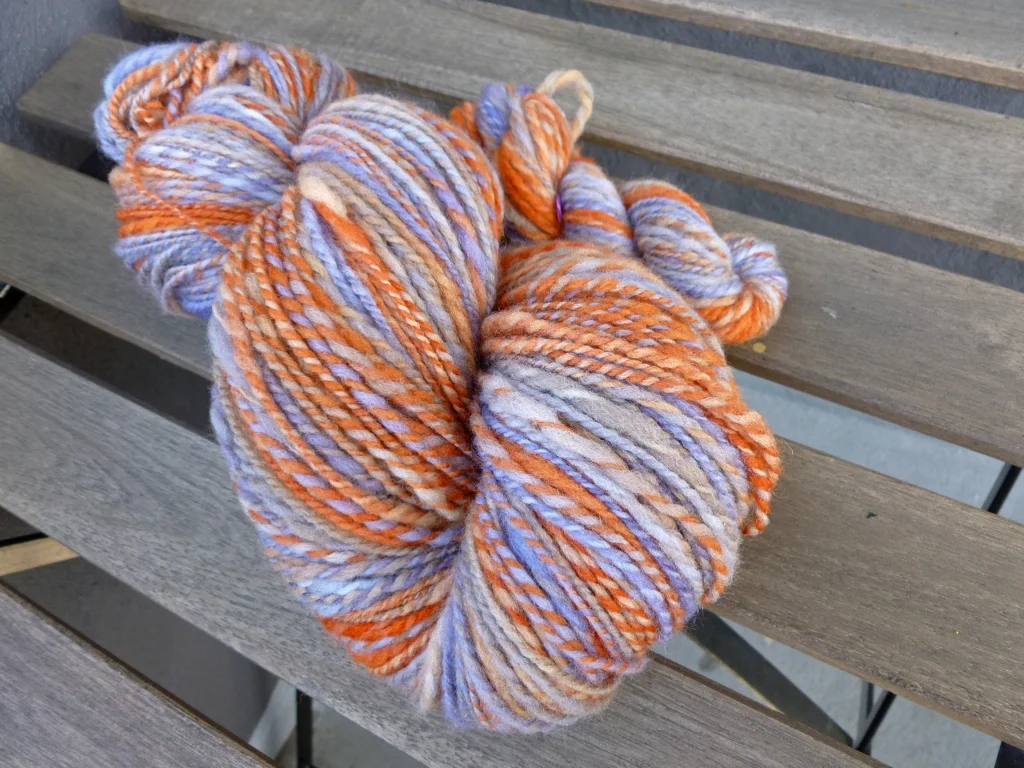
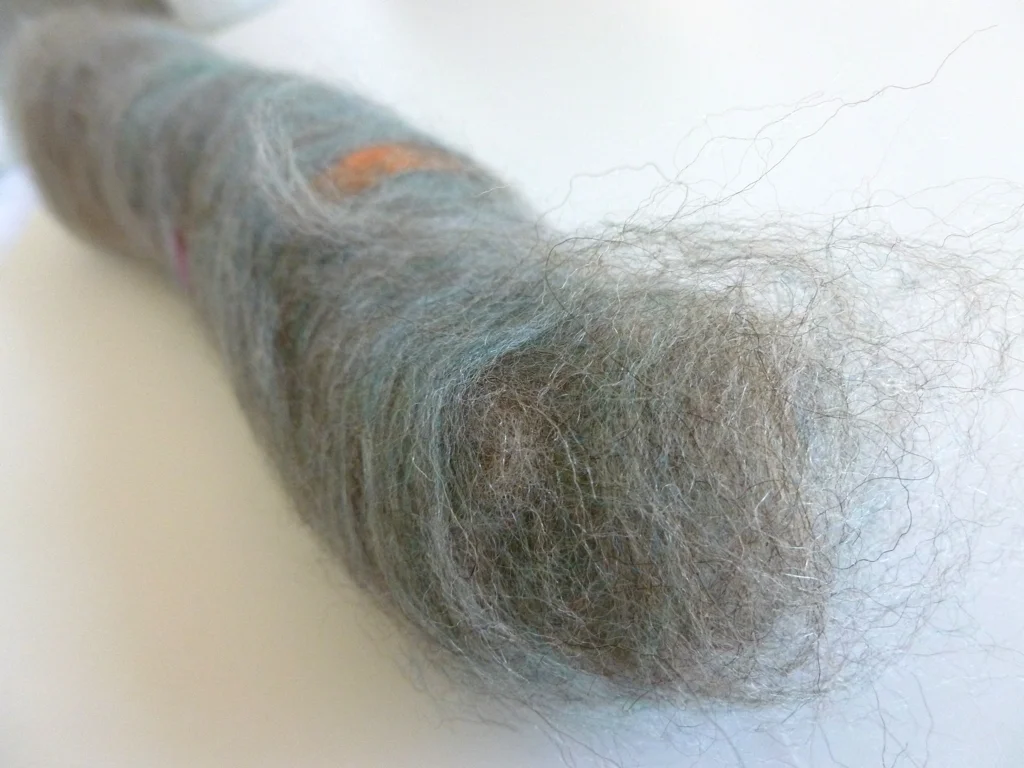
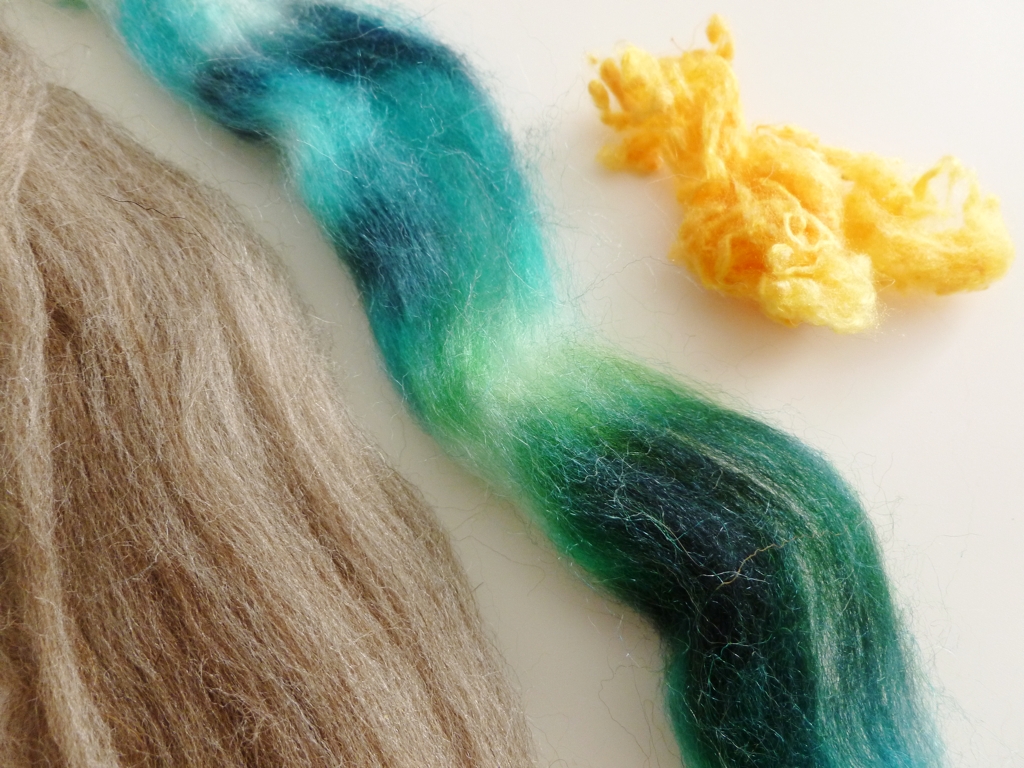
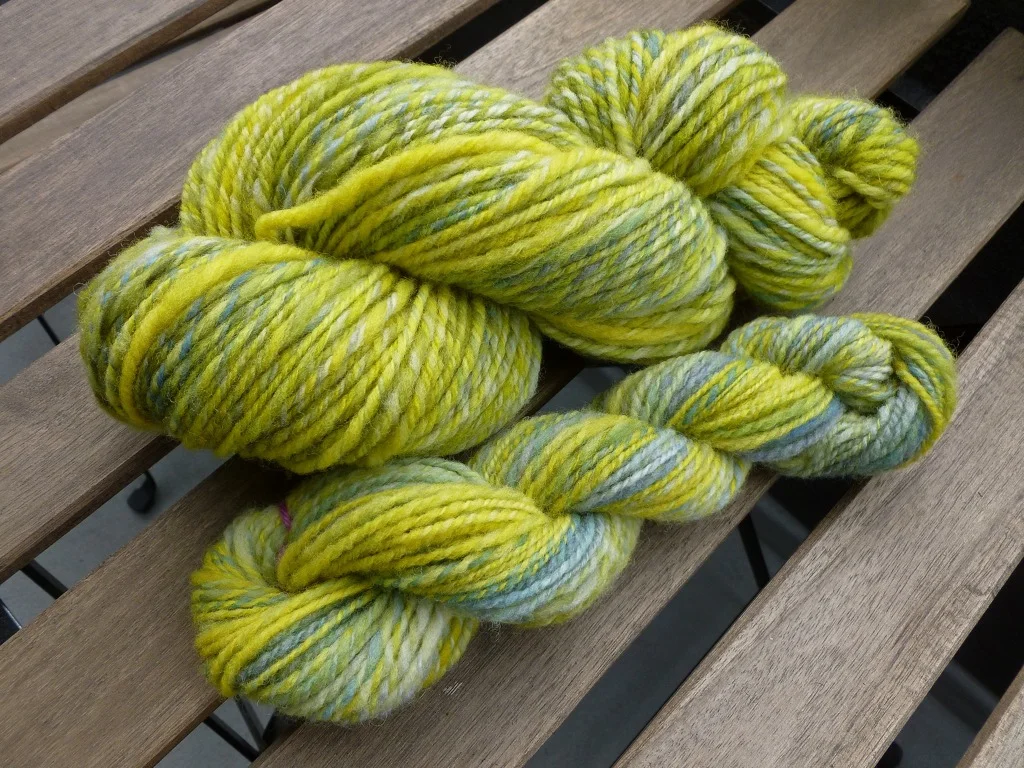
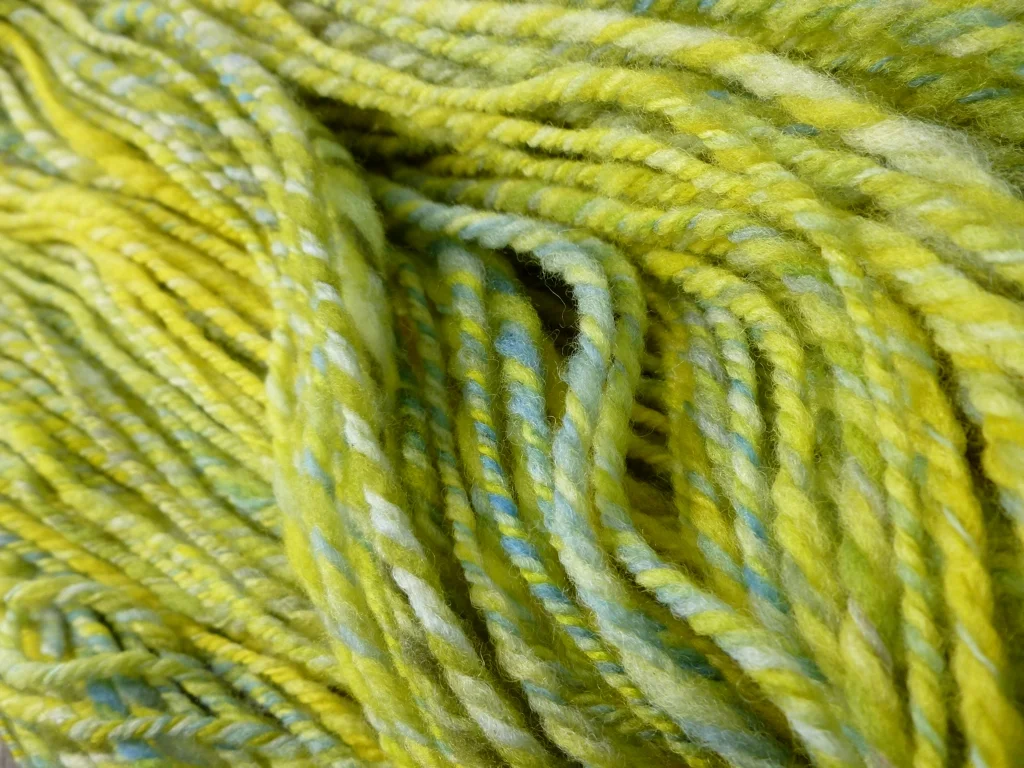
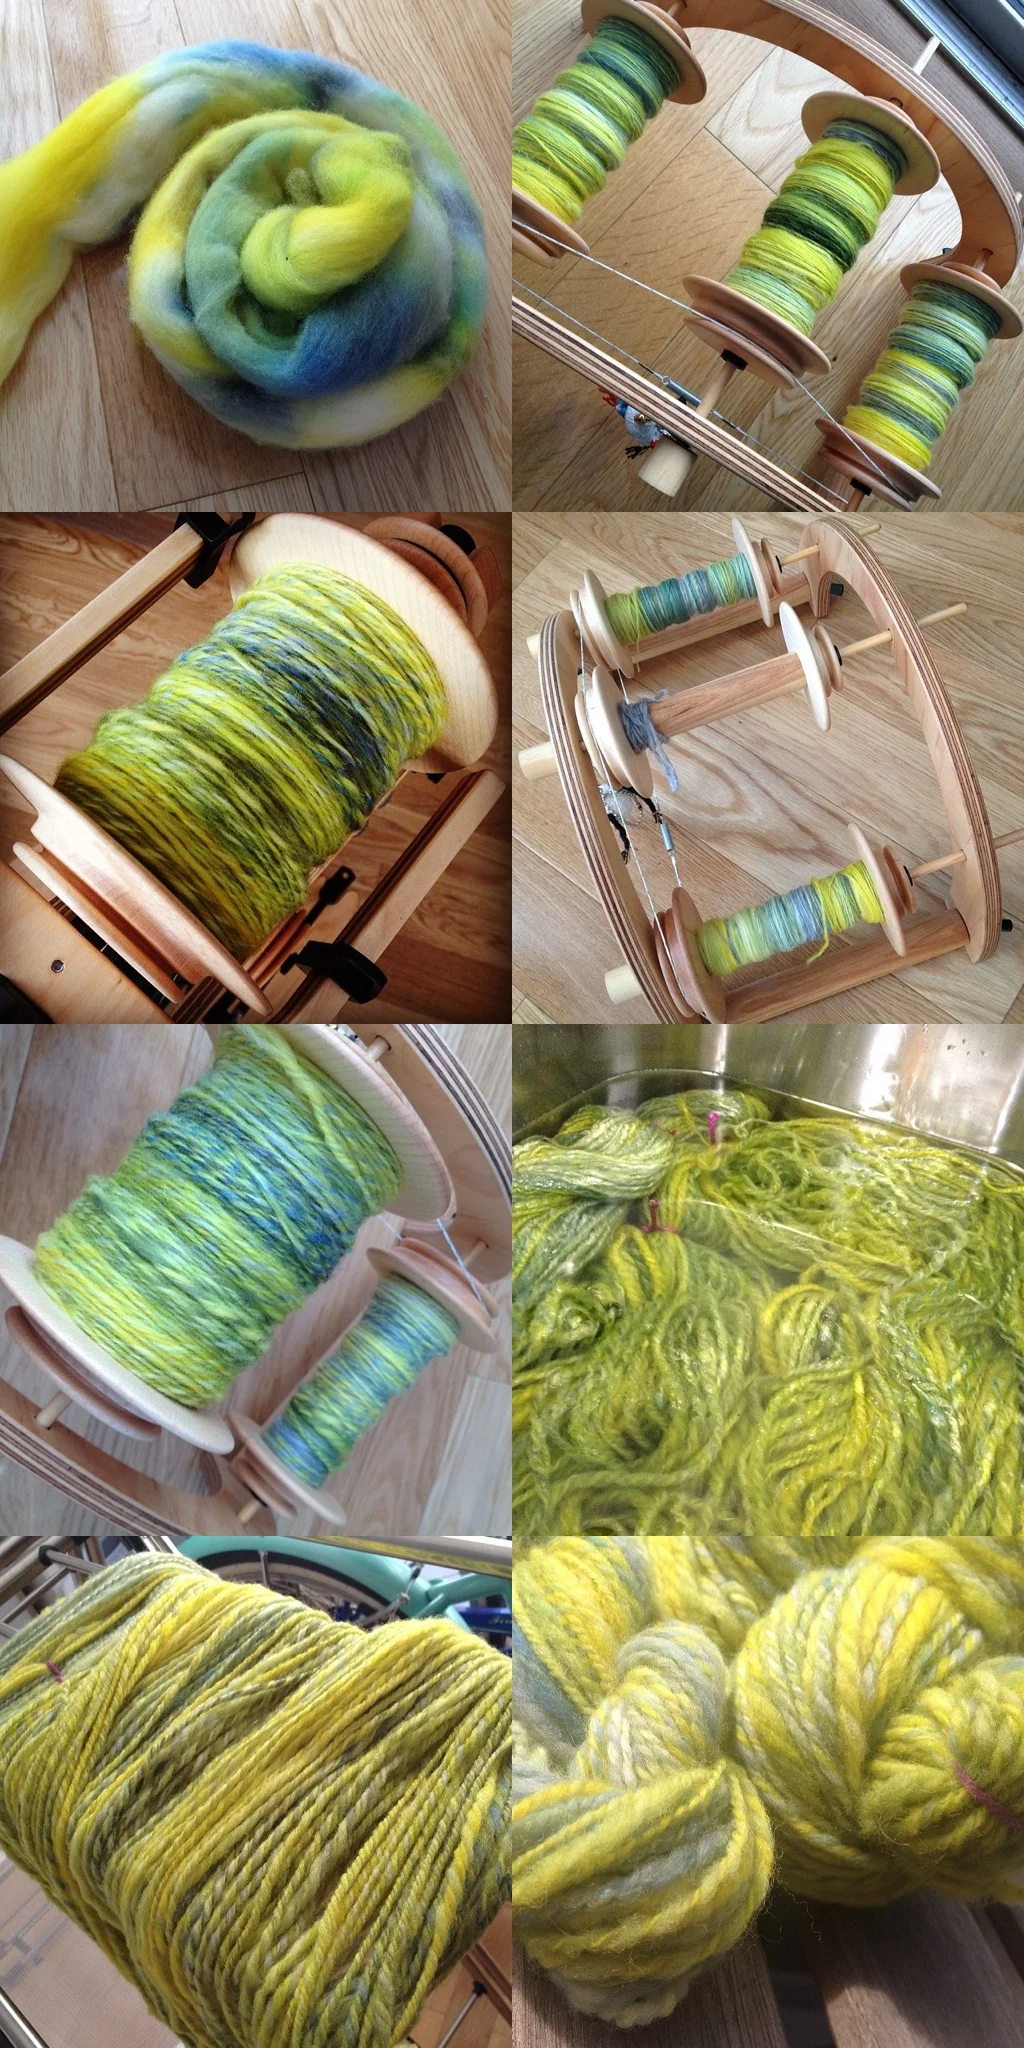
As for other patterns, I’ve been sketching and taking notes as soon as the ideas popped into my head. A few skeins of my recent handspun have been brilliant inspiration. I’ve even resurrected a few older patterns from my notes and WIP bin. Some of them I’m ripping out because they’re just not as exciting or likable since the novelty wore off. Still others have reclaimed some brain space so I can get back to puzzling out the details. The next few months are going to be busy with pattern knitting and writing. Plenty of ripping too. I’m sure of that. 

Even after 3 months, I still feel like I’m just getting started but at least I’ve got some momentum. There have been more small successes behind the scenes to keep me going then there have been disappointments to hold me back. When I was feeling complacent and lazy, this interview with Alex Tinsley over on the Loopy Ewe blog was a swift kick in the pants. I’ve read it several times and I’m sure I’ll be coming back to it when I would rather be be a giant, lazy lump. Until then, there’s no time like the present to get serious and get things done. So, I’m sticking with my original goal of releasing 1 pattern every 2 months. It’s not going to be easy or quick but it’s worth the effort. 

Take A Stab At Needle Felting

One of the local yarn shops is closing down and having quite the clearance sale. Looking through was little was left, I found some felting needles. My first stab at the craft was over a year ago. That first project was a heart and it even looked like a heart, but not the cute puffy heart, like these, that I imagined. The disappointment of not being immediately good at needle felting has faded and I’m ready to try again. 

I have wool and enough needles to last me though several projects. The only thing I don’t have to a foam mat to work on so I don’t destroy my fingers or the kitchen table. While I gather up the rest of my supplies, I can’t help thinking of what I want to make. The only wool I’m willing to sacrifice to the learning process is a combination of blue, yellow, and green. Besides from felted balls, fish seemed like the only thing that would look good with that mottled combination. My mind went blank after fish. To the internet! 

After much searching through the halls of the internet, I’m still not sure what else to make with that wool but I do have plenty of ideas for other projects. Tutorials were easy to find and the best ones were usually videos. They made it easy to see just how to wrap the wool and where to stab it to make the right shapes. They showed how and where to join different pieces to make larger pieces. Watching the tutorials and seeing people actually make something got rid of a lot of the mystery of needle felting. 

The following videos are three of my favorites because of how informative and just plain cute the finished pieces are. 

A nice overview of how to make different shapes and how to combine them to make sculptural pieces.

Simple tutorial for making a cute little felted mushroom. Seems like a good beginner project.

Another simple project that combines a sphere and some logs to make a cute little bunny.

Stash Documentation

Spun-Right-Round-Color-Bot-Fiber.jpg

In February, I signed up for the Spun Right Round Fiber club as soon as it popped up in the Etsy shop. Doesn’t hurt to obsessively stalk a shop’s RSS feed, right? Please tell me I’m not the only one that does this. Joining the club was a consolation prize, albeit an awesome one, for not being able to make the trip to Stitches West. Eventually, the shipping notification arrived in my inbox and I waited none too patiently for March’s shipment to show up in my mailbox. The fiber is soft and the colors are definitely outside of my usual color spectrum. Riotous neon pink doesn’t often make it into my stash but this bump makes it look fun. Can’t wait to start spinning it up. 

When I went to add the fiber, appropriately named Color Bot, to my Ravelry stash, it looked it was the only fiber I’ve bought in months. Definitely not true. I was also pretty sure that I’ve made more than 21 skeins of handspun. Oh, Ravelry, I have not forsaken you! I’ve just been a little distracted by spinning and writing and websites and knitting and video games and…you get the point. Over the past few days I’ve been adding to, photographing for, and updating the stash catalog. The whole process can be slow going but it’s worth it and I recommend it. A happy, up to date Ravelry stash let’s you see all your fiber at the click of a finger. Makes it easier to decide what to spin next. No need to drag it all unless you want to. Plus, it’s a great reference when you’re trying to decide how to further enhance the stash. 

I almost forgot I had some this stuff. Shame on me. 

Malabrigo Nube - Glitter Colorway. This Merino is ridiculously soft and the colors are everything you’d expect from Malabrigo. 

CosyMakes Falkland - Flight of Fancy

Honey-Bear-Fractal.jpg

More CosyMakes Falkland in Honey Bear. Before and After.

Gale’s Art Corriedale Top - Limited Edition Color

6 oz of un-dyed Corriedale Cross. Sometimes you just need a few neutrals to balance out all the color. Thinking about about pairing it with the purples, greens, and blues of the Corriedale from Gale’s Art. Maybe I’ll try spinning my first skein of sock yarn. 

Wander the Web 32

Looking along the beach towards Venice and Santa Monica.

Looking along the beach towards Venice and Santa Monica.

A collection of fun and interesting links from the week. 

Double Chocolate Banana Bread

The amazingly bright paper sculptures of Zim&Zou

Such an adorable baby sweater.

Mini Citrus Tarts; Might be the perfect use for all those meyer lemons in my fridge.

DIY: Twill Woven Stool; Thinking about doing this with yarn instead. Maybe even handspun.

Being a beginner is hard.

Pom-Pom Love: A tutorial

On Blogging 

Honey Bear Handspun

I can’t remember exactly when I first started following CosyMakes but I’m fairly certain I was still in college. I liked her blog, her patterns, and her hand dyed yarn and fiber.  Still do. I wanted to join her fiber even though I didn’t know how to spin. So, during a February Sale, I snapped up a few bumps of fiber. The Falkland was every bit as pretty in my hands as it was on the computer screen. Soft too.

Honey-Bear-Fractal-Skein.jpg

The first word that popped into my head when I unchained the top was, Fractal. The small color palate was clear and distinct with an obvious repeat. A perfect dye job for fractal yarn. I didn’t hesitate to split the fiber lengthwise and then split one half three more times. It’d be so easy to divide the stripes further but I like to keep the repeats longer rather than shorter. 

Spinning the singles long-draw was easy but it took me awhile to ply them together. When it came time to soak the yarn, I had to wash the dishes to clear the sink. Annoying but handspun is worth a little scrubbing.

I’m not sure what the yarn’s next step is. Maybe a shawl or a cowl or simply a gift. I can think of a few people who would gladly take this yarn off my hands. 

The Specs

Fiber: Cosy Makes Falkland Top

Color: Honey Bear

Fractal 2-ply

340 & 32 yards

~ 10 WPI; DK to Worsted Weight

February - March 2014

Rolags: A Love Story

I try to be a monogamous spinner and only work on one project at a time. Mostly, it’s because I only have 4 bobbins and don’t have a way to store extra singles. I also don’t want to confuse my hands spinning several different yarns at one time. If I get bored, the proto-yarn mellows out on the bobbins until I feel like finishing it or a more interesting spin comes along. This might be a problem when I start spinning more than 4 oz of fluff at time. My monogamous spinning is why it’s taken me so long to spin that wonderful rolag from last month’s spinning guild meeting. I even had a free bobbin ready to go. So, the rolag just sat there, tempting me with its softness and novelty until until I had no choice but to empty my bobbins. The orange and purple handspun that came off turned out wonderfully, but more more on that later. Back to the rolag.

I wasn’t sure what to expect when I drafted out a few fibers and started spinning. Turns out that the rolled up fiber was easy to draft as long I didn’t keep a death grip on it. The guild demo last month recommended long draw  and it is definitely the way to work with this prep. The resulting single was a little wild and gave me some good practice with double drafting. I didn’t try to get rid of all the lumps and bumps, they’re part of any woolen spun yarn. I just evened out the largest lumps and tried to keep the irregularities somewhat consistent. Does that sound contradictory? Yes. But was it fun? Yes. I even started looking forward to the interest and color from the bits of silk noil. They add interest and a nice pop. 

The color of the finished yarn surprised me too. Unspun, the rolag’s brown, blue, and green blended together into a heather. To tell the truth, I was reminded of a very large dust bunny. Spun, however, the colors are distinct and quite visible. It’s like knitting with a semi-solid yarn instead of yarn that’s been dyed as a solid. You get to see and enjoy all the nuances and tones that go into a color instead of just one solid note. 

I wish that I had more than just 14 yards of this yarn. It’s soft, fluffy, and wonderfully cushy. I want to knit a hat or even a cowl to cosy up in. Even if I do manage to duplicate the rolag with my extra fiber, I still won’t have enough yardage for either. Just going to have find the right pattern for these few precious yards. 

Before I return to petting this yarn, I want to thank the Greater Los Angeles Spinning Guild for holding a demo on woolen spinning and prep. Who knows how long it would have taken me to kindle a love of rolags if the teacher hadn’t given me one on a silver platter. Now I’m researching hand carders, blending boards, and drum carders. I even turned a giant batt into 37 fauxlags, AKA fake rolags. Those things are fun to spin too which is great since I have 30 of them to spin. 

Wander the Web 31

I see a pair of tall, fiery-orange socks in my future. 

I see a pair of tall, fiery-orange socks in my future. 

A collection of fun and interesting links from the week. 


A nursing home floor becomes one giant touchscreen

Adaptable Knitted Survival Clothing

Sipho Mabona folds a life-size elephant from a single 50x50” sheet of paper

How to Measure the Yardage and Width of Handspun Yarn

Herb Williams’ Crayon Sculptures. The tree trunk is my favorite. 

The Default Techniques of Knitting by Ysolda Teague

Goldfinch Handspun

When I first joined Instagram, the predominate color of my photos was yellow and this yarn is the reason why. The fiber was so bright and colorful that I couldn’t resist photographing it and documenting the spinning process from beginning to end. After hanging out in my stash for more than a year, this falkland deserved some time in the spotlight. 

When I finally decided to spin, I wasn’t sure what it was going to turn into until I unchained the roving. The fiber was soft. The colors were lovely and mottled. I just wanted to spin it with doing any sort of fancy prep. Normally, this would mean spinning a simple 2-ply but a brand new bulky flyer and bobbin had just arrived at my front door. With 4 bobbins, one of them extra large, I could easily spin a warm, cushy 3-ply! So, I split the roving into 3 equal sections and got started. Spinning the singles was easy. Plying the singles was ridiculously easy with the bulky flyer. I didn’t have to constantly watch the bobbin to make sure the yarn wasn’t getting tangled up in the flyer or wrapping around the tensioning cord. I didn’t have to ramp up the tension just to get yarn to feed through the orifice and wrap around an already bursting bobbin. All I had to do was treadle, ply and, occasionally, join broken singles back together.

Goldfinch-2ply.jpg

I’ve heard tales of singles being the same length but I’ve never been that lucky or skilled. Take your pick. One of the singles was much shorter than the other two. Time for 2-ply. Chain-plying was out because, while it would give me a similar thickness, the colors wouldn’t behave the same way. Thankfully, the leftovers fit on a regular bobbin with room to spare.

Goldfinch-Compared.jpg

Now I just have to figure out what to do with all this cushy, cushy yarn. Pet it? Done. Squish it? Done. Sniff it? Done. Cuddle it? Done. Knit it? Haven’t started yet but I have a plan. 

The Specs

Fiber: Gwen Erin Natural Fibers - Falkland Top

Color: Goldfinch

3-ply

238 yds; 3.3 oz

Aran Weight; ~ 8 WPI

2-ply

94 yds; 0.7 oz

Worsted Weight; ~ 9 WPI

The Getty Villa and Malibu

Two things crossed off the LA Bucket List!

Sometimes, life calls for a long weekend and a little bit of adventure. I was glad to have both this past weekend when The Bearded One and I went to explore The Getty Villa and Malibu. The weather was lovely and perfect for exploring The Villa’s Roman-style architecture, gardens and peristyles. I would have knit a few stitches had my knitting come with me. Inside, the museum was filled with spectacular sculpture, pottery, jewelry, coins, glass, and mosaics from Ancient Greece and Rome. It was both amazing and sobering to see the intricate work and delicate craftsmanship of people who lived and died hundreds and thousands of years ago.  The Getty Villa is definitely worth a visit. 

Getty-Villa-View.jpg
Getty-Villa-Hercules-Tile.jpg
Getty-Villa-Sculpture.jpg
Getty-Villa-Goddess-Sculpture.jpg
Getty-Villa-Goldfish.jpg

The perfect weather continued after we left the museum and drove up to Malibu. Unfortunately, my phone’s battery wasn’t as cooperative and died during the trip. Would have been great to get some photos from the top of Point Dume. That’s just another reason to go back aside from wanting to explore the tide pools at the edge of the cliffs. Thankfully, the phone lasted long enough to grab a few shots of the Malibu pier and the nearby Adamson House.

Adamson-House-Fountain.jpg
Malibu-Pier-Pano.jpg

Wander the Web 29

Santa-Monica-Seagulls.jpg

A collection of fun and interesting links from the week.

glowing paper forest by Orproject

The Amazing 18th Century Mechanical Furniture of Abraham and David Roentgen

Erik Aberg’s Ghost Cubes. Watching these things move is mesmerizing. 

Beautiful Flower Mandalas by Kathy Klein

Infinite Architectural Patterns by Alexandre Jacques

Peppercorn Bracelet

Olive-Peppercorn-Bracelet.jpg

In a perfect world, I’d be writing about how I cast on for the Peppercorn Bracelet as soon as the beads and the cord were in hand. The pattern photos are lovely. All the projects on Ravelry are very complimentary. However, I strung the beads in January and then the whole thing sat on a shelf until I was infected by sudden fit of reorganization. Finally knitting the bracelet seemed like a much better idea than stuffing it into a bag and forgetting about it for another month or two. Glad I did.

Olive-Peppercorn-Bracelet-Tie.jpg

Over the next few days, I knit on it at least 5 beads at a time. The hemp cord I subbed in for yarn was a bit hard on the hands and not just because it lacked any stretch. I was poking holes in my fingers trying to get one stitch over the other. The finished bracelet is definitely worth the effort though because I love wearing it. It’s dangly and the hemp cord has a nice drape. Even better, the bracelet’s extra long since I used every bead I had. Why let the extras take up space on that shelf I was trying to  reorganize? Made the end ties longer too so it sits at the perfect spot on my wrist. 

Wearing-Peppercorn-Bracelet.jpg

I like wearing this bracelet so much that I’m definitely going to make more as gifts. They don’t take much cord/yarn, I get to play with pretty beads, and my friends get a nice bracelet. Everyone wins. 

The Specs

Pattern: Peppercorn Bracelet by Kourtney Robinson

Yarn: fine hemp cord

Beads: Toho Seed Beads 6/0

Needles: 2.5 mm DPN’s

Olive-Peppercorn-Bracelet-2.jpg

Bring on the Rolags

Merino-Rolag.jpg

Spinning Guild never ceases to be inspiring. There’s always something new to see, fiber to feel, and the simple contact high of being around other spinners. This month’s meeting on woolen spinning and prep was no exception. I picked up a few pointer about long draw and double drafting but was completely drawn into the process of making rolags on hand cards. I’d never seen anyone using hand cards in person before. Our demonstrator used solid and dyed merino along with a little silk noil for interest. The finished rolags were thick and fluffy but also light and airy. The once distinct colors had blended and merged into lovely heather.

Rolag-Fibers.jpg

The spinning taskmaster that lives in my head wanted to spin one. Thankfully, the teacher made extras for us to work with and I got to take one home. As soon as I free up a bobbins, I’m going to spin it up. The taskmaster will not be denied. 

If I like spinning from rolags and the yarn that it makes, which I probably will, I’m getting a pair of hand cards. In fact, I’ve already started researching them. Any suggestions for the perfect set? 

In the meantime, the teacher also showed us how to make fake rolags, faulags, with only a dowel and some combed top. Have a feeling that I’m gong to making a lot of those.

Merino-Rolag-Close-Up.jpg

Wander the Web 28

Sunset-at-Will-Rogers-State-Park.jpg

A collection of fun and interesting links from the week.

Knitted wall art and a great use for leftover yarn. 

OpenKnit - an open source knitting machine

Crazy Stripes! It’s amazing what a few increases and decreases can do.

The Shop Talk Series by Anna Hrachovec, the creative force behind Mochimochi Land. She’s written about how she got started designing patterns, self-publishing, burn out, writing books, online marketing, and tech editing. Definitely worth a read. 

The Frilled Standard Bind Off. If you knit a lot of lace and need a stretchy decorative bind-off, this might be the method for you.