
How To Block A Ribbed Scarf
/
I was thrilled to bind off the Melded Scarf, you can get the pattern here, but I knew I wasn’t done. The first few inches I reknit after frogging looked wonky. There were rows that stood out more than the rest. I could tell where I stopped knitting one night and picked it up again the next day. I knew I had to block the scarf to wash it and get it looking and feeling it’s best.
What is blocking?
Blocking is a finishing technique that makes a piece of knitting go from good to great. Blocking evens out stitches and gives the knitting - scarf, shawl, or sweater - it’s final shape. I think many knitters picture complicated lace shawls that have been stretched and pinned to the limit when someone mentions blocking. But blocking doesn’t equal stretching. It’s wetting, laying out the knitting in the shape you want it to be, and letting the piece dry.
Every natural fiber yarn benefits from blocking. Blocking can drastically change natural fiber yarns. Yarn can “bloom” and get softer. Stitches can grow and stretch. Gauge can definitely change and affect the size of a finished piece. So always knit a big swatch and block it the way you’d block the finished project. Blocking will even out stitches worked in synthetic blends like acrylic, but it won’t do much more then that.
There are several different ways to block knitting and different fibers do better with different methods. The Melded Scarf I’m working with is 100% non-superwash wool which reacts well to wet blocking, the method I’m using here. Check the care instructions for your yarn to choose the best method for your project.
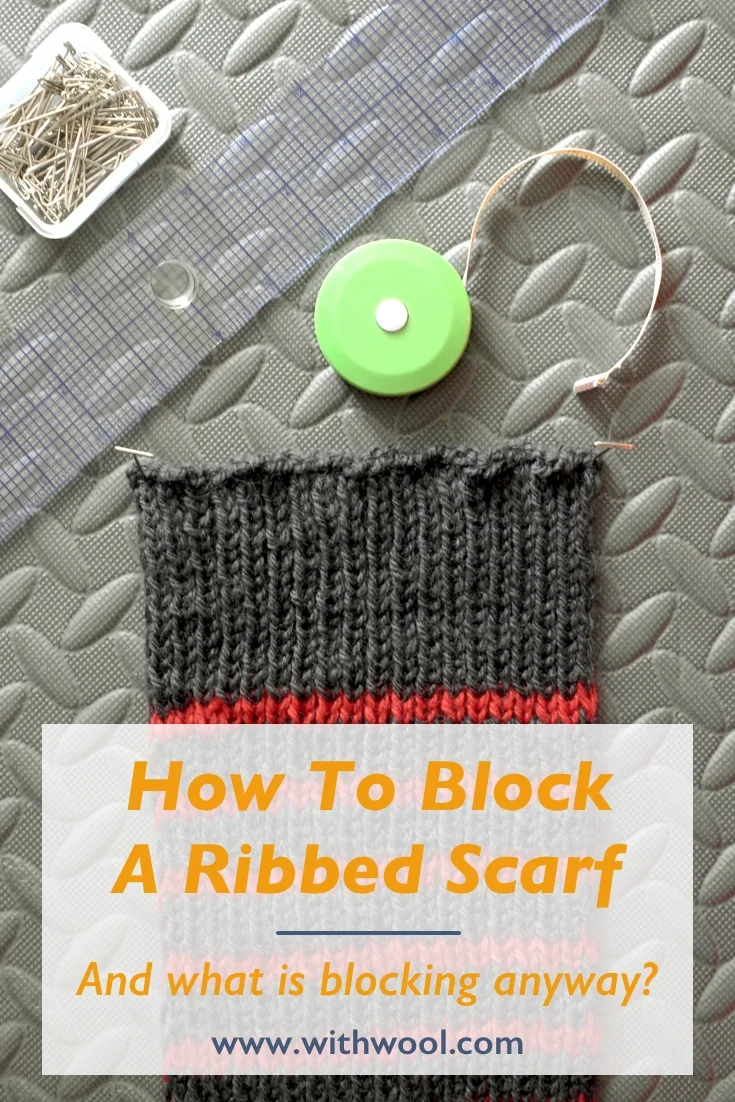
Materials:
- the scarf
- a no-rinse wash (I use Eucalan. )
- a large flat surface that you can put pins in (foam mats, carpet, or a DIY board)
- a towel
- a tape measure
- a ruler
- a few rustproof pins
Step-by-Step
1. Fill a sink or small tub with cool water and add a capful or two of no-rinse wash. Submerge the scarf and let it soak for about 20 minutes.
2. Take the scarf out of the water in one big lump. Squeeze out as much water as possible, but don’t wring it, before laying it out on a towel. Roll the scarf up in the towel, and squeeze out even more water. Standing on the scarf burrito works well for me.

3. Unroll the towel where you’re going to block. Then lay the scarf out flat, making sure that it’s in a straight line. Also make sure that there aren’t any parts of the ribbing that look more stretched out.
If, like the Melded Scarf, your scarf has 2 distinct halves, use the tape measure to make sure both halves are the same length. If one half is longer than the other, carefully pull on small sections of the shorter side. Work from the middle to the end. The scarf is vary malleable at this point so you won’t have to do much to gain an extra inch or two.
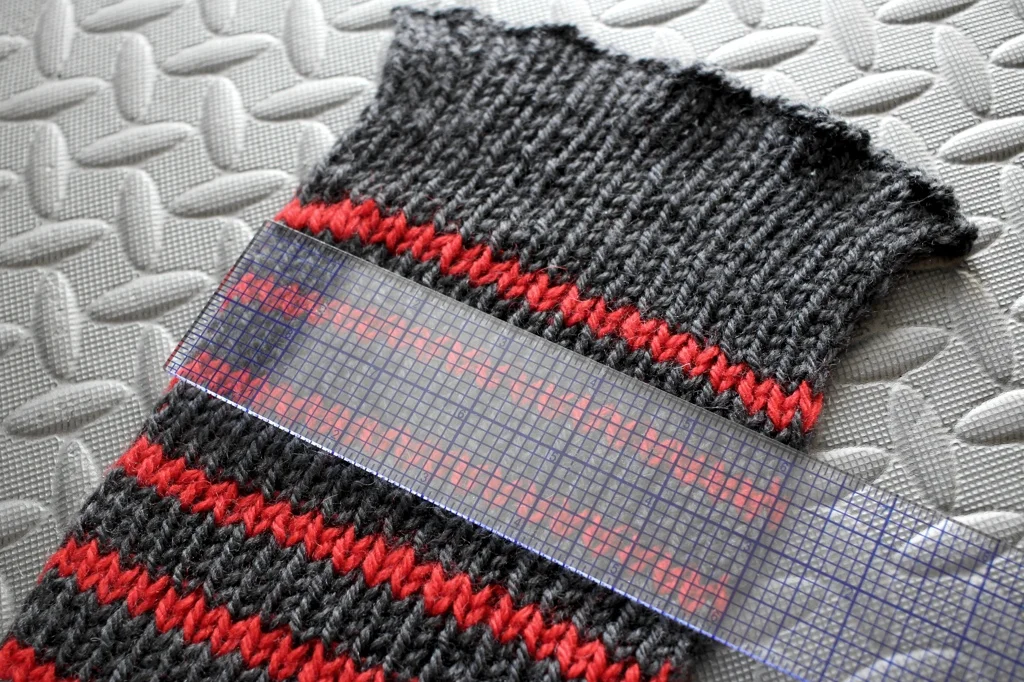
4. Time to break out the ruler. Hold it across the scarf to make sure the width is the same from end to end. For this scarf, that’s about 6”. Where the scarf is narrower, pull out both edges to the width you want. Working an inch or two in from the edge will keep the ribbing from looking more stretched out than the rest of the scarf.

5. To get crisp corners at the ends, pull each corner to the shape you want and pin it.
6. Let it dry, take out the pins, and you’ve got a cosy new scarf.


