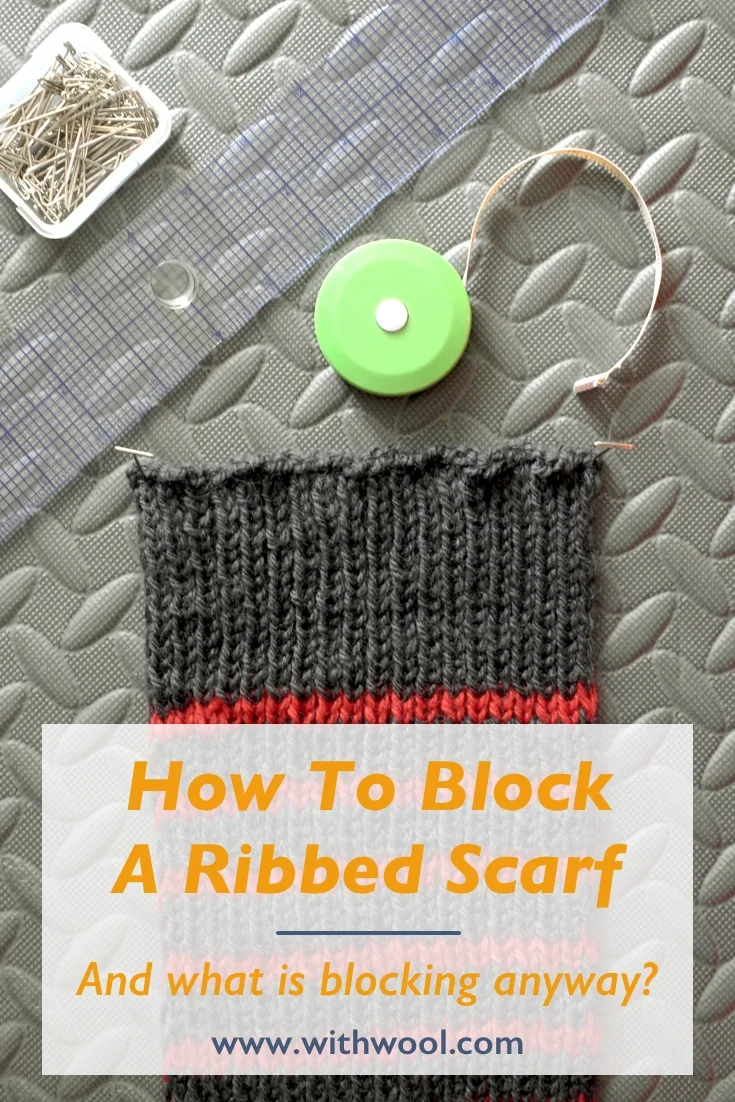
How To Block A Ribbed Scarf

How to Block a Ribbed Scarf. And what does it mean to block knitting anyway? | withwool.com

I was thrilled to bind off the Melded Scarf, you can get the pattern here, but I knew I wasn’t done. The first few inches I reknit after frogging looked wonky. There were rows that stood out more than the rest. I could tell where I stopped knitting one night and picked it up again the next day. I knew I had to block the scarf to wash it and get it looking and feeling it’s best.

What is blocking?

Blocking is a finishing technique that makes a piece of knitting go from good to great. Blocking evens out stitches and gives the knitting - scarf, shawl, or sweater - it’s final shape. I think many knitters picture complicated lace shawls that have been stretched and pinned to the limit when someone mentions blocking.  But blocking doesn’t equal stretching. It’s wetting, laying out the knitting in the shape you want it to be, and letting the piece dry. 

Every natural fiber yarn benefits from blocking. Blocking can drastically change natural fiber yarns. Yarn can “bloom” and get softer. Stitches can grow and stretch. Gauge can definitely change and affect the size of a finished piece.  So always knit a big swatch and block it the way you’d block the finished project.  Blocking will even out stitches worked in synthetic blends like acrylic, but it won’t do much more then that.

There are several different ways to block knitting and different fibers do better with different methods. The Melded Scarf I’m working with is 100% non-superwash wool which reacts well to wet blocking, the method I’m using here. Check the care instructions for your yarn to choose the best method for your project.

Materials:

  • the scarf
  • a no-rinse wash (I use Eucalan. ) 
  • a large flat surface that you can put pins in (foam mats, carpet, or a DIY board
  • a towel
  • a tape measure
  • a ruler
  • a few rustproof pins

Step-by-Step

1. Fill a sink or small tub with cool water and add a capful or two of no-rinse wash. Submerge the scarf and let it soak for about 20 minutes. 

2. Take the scarf out of the water in one big lump. Squeeze out as much water as possible, but don’t wring it, before laying it out on a towel. Roll the scarf up in the towel, and squeeze out even more water. Standing on the scarf burrito works well for me. 

How to Block a Ribbed Scarf. And what does it mean to block knitting anyway? | withwool.com

3. Unroll the towel where you’re going to block. Then lay the scarf out flat, making sure that it’s in a straight line. Also make sure that there aren’t any parts of the ribbing that look more stretched out. 

If, like the Melded Scarf, your scarf has 2 distinct halves, use the tape measure to make sure both halves are the same length. If one half is longer than the other, carefully pull on small sections of the shorter side. Work from the middle to the end. The scarf is vary malleable at this point so you won’t have to do much to gain an extra inch or two. 

How to Block a Ribbed Scarf. And what does it mean to block knitting anyway? | withwool.com

4. Time to break out the ruler. Hold it across the scarf to make sure the width is the same from end to end. For this scarf, that’s about 6”. Where the scarf is narrower, pull out both edges to the width you want. Working an inch or two in from the edge will keep the ribbing from looking more stretched out than the rest of the scarf. 

How-to-block-a-ribbed-scarf-step-5.jpg

5. To get crisp corners at the ends, pull each corner to the shape you want and pin it. 

6. Let it dry, take out the pins, and you’ve got a cosy new scarf.

How to Block a Ribbed Scarf. And what does it mean to block knitting anyway? | withwool.com

Video Tutorial: Carrying Yarn Up The Side Of Your Knitting

 Learn how to work stripes and carry yarn up the side of your knitting with this video tutorial. | withwool.com

With the release of the Melded Scarf pattern, which you can find here, I decided to create a video tutorial of how to carry yarn up the side of your knitting when working short and tall stripes. Why learn how? There won’t be near as many ends to weave in at the end. Plus the yarns neatly twist together and are ready to use when you need them.

If you’d like to learn how to carry yarn up the side from step-by-step photos instead, here’s a link to that tutorial.

Learn how to work stripes and carry yarn up the side of your knitting with this video tutorial. | withwool.com

The Melded Scarf is worked in 1x1 rib with a selvedge stitch on each edge which hides the carried yarn really well. You can see blips of the carried yarn on the taller stripes, but they don’t stand out. Definitely less noticeable and less work than weaving in a bunch of ends. 

How To Work "sl1 wyif"

What the knitting abbreviation “sl1 wyif” means and how to work it. | withwool.com

The Melded Scarf, get the pattern here, is a straight forward pattern to knit with 1x1 ribbing and stripes. So why is there a “sl1 wyif” worked at the end of each row and what does that mean? “sl1 wyif” is an abbreviation which means slip 1 stitch purl-wise with yarn in front. Because the "sl1 wyif" is worked at the end of the row, that slipped stitch creates a selvedge edge which gives the scarf a neat, finished edge. It also has the neat side effect of pushing and hiding the carried yarns from the stripes (video tutorial coming Thursday) away from the edge of the scarf. 

The "sl1 wyif" along with it's opposite "sl1 wyib" - slip 1 stitch purl-wise with yarn in back - is also a big part of Mosaic Knitting, which you can learn more about here.

What the knitting abbreviation “sl1 wyif” means and how to work it. | withwool.com

So how do you work a "sl1 wyif"?

A post shared by April Klich (@aprilklich) on

1. Bring yarn to the front of the stitch

2. Slip stitch purl-wise to the right needle

Since this stitch is sitting on the end of a row, you’ll turn the scarf and start knitting the next row. No other special techniques required.  

How To Do The Long Tail Cast On And Helpful Tips

The Mosaic Sisters pattern- a set of colorful mosaic knit kitchen towels, washcloths, and coasters - is here! Meet the sisters and get the pattern.

Check out the other tutorials for the Mosaic Sisters: Mosaic Knitting 101 & Stripes And Carrying Yarn Up The Side


The long tail cast on was was one of the first cast ons I learned after branching out from the backwards loop cast on that most new knitters learn right off the bat. After years of knitting, the long tail method has become one of my favorites and my default cast on when a pattern doesn’t ask for a specific method. It’s stretchy, makes a tidy edge, and works up quickly once you get the hang of it. It can be worked in knit, purl, or ribbing (this tutorial focuses on the knit version). 

The long tail cast-on creates the first row of your work - which is why I especially love this cast on when working with non-stretchy yarns like cotton or linen which can be hard to start from a backwards loop cast on. Having a row already made is also great for when you join to knit in the round because it’s much easier to check that the stitches haven’t twisted around the needle. Plus, if you mess up and knit too many rows like I did on a recent project, you can even un-pick the cast on to fix the mistake. The process is a little finicky, but completely doable. 

Even better, for all of this long-tail goodness, all you need are needles and yarn. 

Getting Started

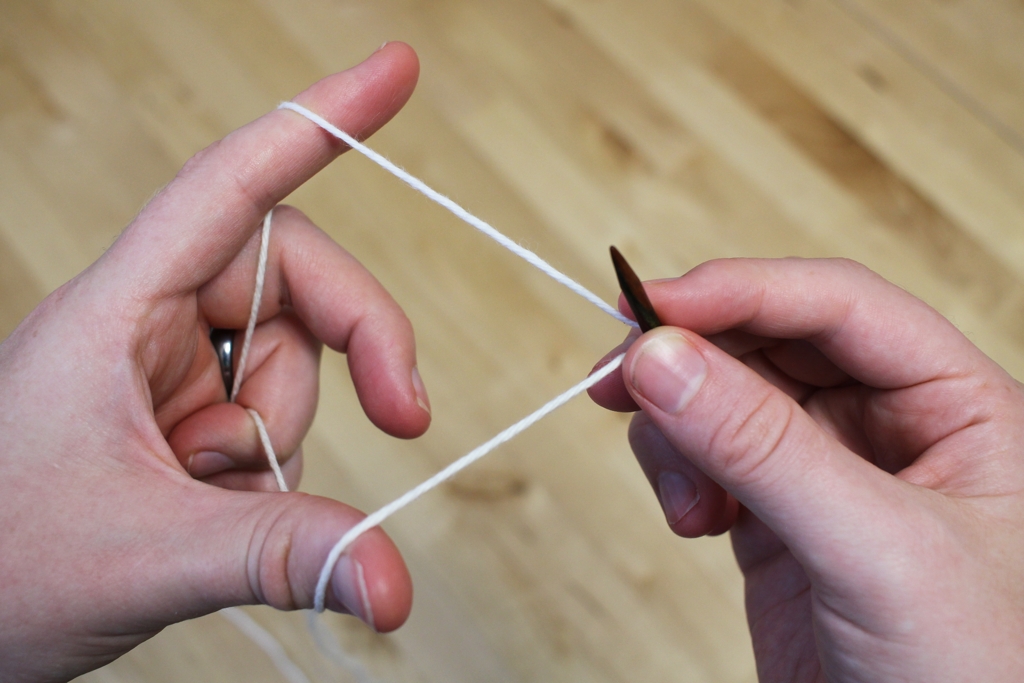
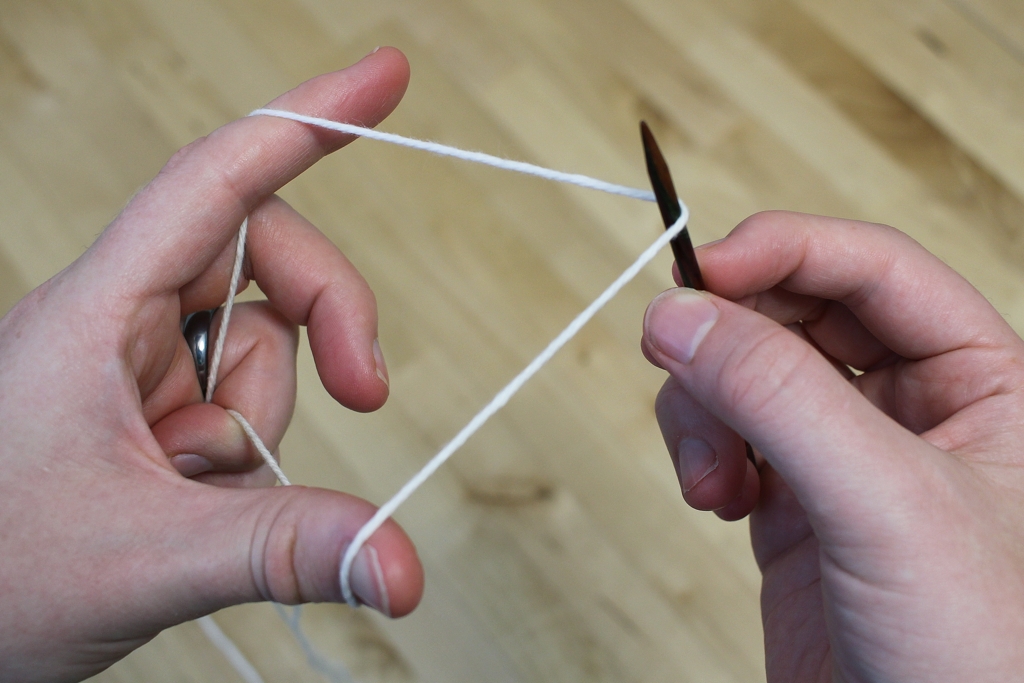
Pull the yarn over the needle with the tail end to the front. There’s no need to tie a knot. The photos above show how to hold and position yarn on the needles with and without my fingers in the way. Hold the yarn in your left hand with the tail end of the yarn over your thumb and the working end over your pointer finger. The needle goes in the middle. The yarn over your thumb becomes the bottom edge and the yarn over your pointer finger becomes the first row.

How much yarn do you need to pull out? Eventually, you’ll be able to eyeball the amount, but a good trick is to cast on 10 stitches, then unravel to find out how much yarn they used. Multiply the amount and had a few inches to weave in later and you’ll have a good estimate. 

Here’s an interesting fact: if you reverse positions and hold the needle in your left hand and the yarn in your right, you’ll make purl stitches instead of knit stitches. 

The 4 Steps To Make A Stitch

How to make a stitch with the long tail cast on. Also, gifs are perfect for when you don't want to watch an entire video.

How to make a stitch with the long tail cast on. Also, gifs are perfect for when you don't want to watch an entire video.

There are 4 distinct steps to make a stitch which seem complicated at first, but your hands will learn. Cast on enough stitches and you won’t even have to think about doing them. I exaggerated the motions to make the steps clearer, but I usually work with much smaller and faster movements.

Step 1: Bring the yarn in front and up underneath the yarn in front of your thumb. This is the loop that will secure the stitch. 

Step 2: Move the needle behind the forward strand on your pointer finger from right to left.

Step 3: Move your thumb backwards which bring the the loop over the needle and the yarn.

Step 4: Take your thumb out of the loop and pull on the front piece of yarn to secure the stitch.

Repeat those 4 steps until you have all the stitches you need on the needles and your first row. If you’re working in stockinette, purl the next row.  

When Casting On Lots of Stitches…

The main complaint about the long-tail cast on is when making a lot of stitches. I’m going to be conservative and say 50 stitches and up. If your yarn estimate is off, you’ll have too little yarn and have to rip out to start again or too much yarn and have a long tail hanging off the end of your work. To avoid both of these hassles, work the cast on with two strands of yarn instead of one.

You don’t have to knot them together either. Just hold the ends in place on the needle with your fingers. Once the first 2 stitches are on the needles, the yarn is secure and isn’t going anywhere. When the cast on is finished cut the front strand of yarn long enough to weave in. Yeah, it’s another end to weave in but it’s still less time and energy than having to repeatedly redo the cast on.