How To Do The Long Tail Cast On And Helpful Tips

The Mosaic Sisters pattern- a set of colorful mosaic knit kitchen towels, washcloths, and coasters - is here! Meet the sisters and get the pattern.

Check out the other tutorials for the Mosaic Sisters: Mosaic Knitting 101 & Stripes And Carrying Yarn Up The Side


The long tail cast on was was one of the first cast ons I learned after branching out from the backwards loop cast on that most new knitters learn right off the bat. After years of knitting, the long tail method has become one of my favorites and my default cast on when a pattern doesn’t ask for a specific method. It’s stretchy, makes a tidy edge, and works up quickly once you get the hang of it. It can be worked in knit, purl, or ribbing (this tutorial focuses on the knit version). 

The long tail cast-on creates the first row of your work - which is why I especially love this cast on when working with non-stretchy yarns like cotton or linen which can be hard to start from a backwards loop cast on. Having a row already made is also great for when you join to knit in the round because it’s much easier to check that the stitches haven’t twisted around the needle. Plus, if you mess up and knit too many rows like I did on a recent project, you can even un-pick the cast on to fix the mistake. The process is a little finicky, but completely doable. 

Even better, for all of this long-tail goodness, all you need are needles and yarn. 

Getting Started
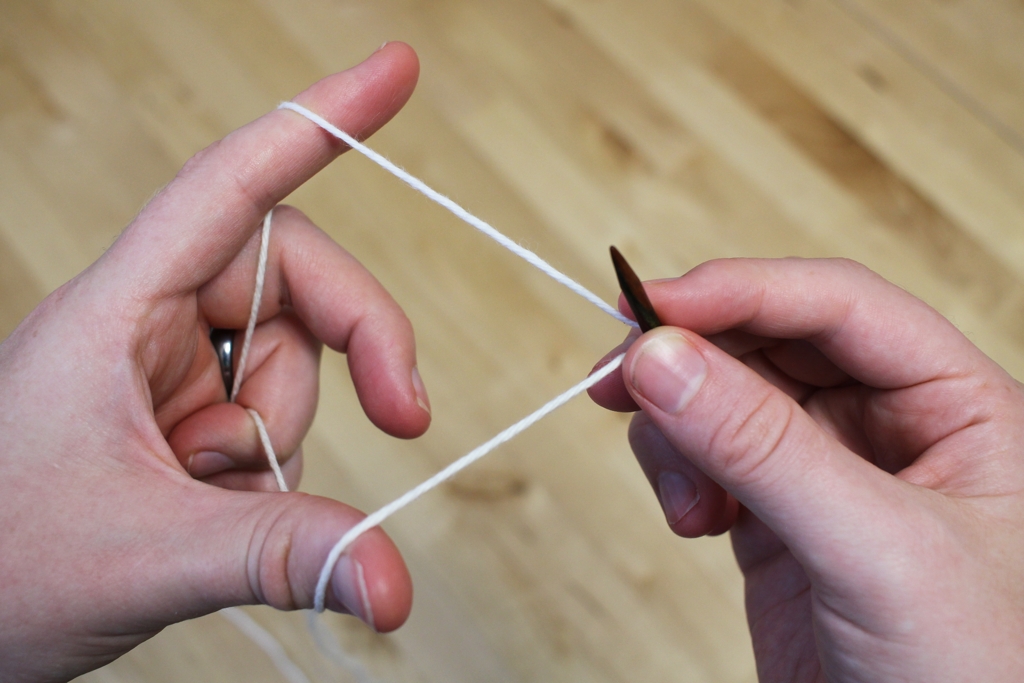
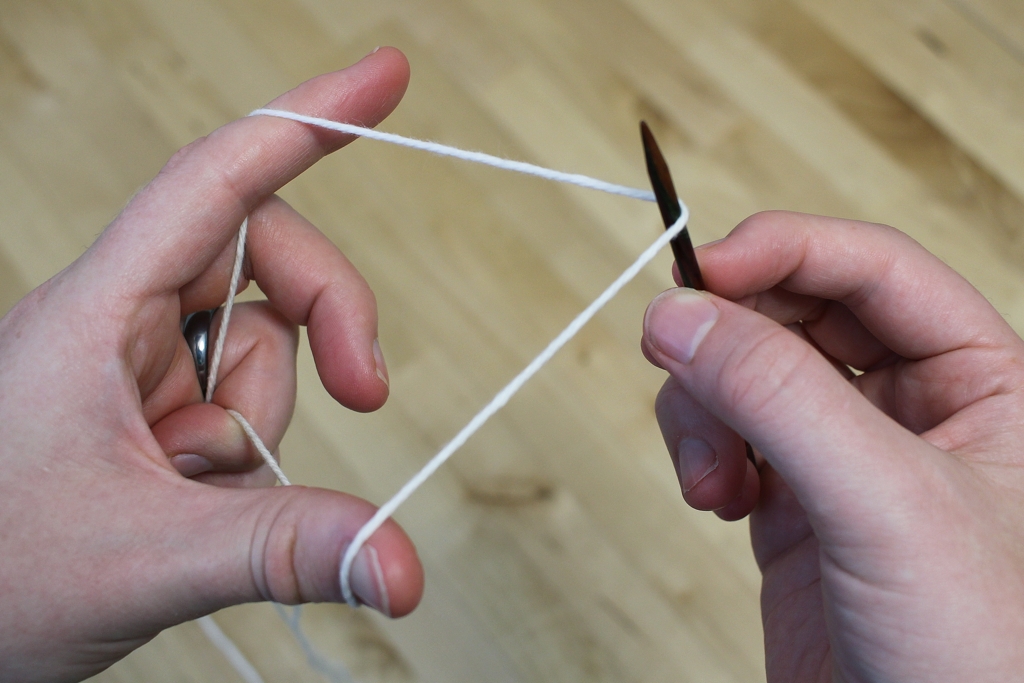
Pull the yarn over the needle with the tail end to the front. There’s no need to tie a knot. The photos above show how to hold and position yarn on the needles with and without my fingers in the way. Hold the yarn in your left hand with the tail end of the yarn over your thumb and the working end over your pointer finger. The needle goes in the middle. The yarn over your thumb becomes the bottom edge and the yarn over your pointer finger becomes the first row.

How much yarn do you need to pull out? Eventually, you’ll be able to eyeball the amount, but a good trick is to cast on 10 stitches, then unravel to find out how much yarn they used. Multiply the amount and had a few inches to weave in later and you’ll have a good estimate. 

Here’s an interesting fact: if you reverse positions and hold the needle in your left hand and the yarn in your right, you’ll make purl stitches instead of knit stitches. 

The 4 Steps To Make A Stitch

How to make a stitch with the long tail cast on. Also, gifs are perfect for when you don't want to watch an entire video.

How to make a stitch with the long tail cast on. Also, gifs are perfect for when you don't want to watch an entire video.

There are 4 distinct steps to make a stitch which seem complicated at first, but your hands will learn. Cast on enough stitches and you won’t even have to think about doing them. I exaggerated the motions to make the steps clearer, but I usually work with much smaller and faster movements.

Step 1: Bring the yarn in front and up underneath the yarn in front of your thumb. This is the loop that will secure the stitch. 

Step 2: Move the needle behind the forward strand on your pointer finger from right to left.

Step 3: Move your thumb backwards which bring the the loop over the needle and the yarn.

Step 4: Take your thumb out of the loop and pull on the front piece of yarn to secure the stitch.

Repeat those 4 steps until you have all the stitches you need on the needles and your first row. If you’re working in stockinette, purl the next row.  

When Casting On Lots of Stitches…

The main complaint about the long-tail cast on is when making a lot of stitches. I’m going to be conservative and say 50 stitches and up. If your yarn estimate is off, you’ll have too little yarn and have to rip out to start again or too much yarn and have a long tail hanging off the end of your work. To avoid both of these hassles, work the cast on with two strands of yarn instead of one.

You don’t have to knot them together either. Just hold the ends in place on the needle with your fingers. Once the first 2 stitches are on the needles, the yarn is secure and isn’t going anywhere. When the cast on is finished cut the front strand of yarn long enough to weave in. Yeah, it’s another end to weave in but it’s still less time and energy than having to repeatedly redo the cast on.

Create Marled Yarn with Chain Plying

How To Chain Ply Variegated Yarn To Create Marled Yarn | withwool.com

Ever fallen hard for a skein of variegated yarn? Yarn that’s beautiful in the skein, but, when knit, turns into a pooling and flashing mess. There are several ways to combat pooling yarn. You can stripe with another yarn or knit from alternate ends every 2 rows. You can change the gauge or slip stitches or do all manner of finicky things. What happens when none of that works and you’re ready to stuff into the very back of the closet?

How To Chain Ply Variegated Yarn To Create Marled Yarn | withwool.com

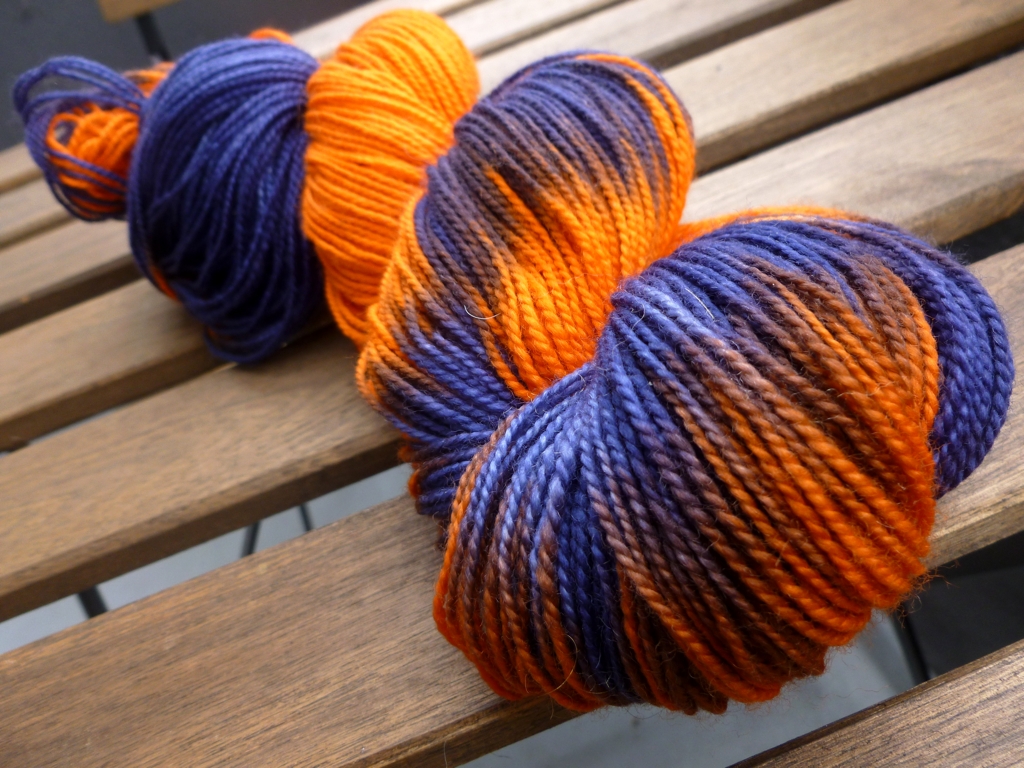
I had about reached that point with a beautiful skein of orange and blue fingering weight yarn. The reason it didn’t end up forgotten in a closet was because my closet isn’t that big. Besides, my yarn stash is a bit too small to intentionally lose yarn. I tried tons of different tricks to get the colors not to pool but nothing really worked. I was about to move along to another project and a solid yarn when I came across Amy Christoffer’s Moxie Pullover. The sweater is knit with two different colors of yarn held together to create a lovely marled fabric. Why not ply that stubborn skein to create a marl? 

How To Chain Ply Variegated Yarn To Create Marled Yarn | withwool.com

After starting a movie, I sat at my wheel and decided to chain-ply the yarn instead making a 2-ply. Didn’t want to risk the color repeats matching up in a 2-ply and creating a thicker yarn with the exact same pooling problems. Less than an hour later, I had a wonderful marled yarn that I wanted to knit with instead of intentionally misplacing. 

Short and Sweet Directions for Chain-Plying Marled Yarn

How To Chain Ply Variegated Yarn To Create Marled Yarn | withwool.com

1. Figure out which way the yarn is plied. Commercial yarn is usually plied to the left, S twist, so you’ll need to chain ply to the right, Z twist. If you’re plying a single, spin to the left.

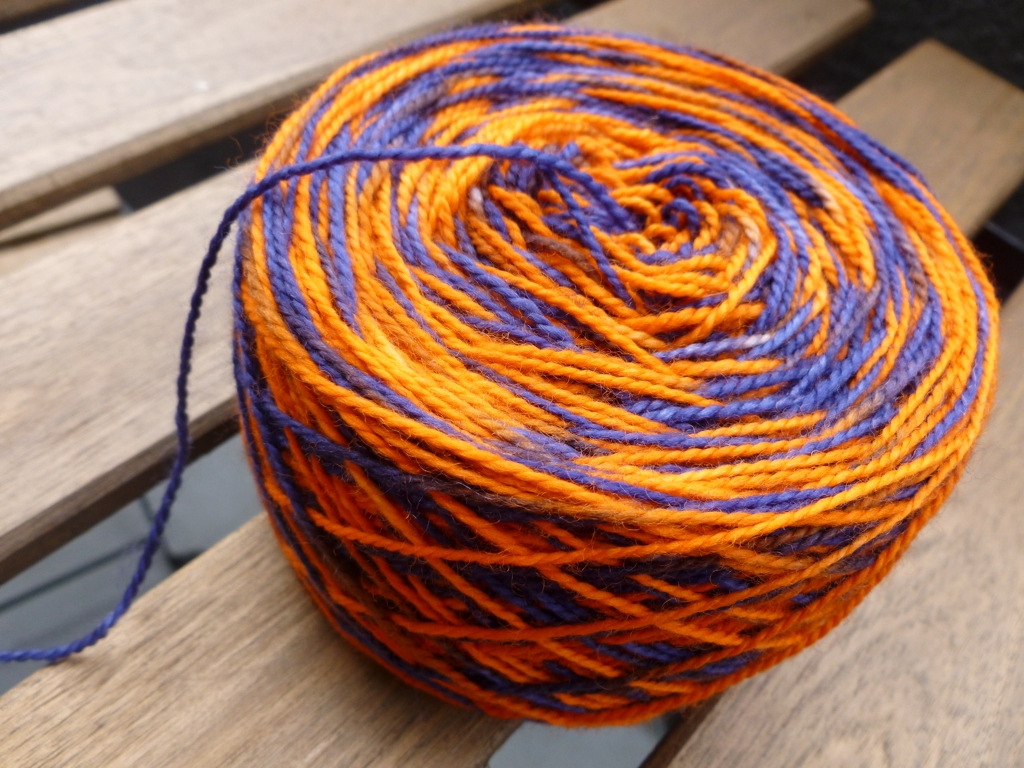
2. Wind the yarn into a center-pull ball.

3. Chain-ply. Use a wheel or a spindle, both work just fine. 

4. Once your finished plying, let the yarn rest for a day so the twist can settle into the yarn.

How To Chain Ply Variegated Yarn To Create Marled Yarn | withwool.com

5. Wind the yarn into a skein.  Never mind the crazy tendrils.

6. Soak the skein in a cool water bath with wool wash or gentle soap. Rinse carefully if the yarn isn’t superwash.

7. Hang to dry.

How To Chain Ply Variegated Yarn To Create Marled Yarn | withwool.com

Now the yarn is ready to be wound and knit up into marled goodness. FYI, chain plying will reduce the yardage by a third. This fingering yarn’s original 400 yards turned into about 133 yards of aran weight. So, instead of socks or a shawl, there’s enough yardage to knit a slouchy hat or a small cowl or fingerless mitts. Could even squeak out a small pair of slippers.  Bring on the marl!

How To Chain Ply Variegated Yarn To Create Marled Yarn | withwool.com

Pooling Yarn and What To Do About It

BlueRide-Kaleidoscope_WarEagle1.jpg

It’s orange. It’s blue. It’s sock yarn and it’s been in my stash for years. I remember buying it way back when in 2009, folks. At the time, I wasn’t worried about how the colors would knit up because this yarn was going to socks. Simple socks too. Whether they were ribbed or plain stockinette, it didn’t matter if the colors pooled or flashed or did any other strange things. Skip forward 4 years to 2013 and the yarn that would be socks is going to be a shawl instead. That changes things a bit. Suddenly, how the colors knit up matters a lot. Pooling and flashing are things to be avoided at all costs. 

What exactly is pooling and flashing? Pooling is when colors clump together and knit up into big splotches, AKA pools or puddles, of color. Flashing is similar to pooling in that colors clump but will stripe and move around like a bolt of lightening in your knitting.

BlueRide-Kaleidoscope_WarEagle2.jpg

So, I swatched the yarn by casting on for a top down shawl just to see what the colors would do. Once I got a few rows into the pattern, there was pooling and puddling. Puddles so big you’d have to jump across them if you found them in a parking lot. Even then, you’d probably still end up in ankle deep water. So, I ripped out the shawl and started experimenting with different and easy ways to mess with the color repeats. 

The variegated yarn I’m using, Kaleidoscope, was dyed by Blue Ridge Yarns and has the very appropriate color name of ‘War Eagle’. Most of the skein is dyed with short repeats of orange and blue where each color is 3” - 4”. Then there is a long section where each color is 12” long.

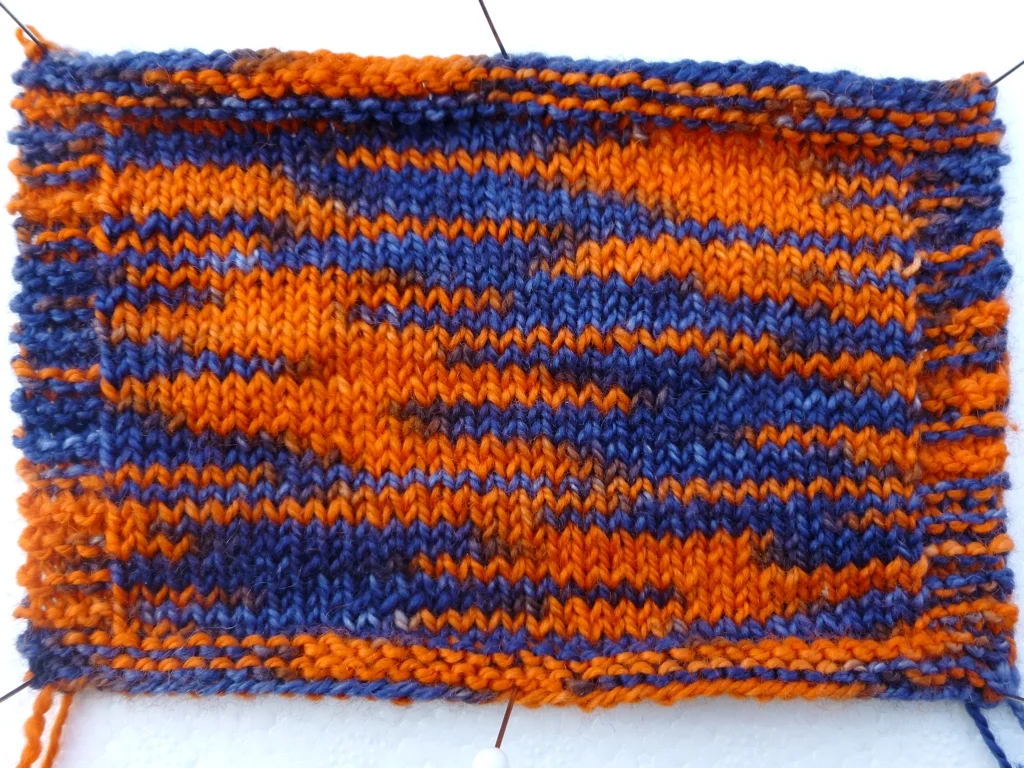
THE FIRST SWATCH

VariegatedSwatch1.jpg


The first swatch and two other swatches were knit using the pattern below. Needle size was also the same except for the third swatch.

  • Cast on 40 stitches with the long tail cast on. 
  • Knit 4 rows of garter.
  • Knit 30 rows of stockinette.
  • Knit 4 more rows of garter and bind off.

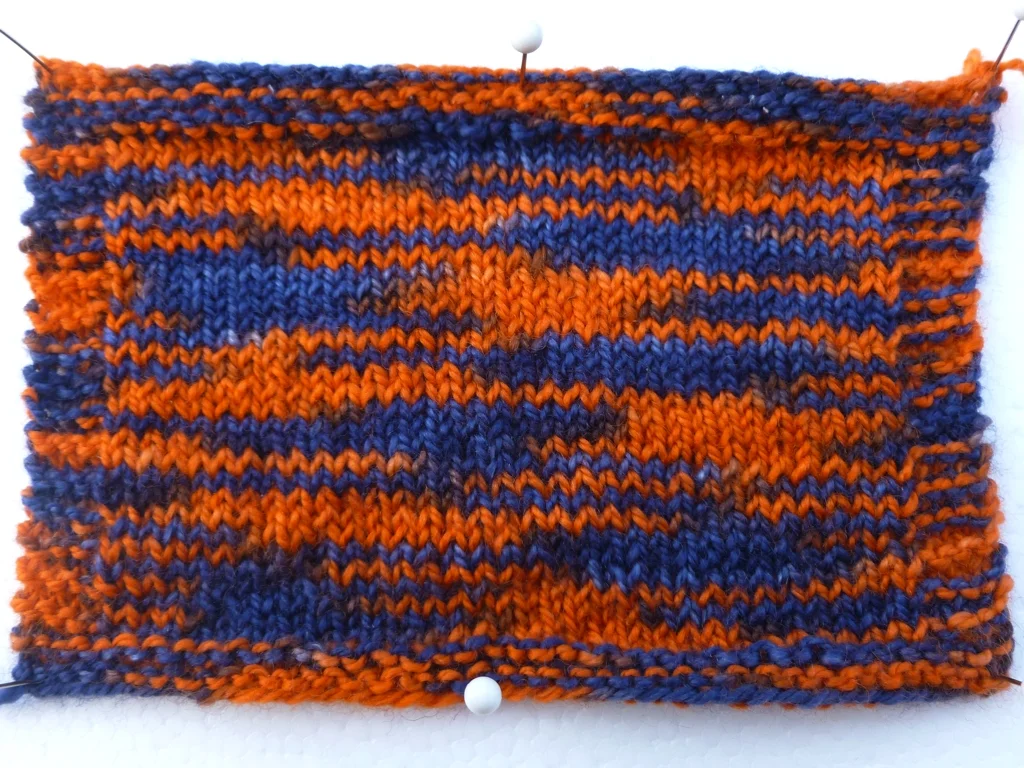
The first swatch, knit on 2.75 mm needles, was knit to establish a baseline. It’s important to know how the yarn knits up if left to its own devices. Both colors make little pools but are interrupted by the longer sections of color. Certainly doesn’t look bad but what it doesn’t work for your project? First option, stripes.

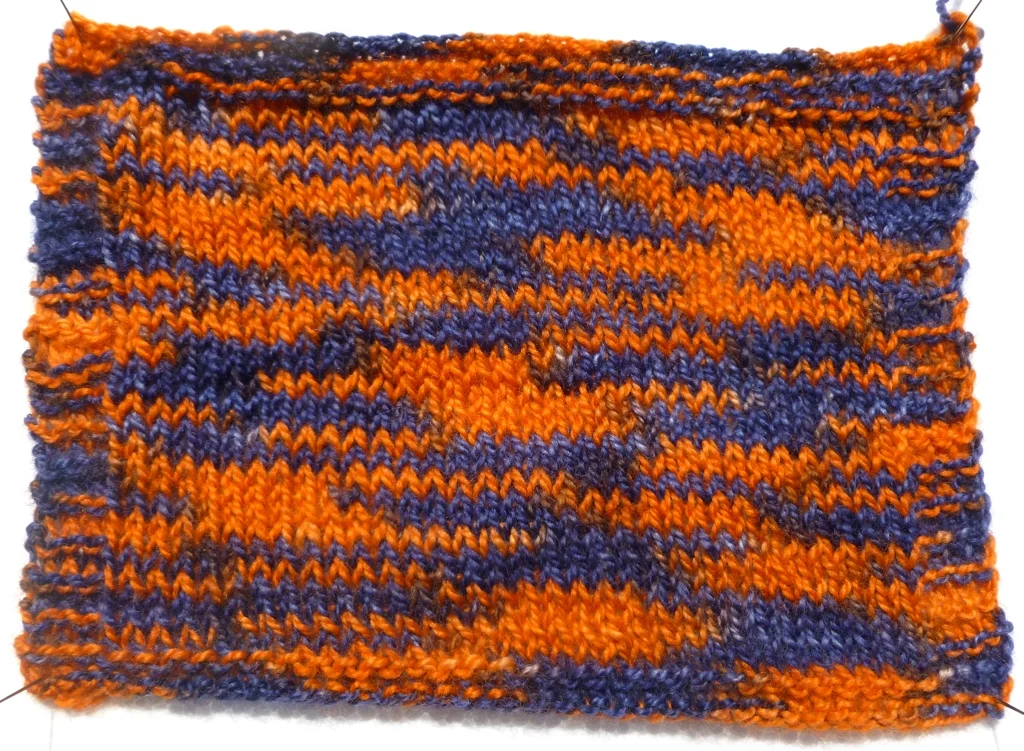
THE SECOND SWATCH

VariegatedSwatch2.jpg

 Instead of knitting with one of the skein for the entire project, knit 2 rows with one end and 2 rows with the opposite end. If you have more than one ball of yarn, knit 2 rows with one ball and 2 rows with another ball. 

If the project is worked in the round, there’s one more option that is rather fiddly when knitting flat. Alternate the working yarn every row. You won’t have to worry about jogs or any of the other tell-tale signs of stripes since you’re working with the same colors. 

Switching the ends every 2 rows didn’t really work for this swatch since it created a textbook example of flashing; exactly what I’m trying to avoid. There is another option though.

THE THIRD SWATCH

VariegatedSwatch3.jpg

The third way to affect color in knitting: change the gauge. This last swatch is knit the same as the first but at a much larger gauge on 4mm needles. There’s a little pooling and a flashing but neither dominates the knitting. They kind of meld together to make a more cohesive whole. 

Just be aware that changing the gauge might not always work for a project. You could get away with adding 2 extra stitches per row to a garter stitch scarf. Adding or subtracting 2 extra stitches per 4” on a sweater is a recipe for disaster. So, if you like how a yarn knits up at a certain gauge don’t try to force the yarn and an incompatible pattern together. Find a different pattern that matches your preferred gauge and make something you truly enjoy.

CONCLUSION

The easiest options for combatting pooling and flashing in knitting are alternating the yarn ends every 1 or 2 rows and changing the gauge. All yarn is different, especially hand dyed yarn, and the only way to figure out the best option is to swatch. See what happens, experiment, and have a little fun with it. Don’t think of swatching as wasted knitting time. Swatching is like meeting someone new for coffee before going on a week long camping trip with them. There are some things you just need to know first.