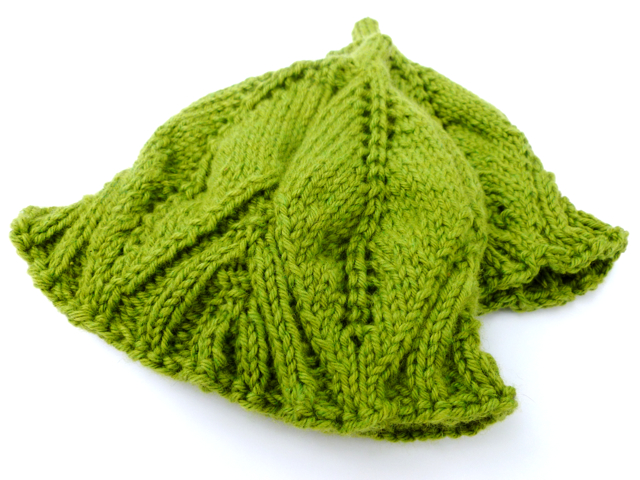
A Turkish Spindle
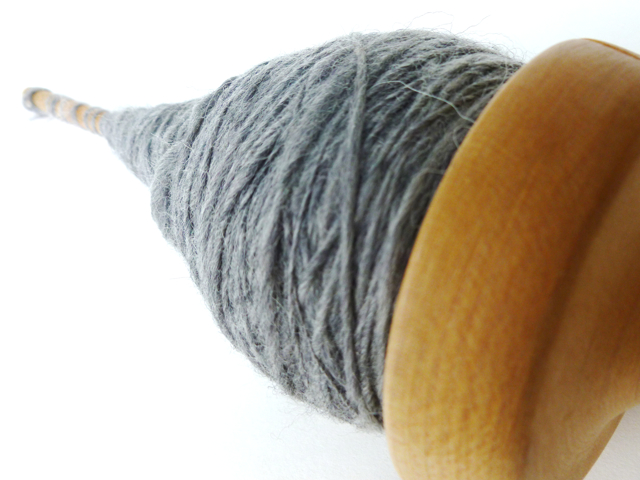
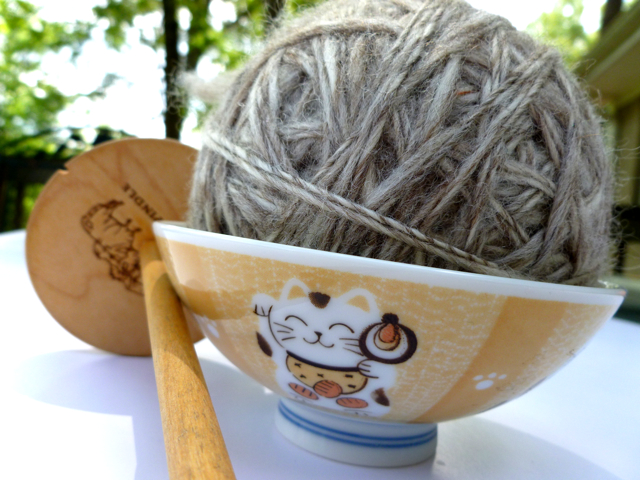
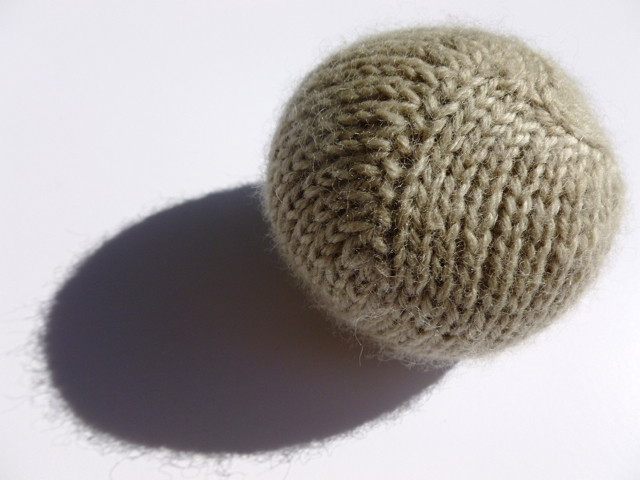
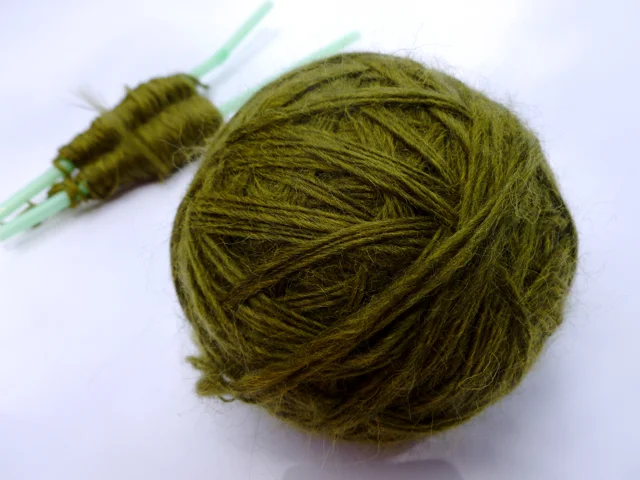
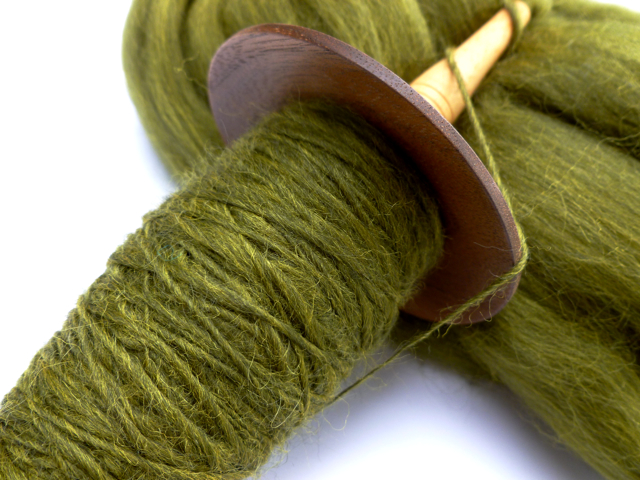
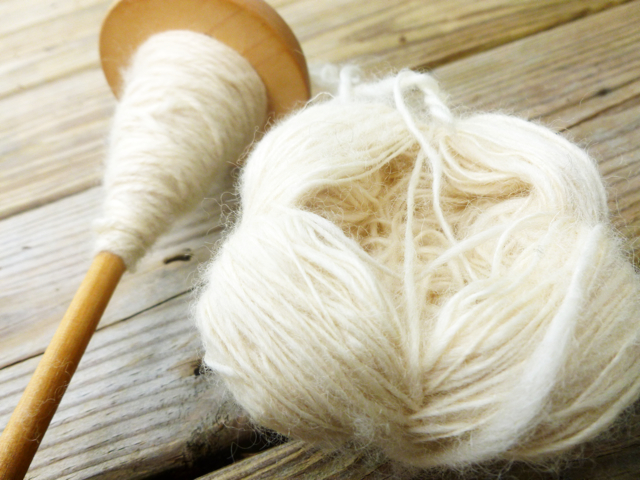
/Thanks in part to an enthusiasm to try out new spinning tools during Tour de Fleece* and a healthy bit of curiosity, I bought a Turkish Drop Spindle. What makes a Turkish Drop Spindle special is that the yarn is wrapped around the “arms” instead of spindle’s shaft. Once the spinning is done, the shaft and arms are removed which leaves a handy center pull ball. A few days ago, I got to try this out.
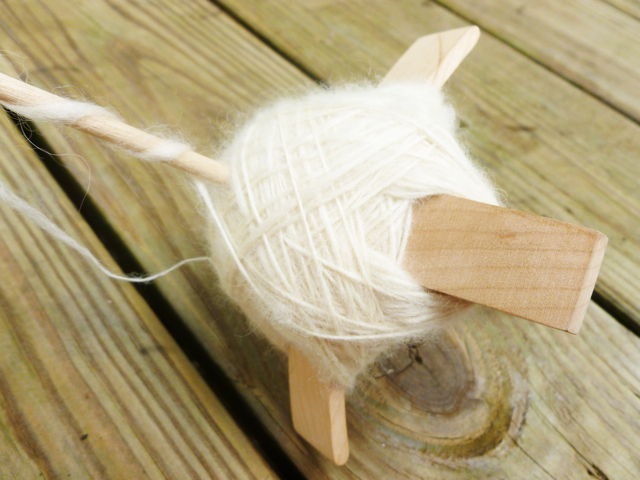
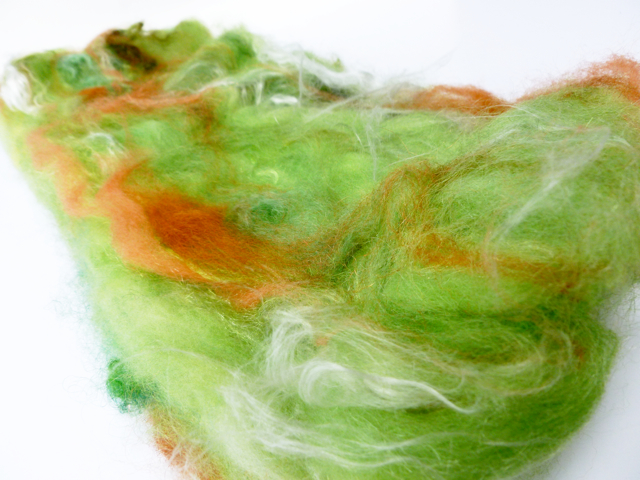
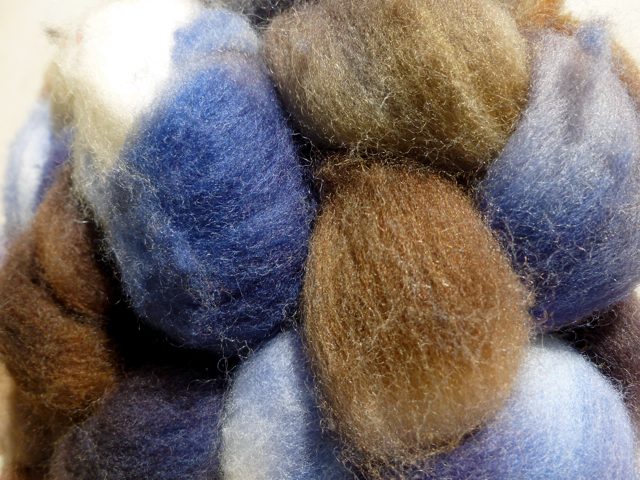
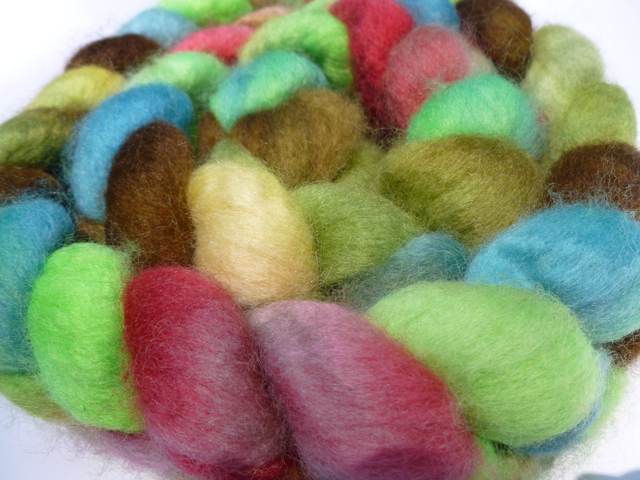
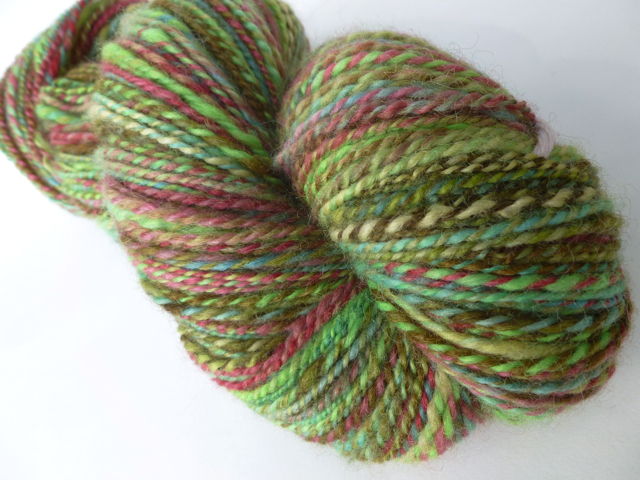
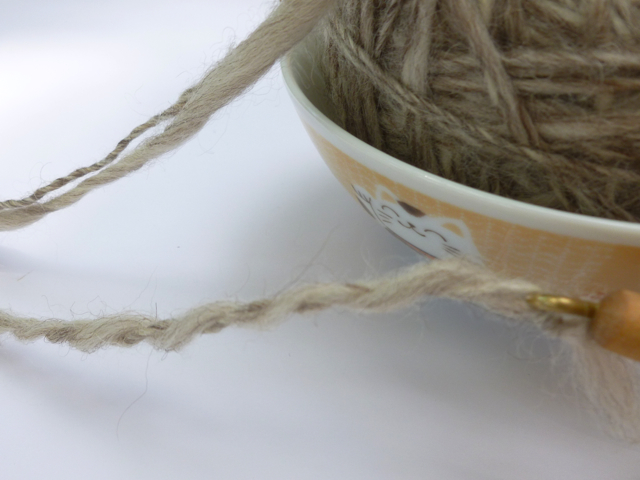
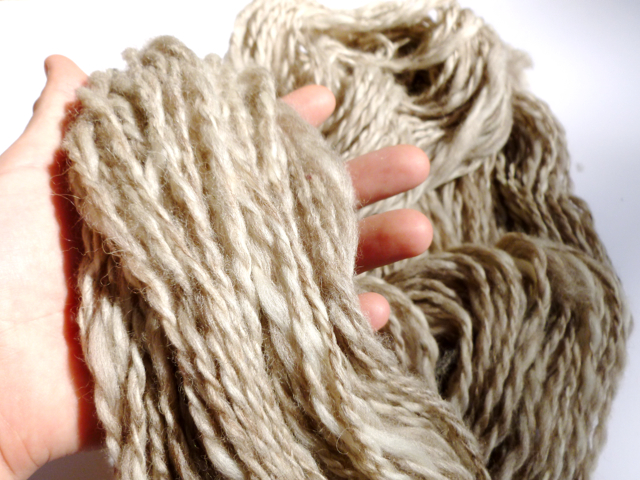
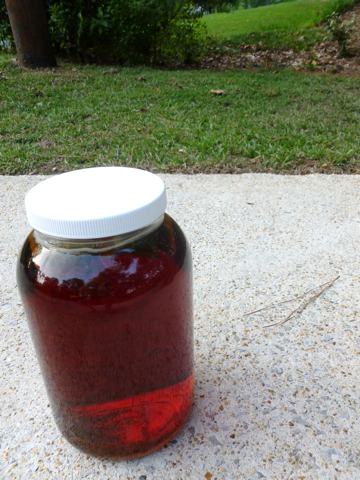
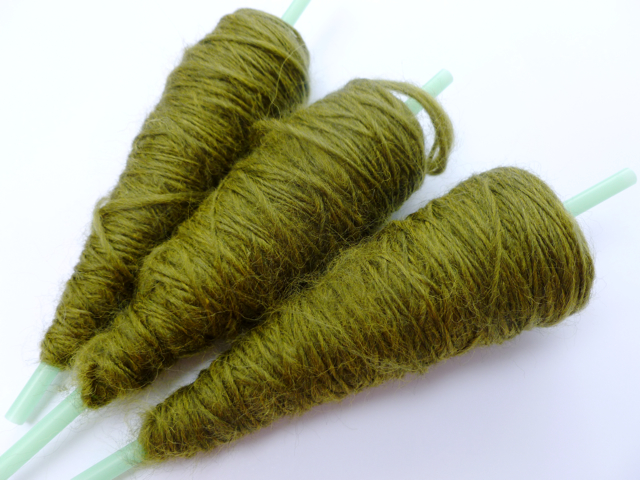
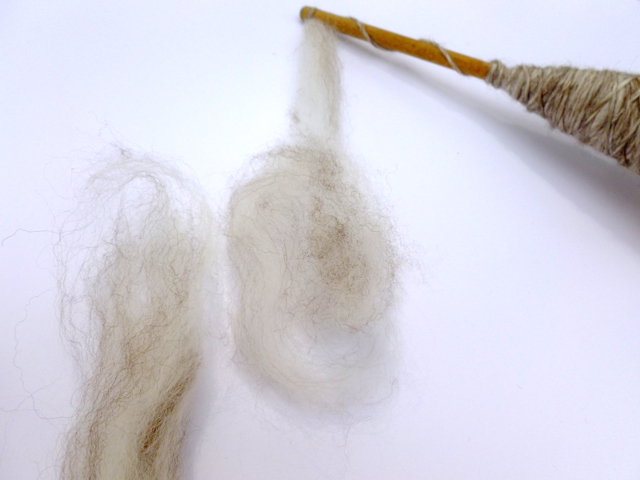
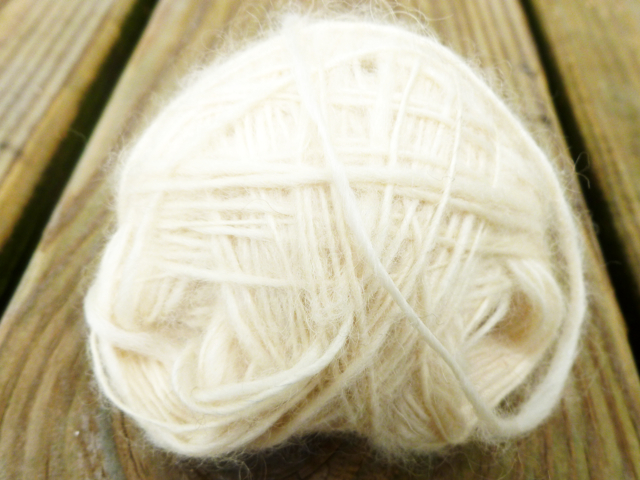
Here we have a bit practice wool I started spinning right after Tour de Fleece.
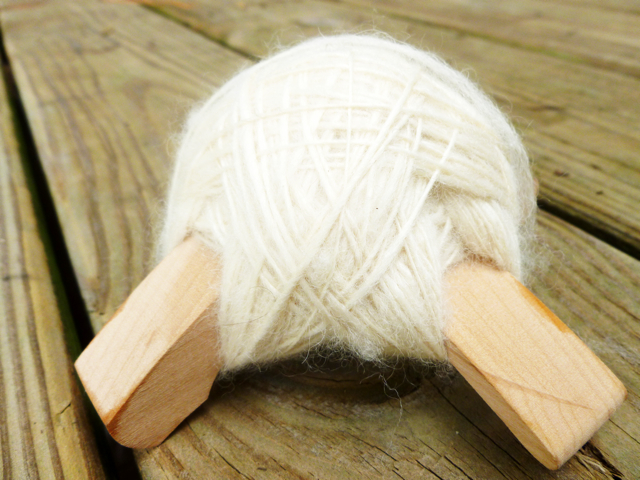
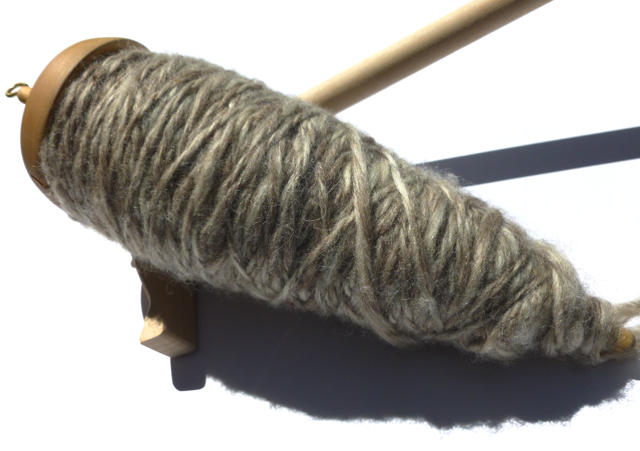
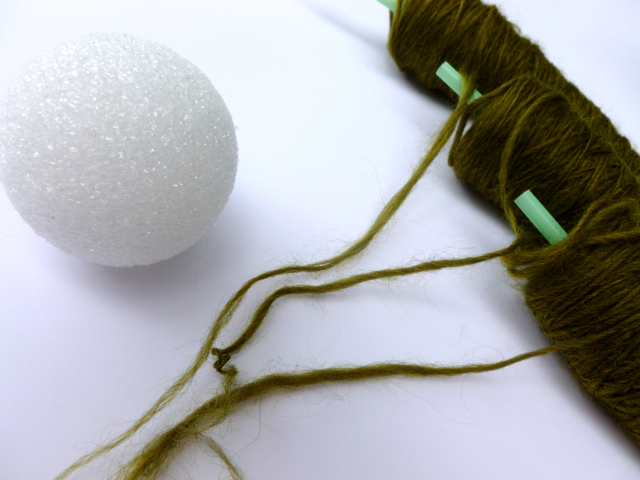
Just the arms now.
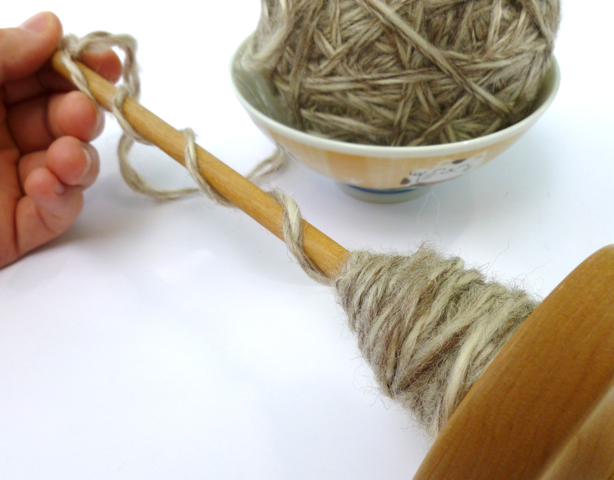
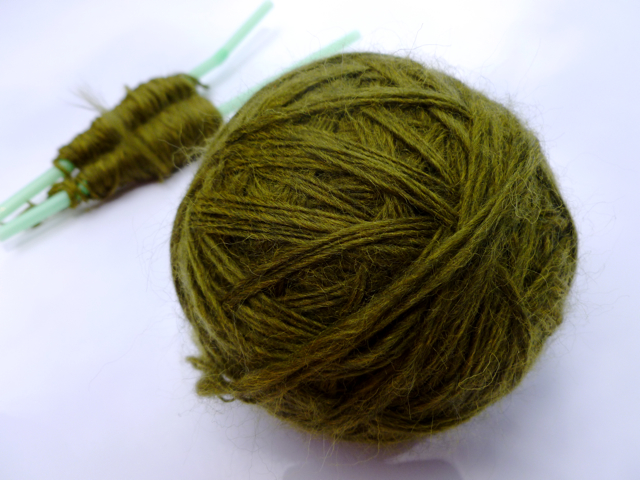
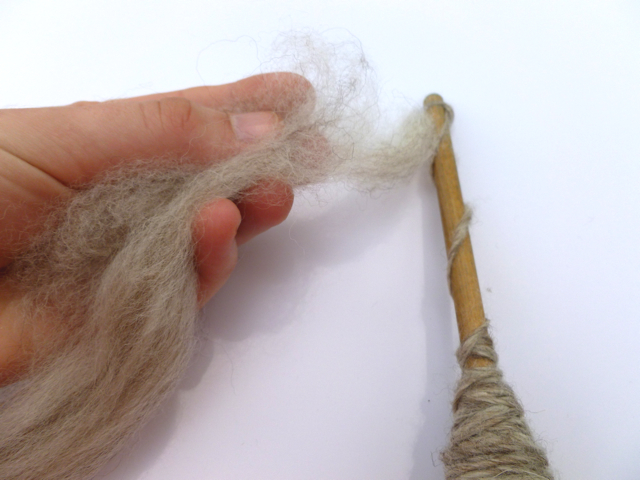
Look, Ma! No hands!
Besides from wrapping the single around the arms, spinning on a Turkish Drop Spindle isn’t much different than spinning with a typical drop spindle. Just have to remember the “2 over, 1 under” wrapping rule and you’re good to go.
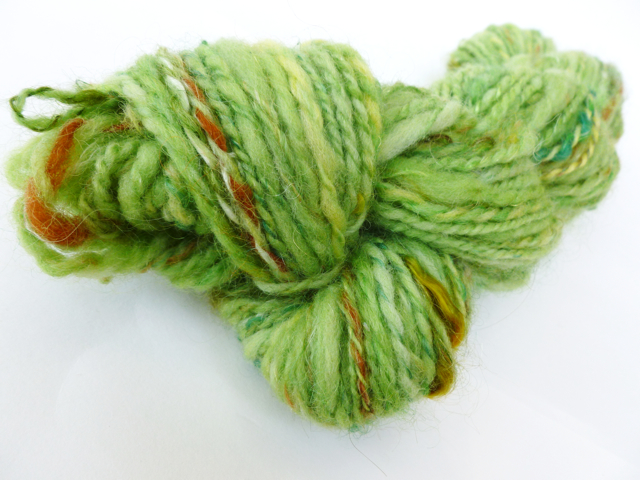
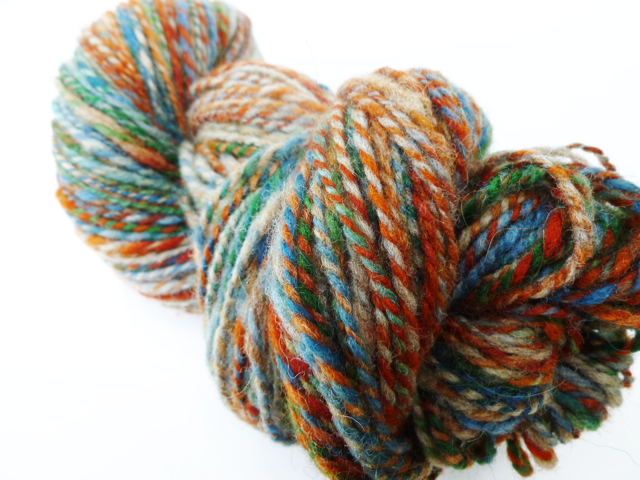
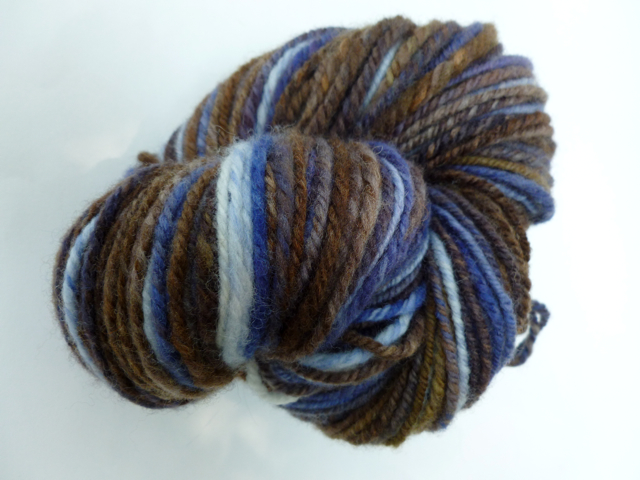
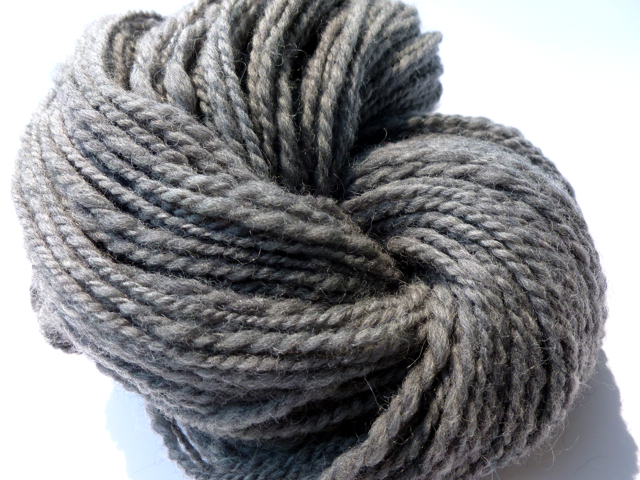
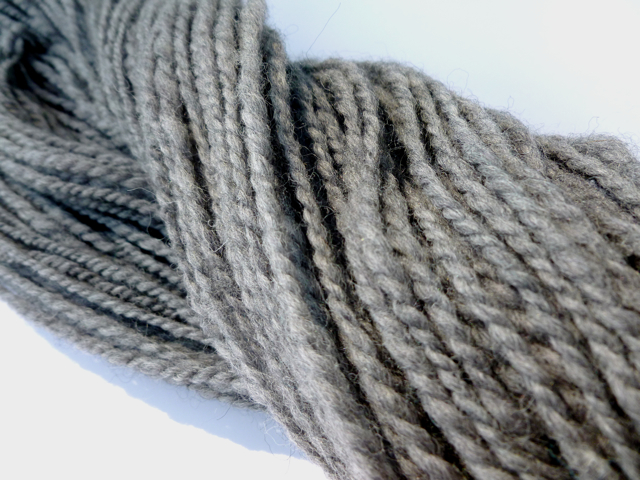
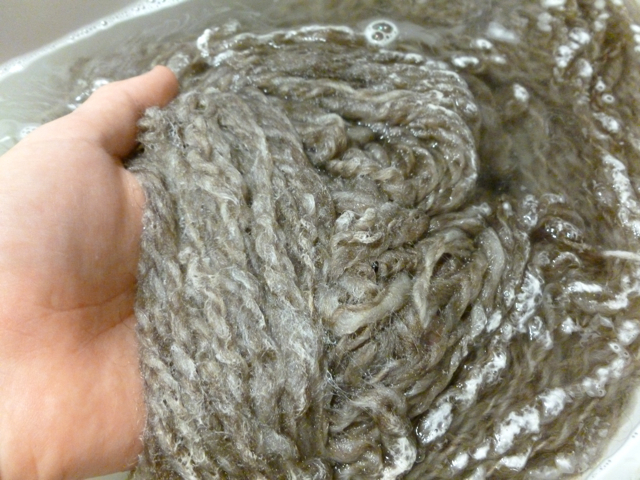
As soon as the arms were out and I found the other end, I started chain plying the single without having to make a plying ball or any other prep work. I could really get used to that.
I only had one real difficulty using a Turkish spindle over the usual, whorled spindle. Since the turkish spindle acts as two pieces - the shaft and the crossed arms - the spindle didn’t always start spinning all at once. As I would set the spindle spinning, I could feel the arms slipping around the shaft and unbalance the spin. Since the wobble got really annoying after the nth time, I would wrap the singles tighter and closer to the center. I’m not sure that did anything other than making the arms harder to remove. Since I’ve only tried this one turkish spindle, I’m not sure how widespread the phenomenon is. Guess I’ll just have to try out a few more spindles to check.
*This is the last time I’m going to start off a post by mentioning Tour de Fleece. For now.