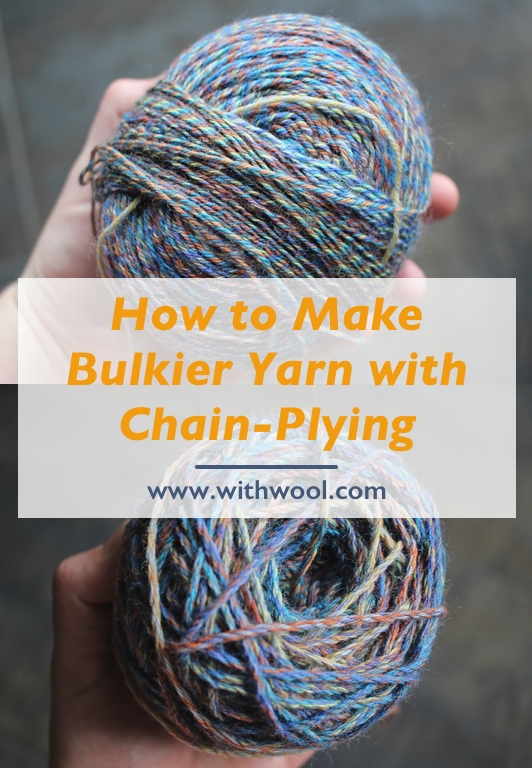
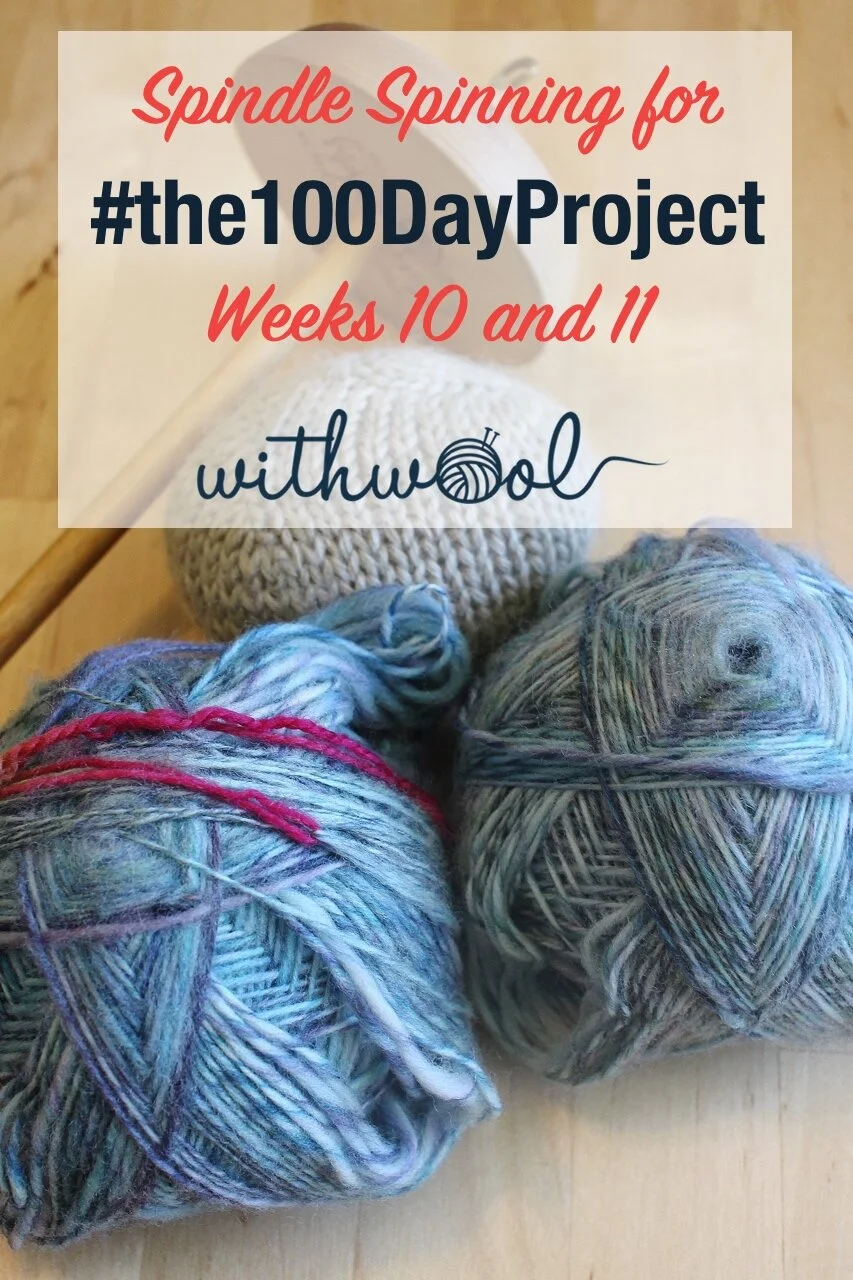
#the100DayProject Weeks 10 and 11
/
I’ve joined up with #the100DayProject this year with the goal of spinning every day. Writing down a daily log of my progress is an easy way for me to stay accountable, follow though, and plan what to spin next during this project.
If you’re just joining me:
Here’s how I prepped for the project and spent the first week.
During weeks 2 and 3 I finished the first single and started spinning the second.
Weeks 4 and 5 I embraced the slog of being in the middle of something.
Weeks 6 and 7 I finished spinning the singles and started plying.
Weeks 8 and 9 I finished my first skein of handspun and started the second.
Week 10
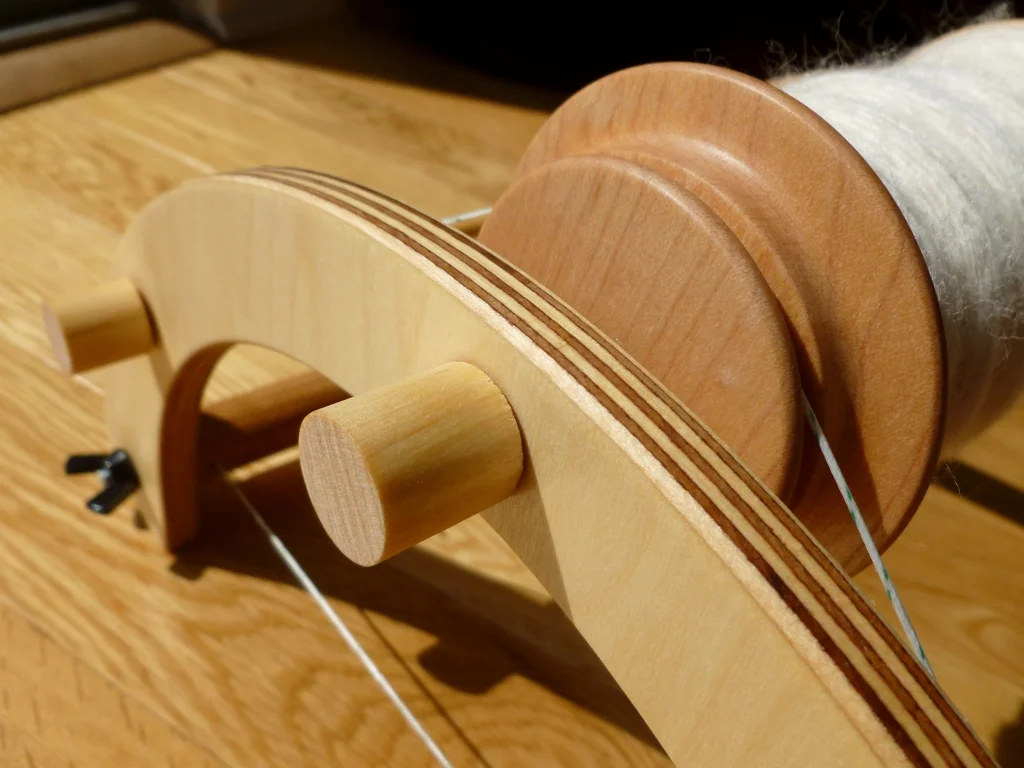
June 9 (Day 64): I left the finished single on the table after taking photos and my spinning buddy did a little inspection. The good news is that only some of the wraps pulled up from the turtle and the beginning of the single didn’t snap. Whew.
The rest of the day’s spinning went just fine.
June 10 (Day 65): Joined the last bit of fiber to the single! It’s looking so good and I can not wait to get to the next step of making this yarn.
I’m trying to spend less time on my phone because playing the random match-three game should be a fun break instead of what I do when I’m too tired for anything else. Endless scrolling isn’t helping me either. So I’m trying to keep my spindle and books close at hand. There’s been a noticeable uptick in my spinning the last few days because of it too.
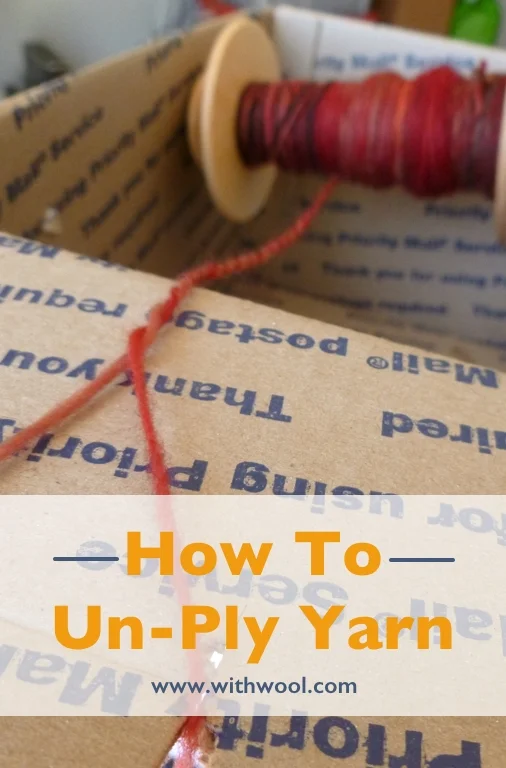
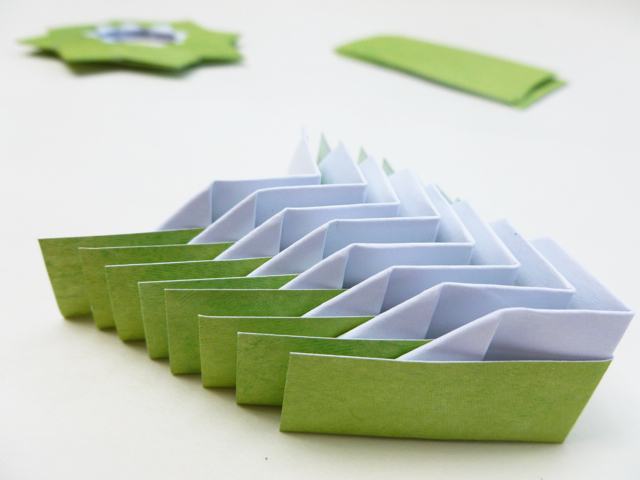
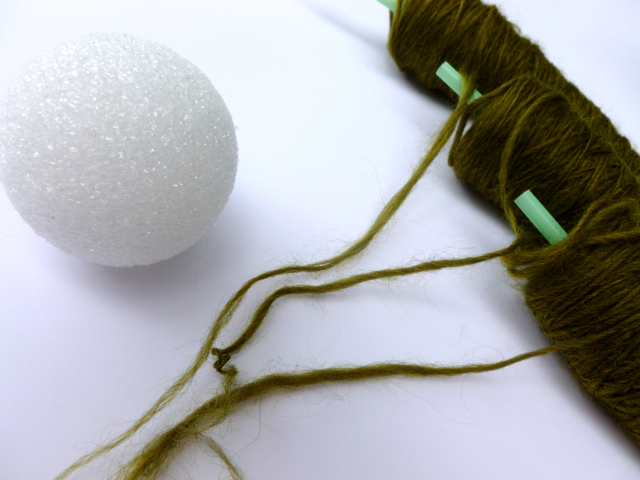
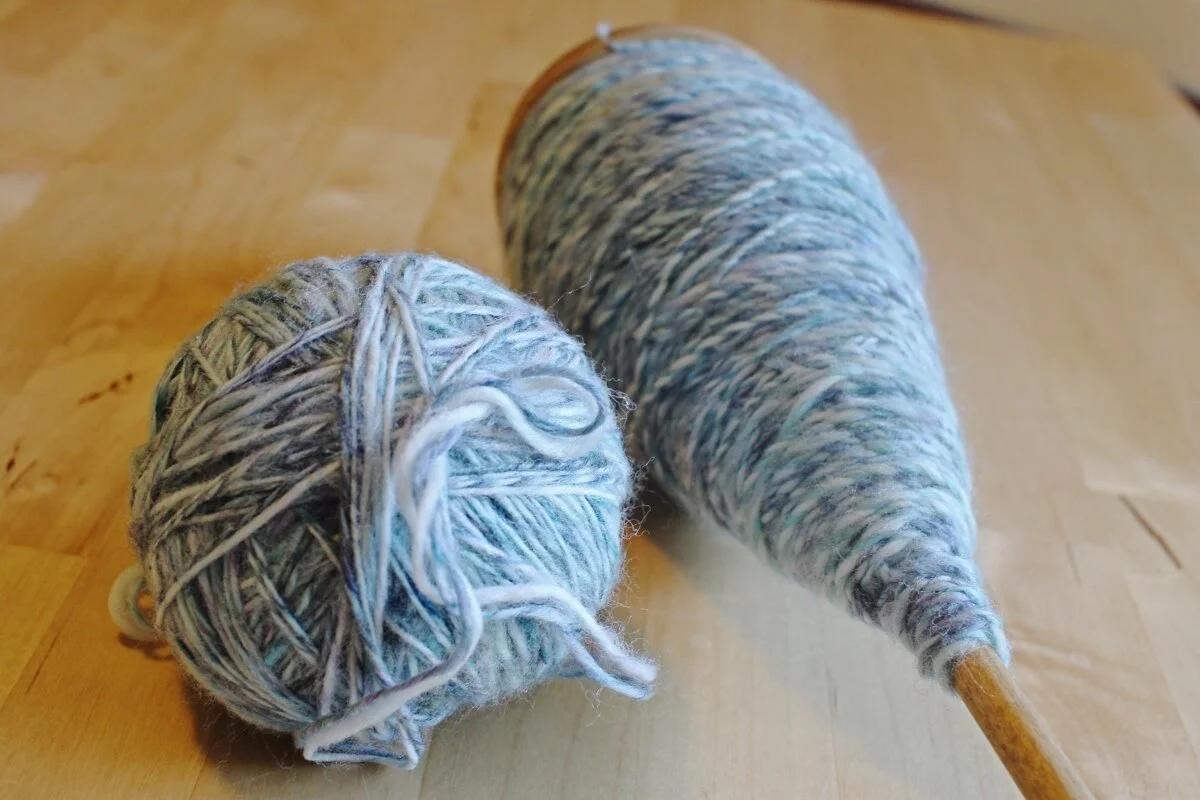
June 11 (Day 66): There was a good bit of spinning time today. So much in fact that I was able to reach the end of my last bit of fiber! Well, close to it. There was only an inch or two of roving left, but the single just kept breaking. I called it done and good after the single broke for the fourth time. So, yeah, tomorrow I’m winding a plying ball.
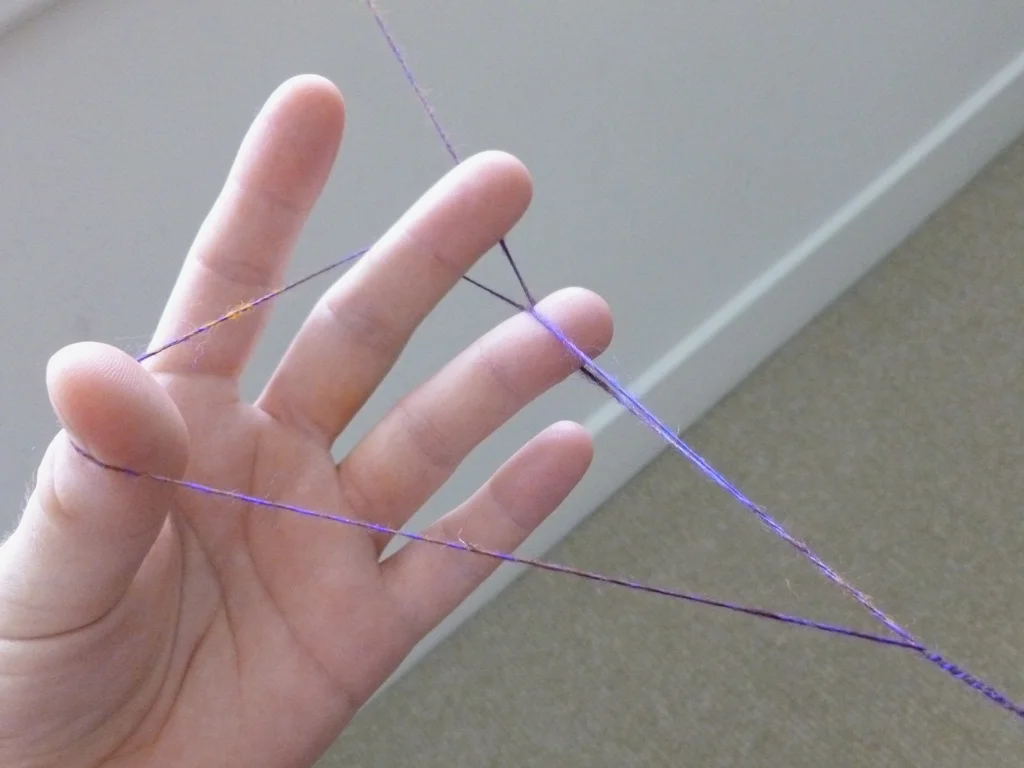
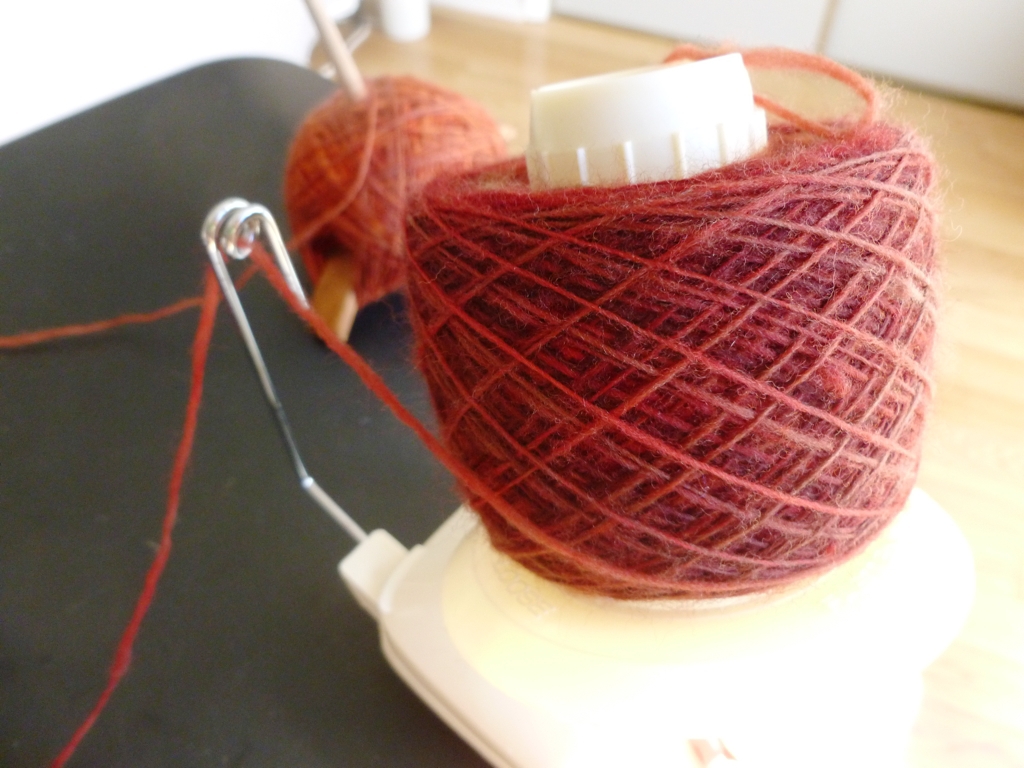
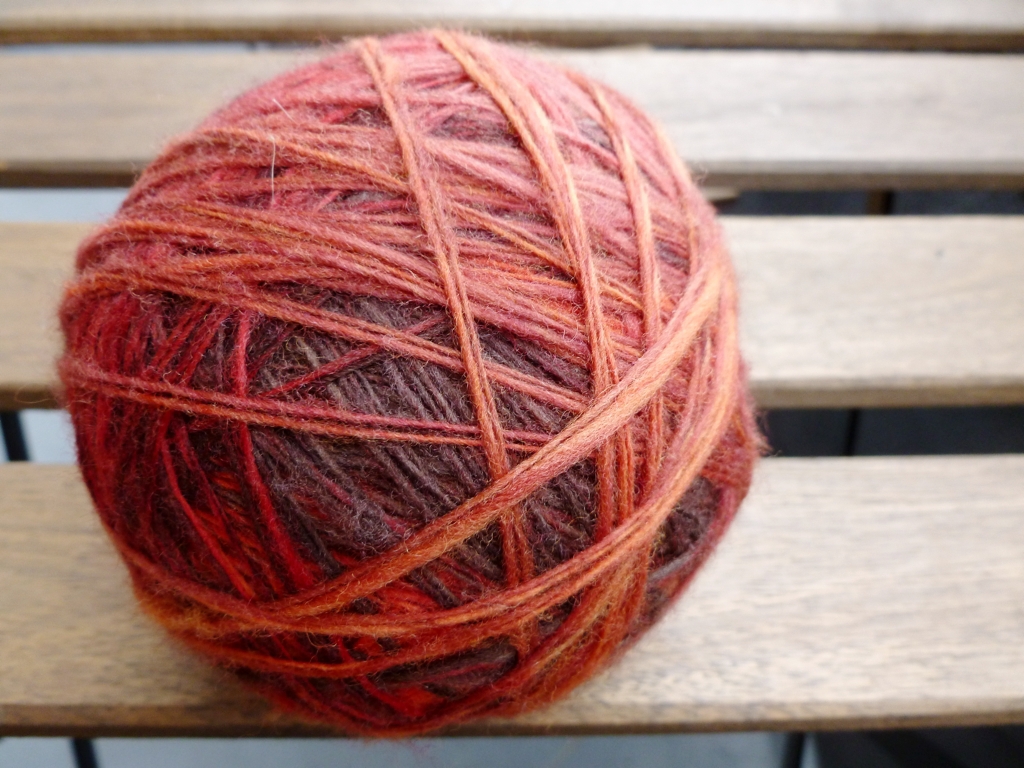
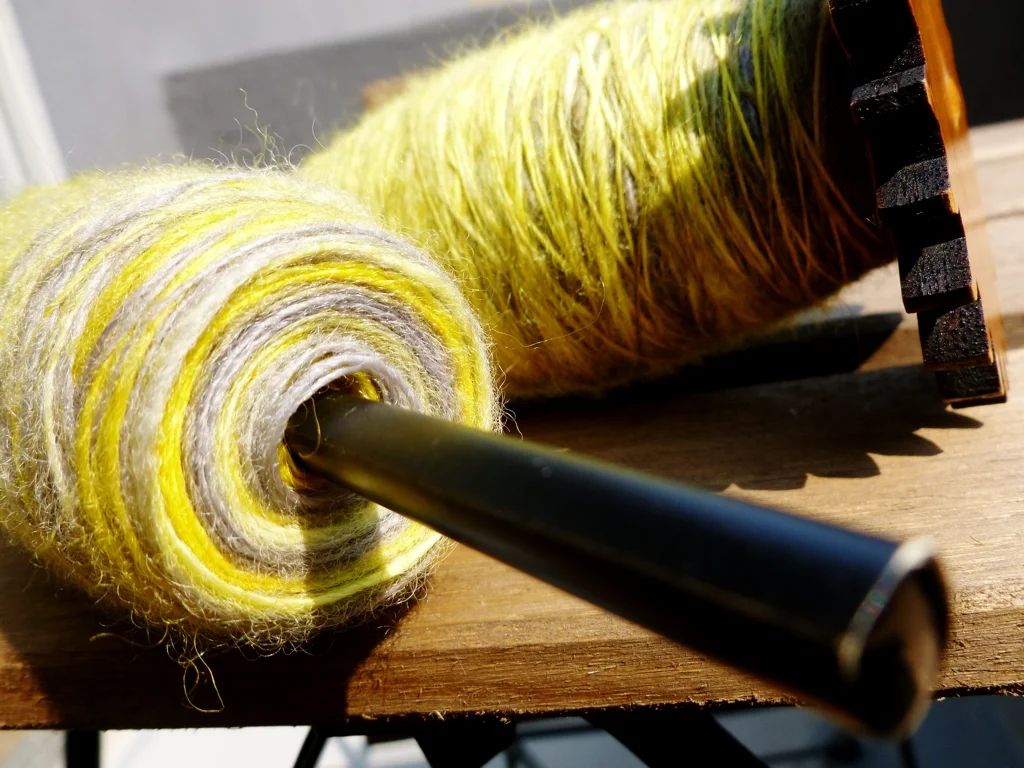
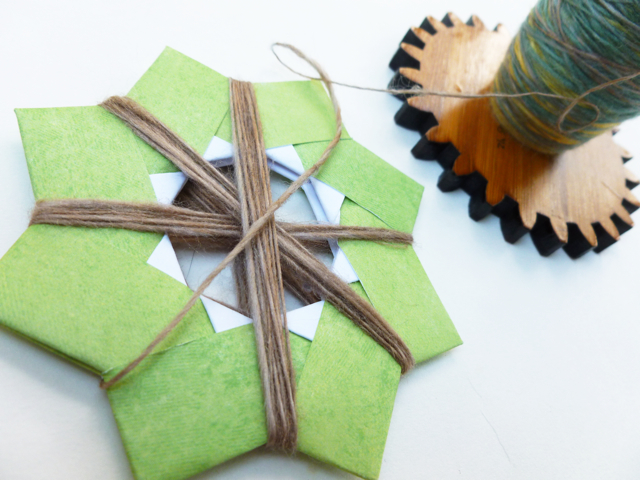
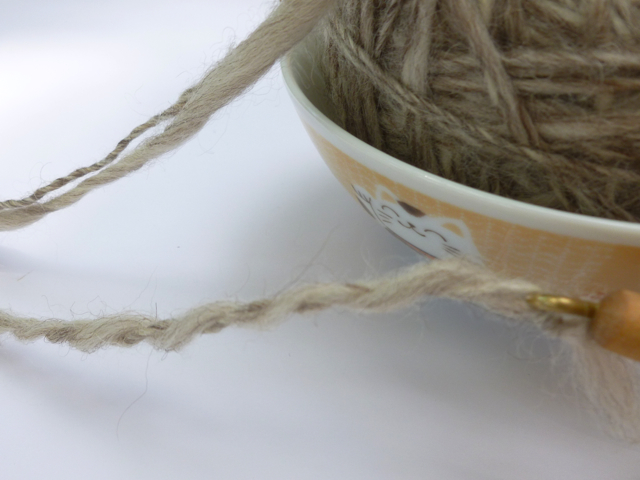
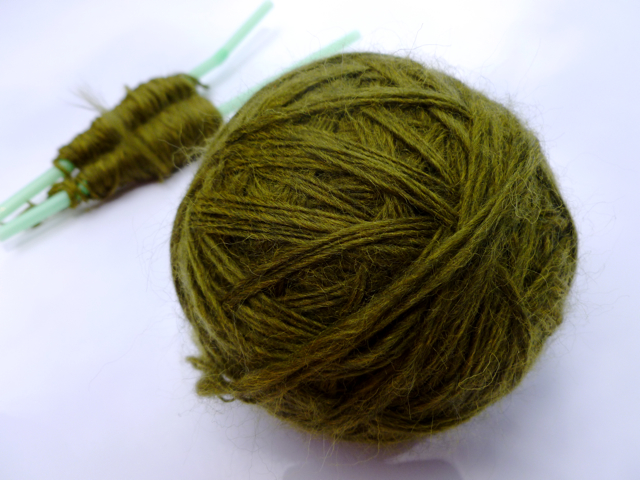
June 12 (Day 67): Didn’t have any trouble taking the spindle apart today. Once I knew I’d have a chunk of time to wind stuff up, I got to work wrapping. The singles only broke apart once but one did tangle badly enough that I had to break it to remove the knot. Still, not bad at all. The plying ball ended up about the size of a large onion and took about 25 minutes to wrap. One of the singles was longer, of course, so I found the end and finished wrapping with it as the other ply.

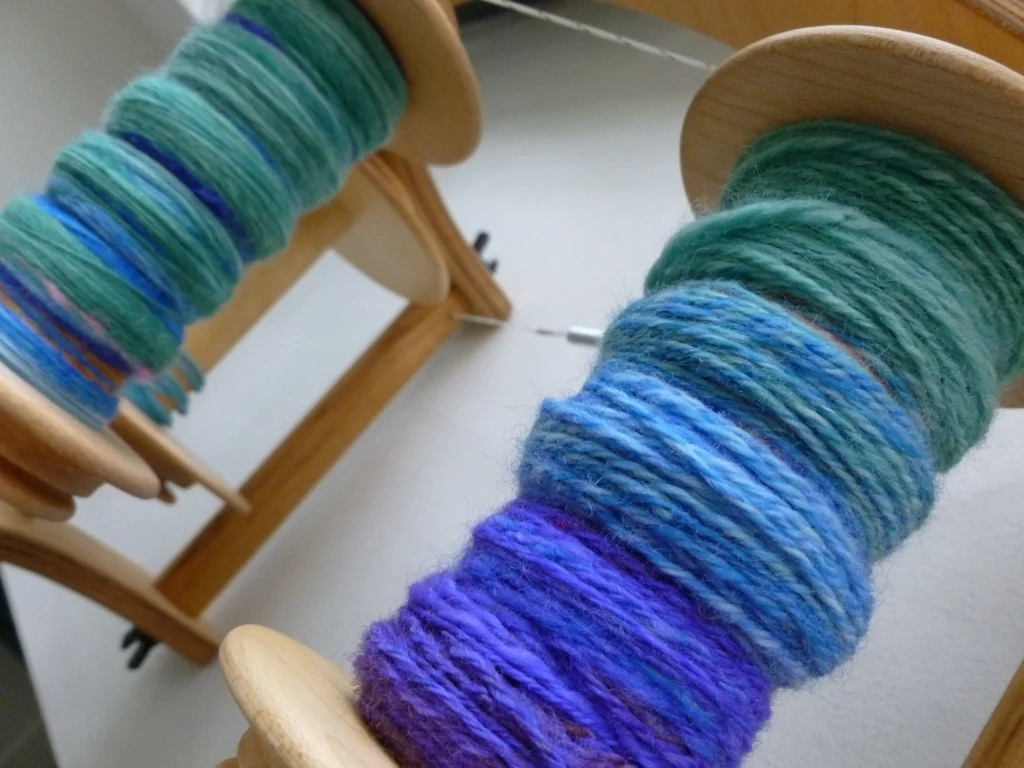
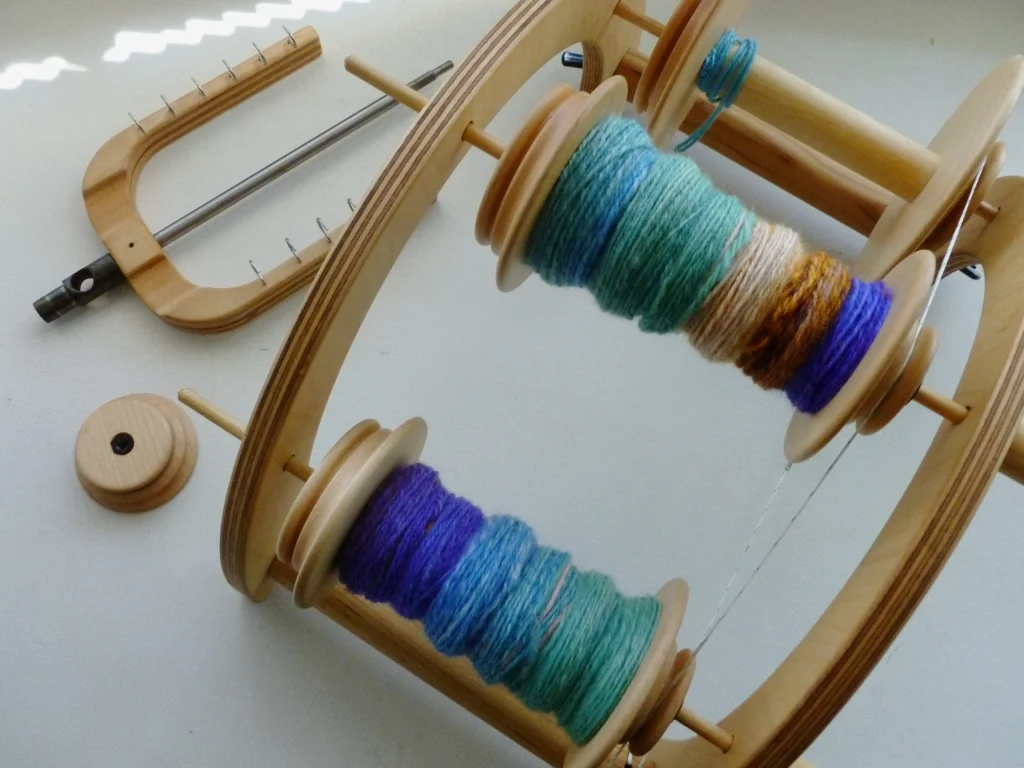
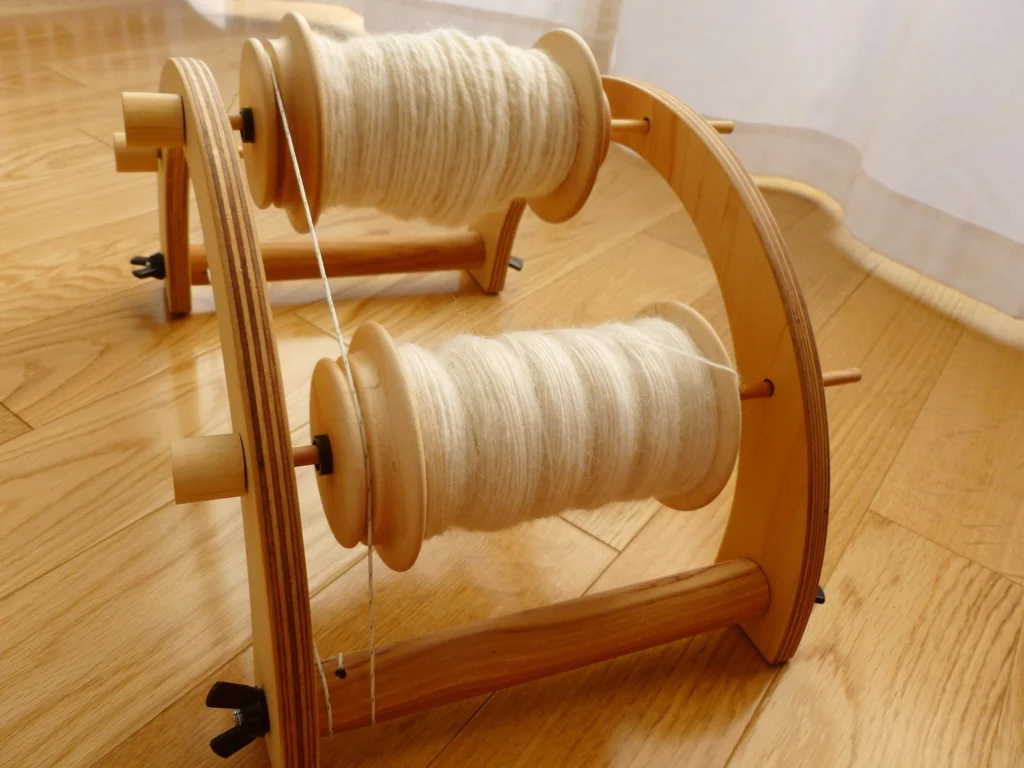
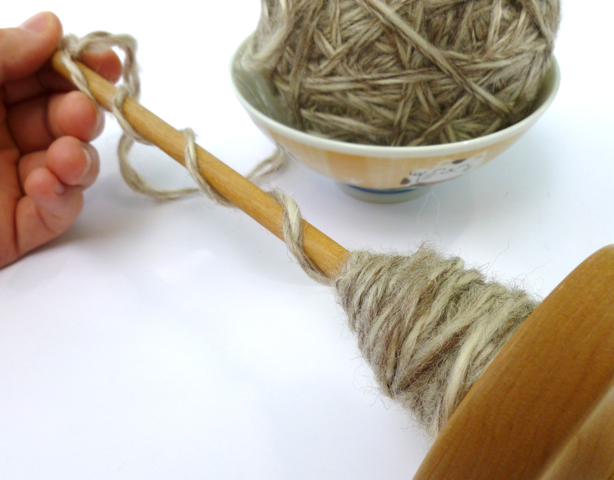
June 13 (Day 68): I started plying!
June 14 (Day 69): More plying. There are a few more lumps and bumps than I’m used to working with in my handspun thanks to my unfamiliarity with superwash wool, but I am loving what I’m seeing so far.
June 15 (Day 70): Still plying but now the plying ball is about the size of a peach instead of a giant onion. I don’t want to get ahead of myself and say I’ll be done plying tomorrow though it isn’t unlikely.
Today is the 70th day of #the100DayProject which means there’s just a month left of daily spinning. I’m not sure if I’ll keep the spinning going afterwards or transition to a different daily project. There’s an appeal to both of those ideas. In the meantime I think I can manage most of another skein of handspun.
Week 11
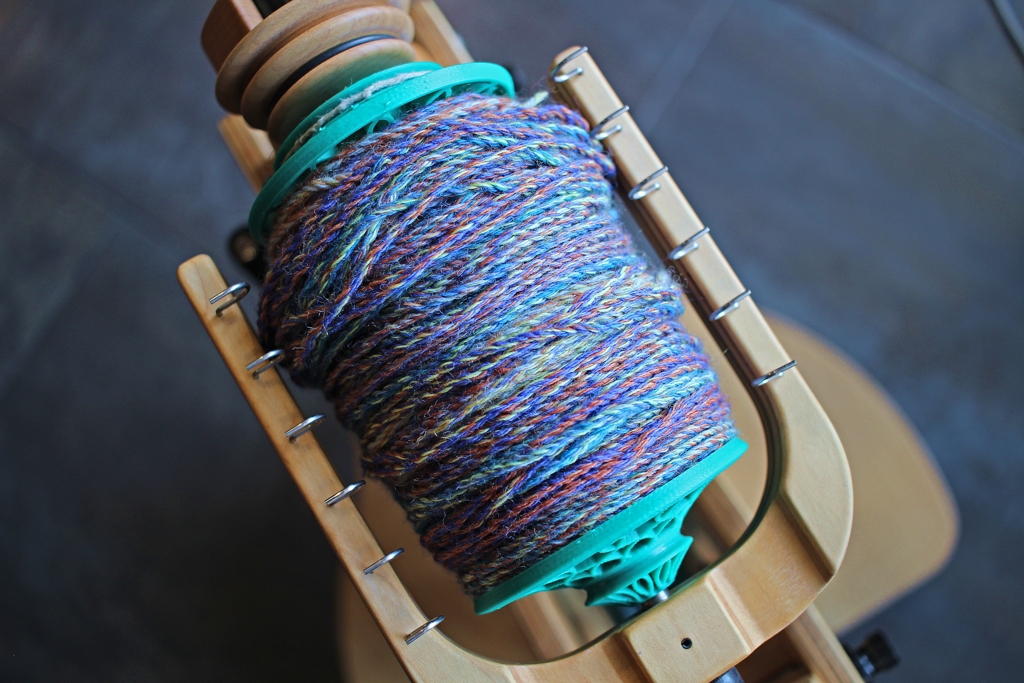
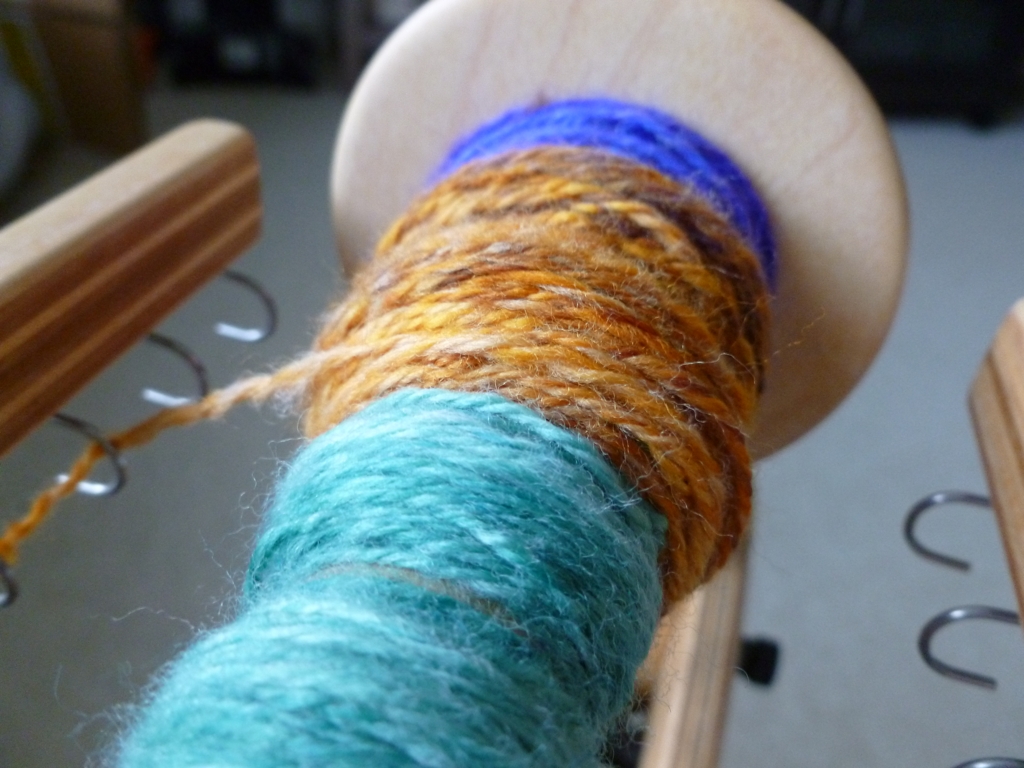
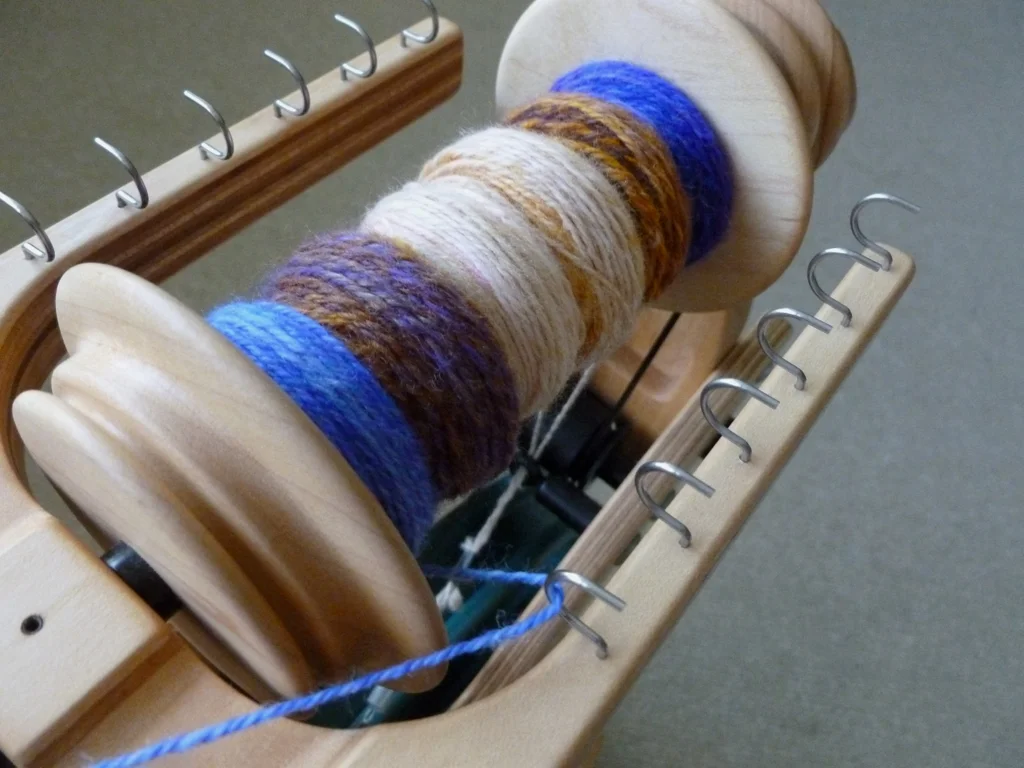
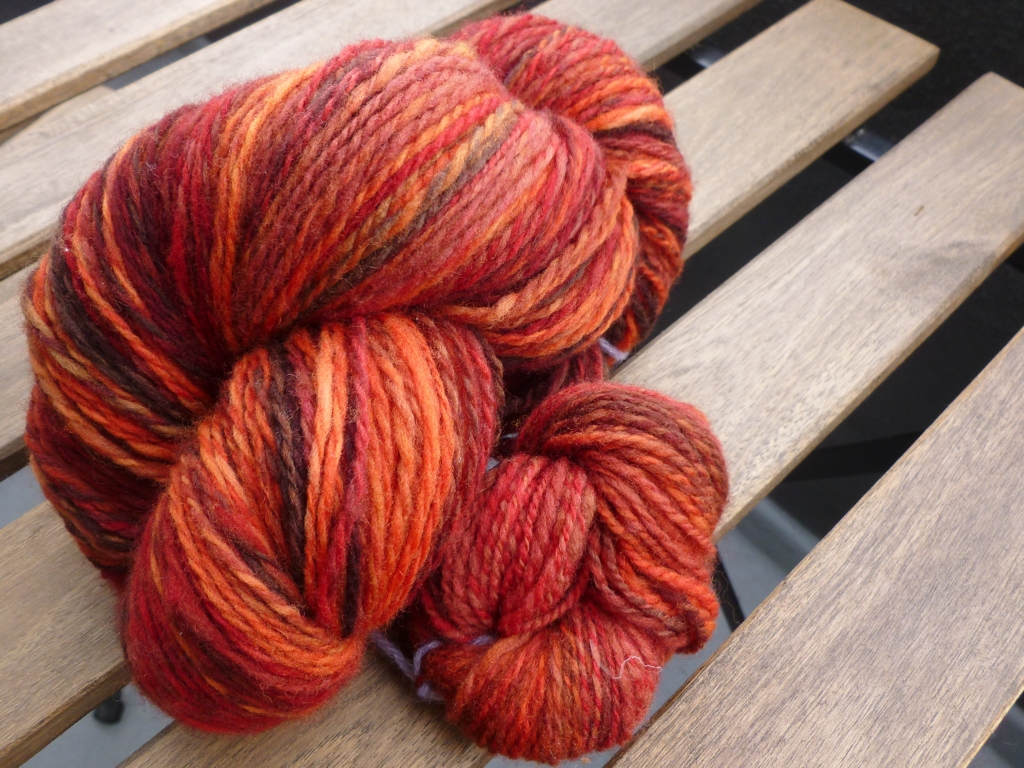
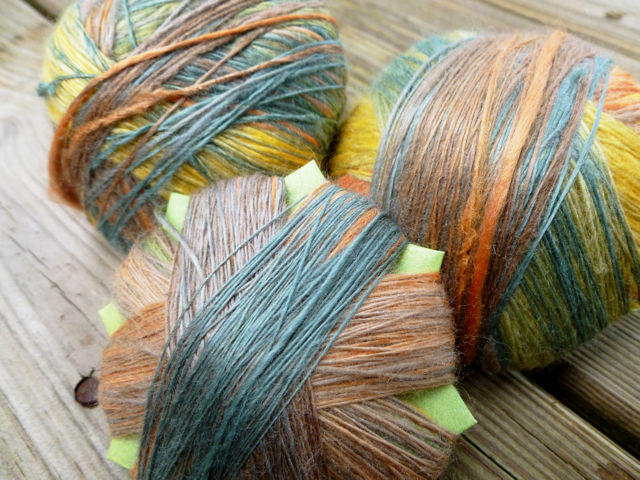
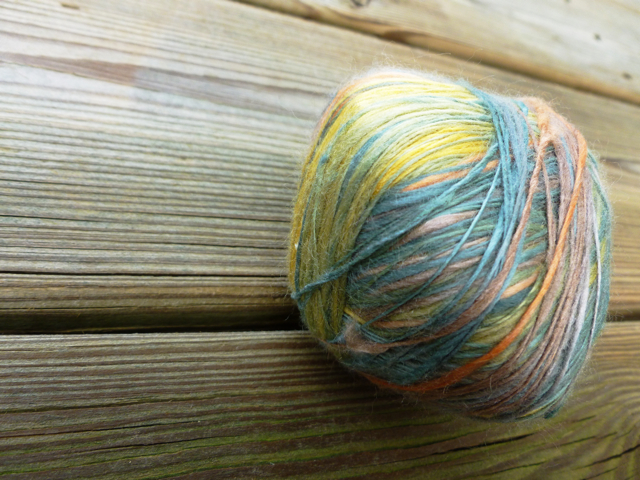
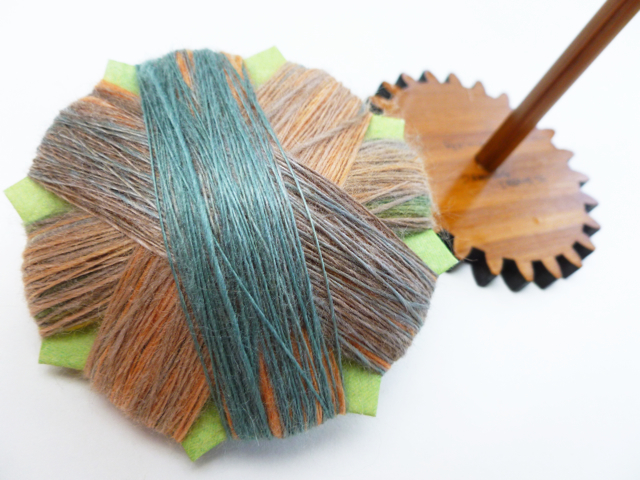
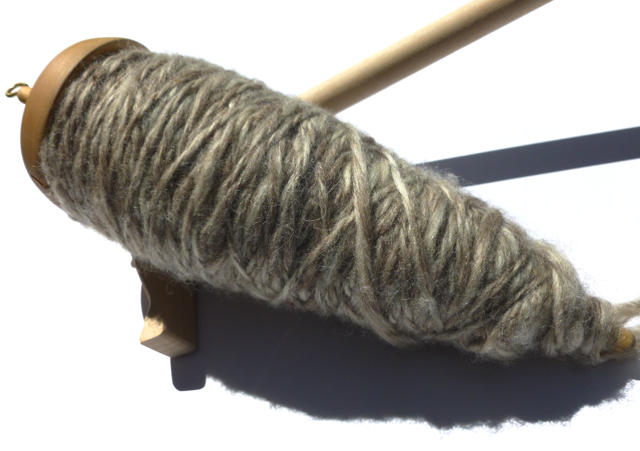
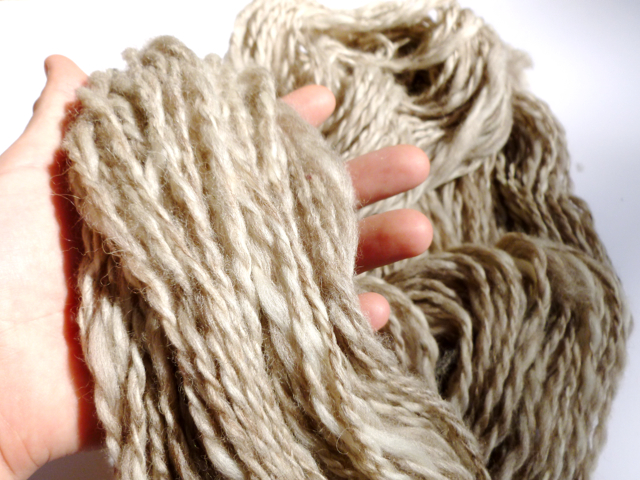
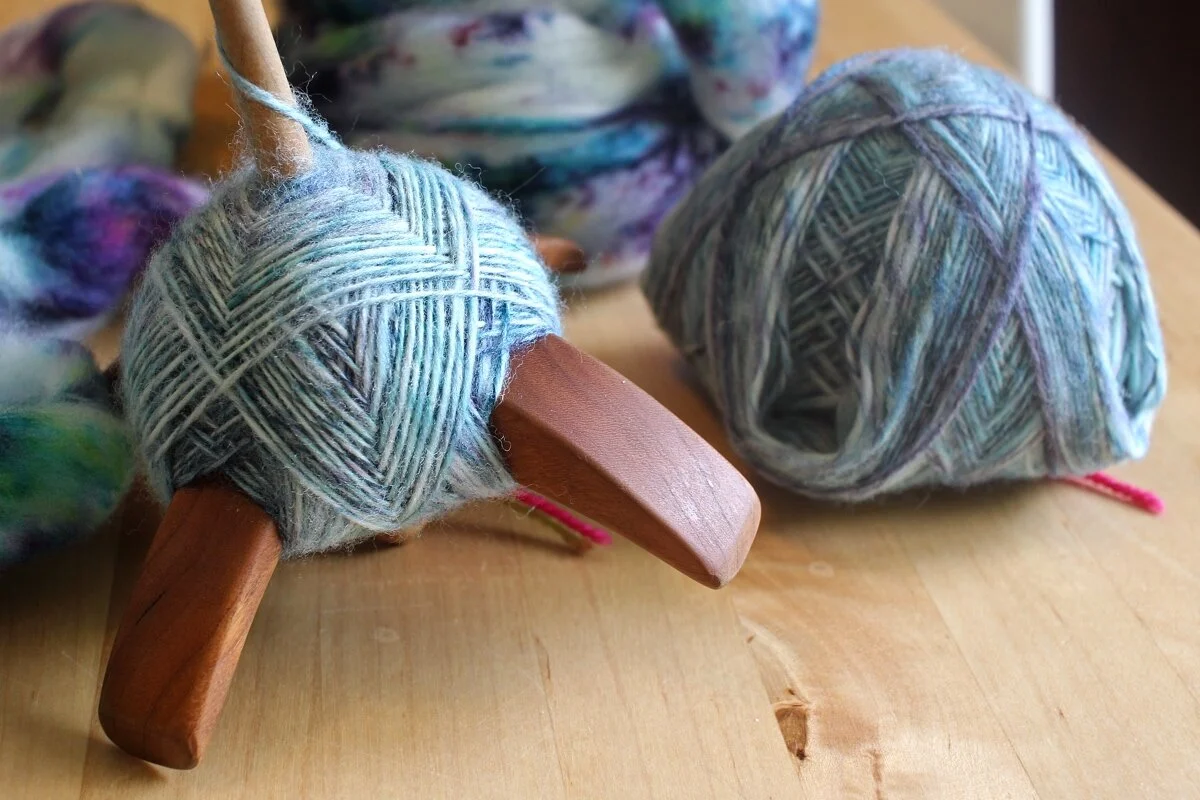
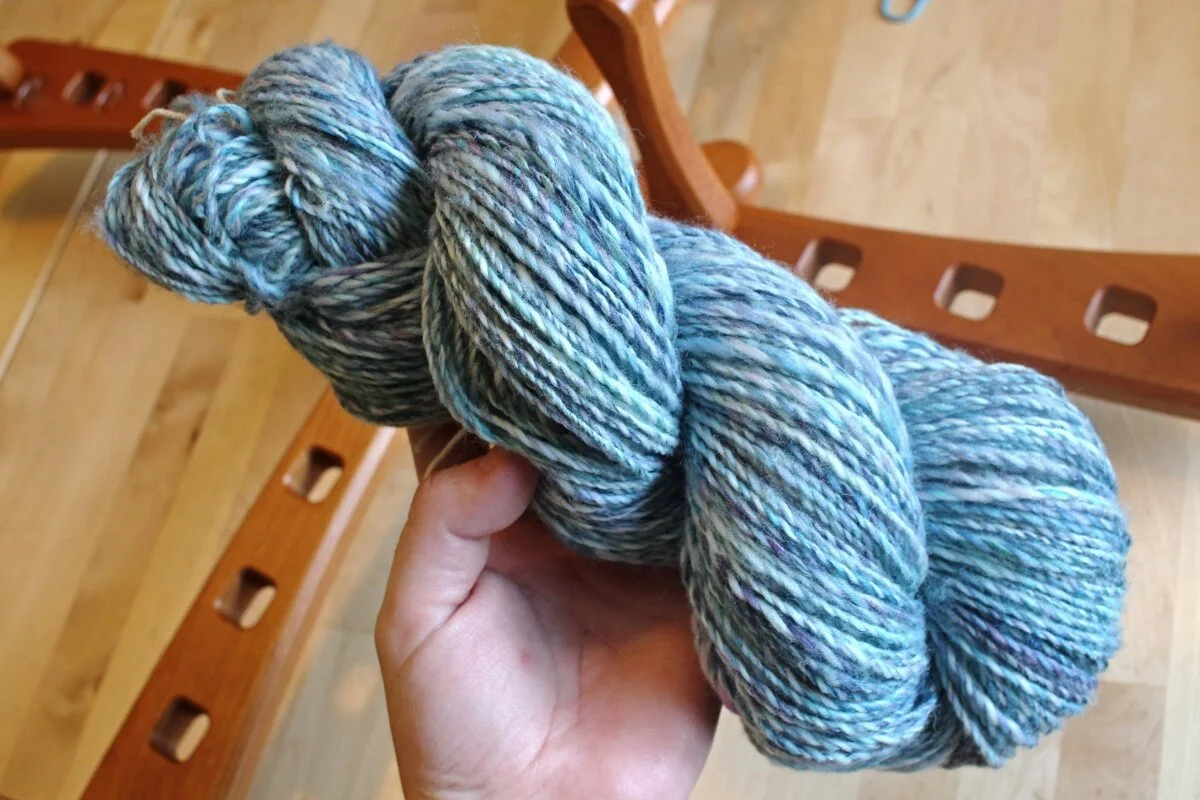
June 16 (Day 71): I finished plying the yarn today! Really pleased with how it turned out too. The thickness varies between sport and worsted and the colors still remind me a fun watercolor.
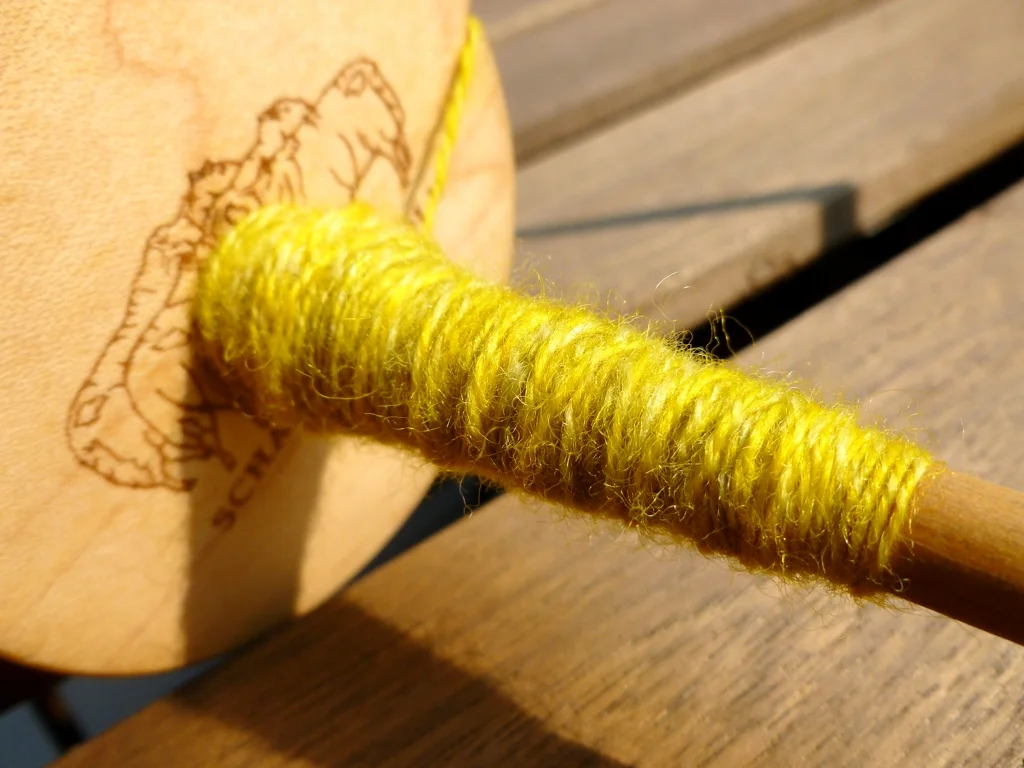
I tried a different tack when wrapping the spindle this time. Instead of covering all the shaft, my goal was to fill up the top section and leave myself some room to twist the spindle at the bottom. Worked pretty well since I was working with 4 oz of yarn instead of 5 oz.
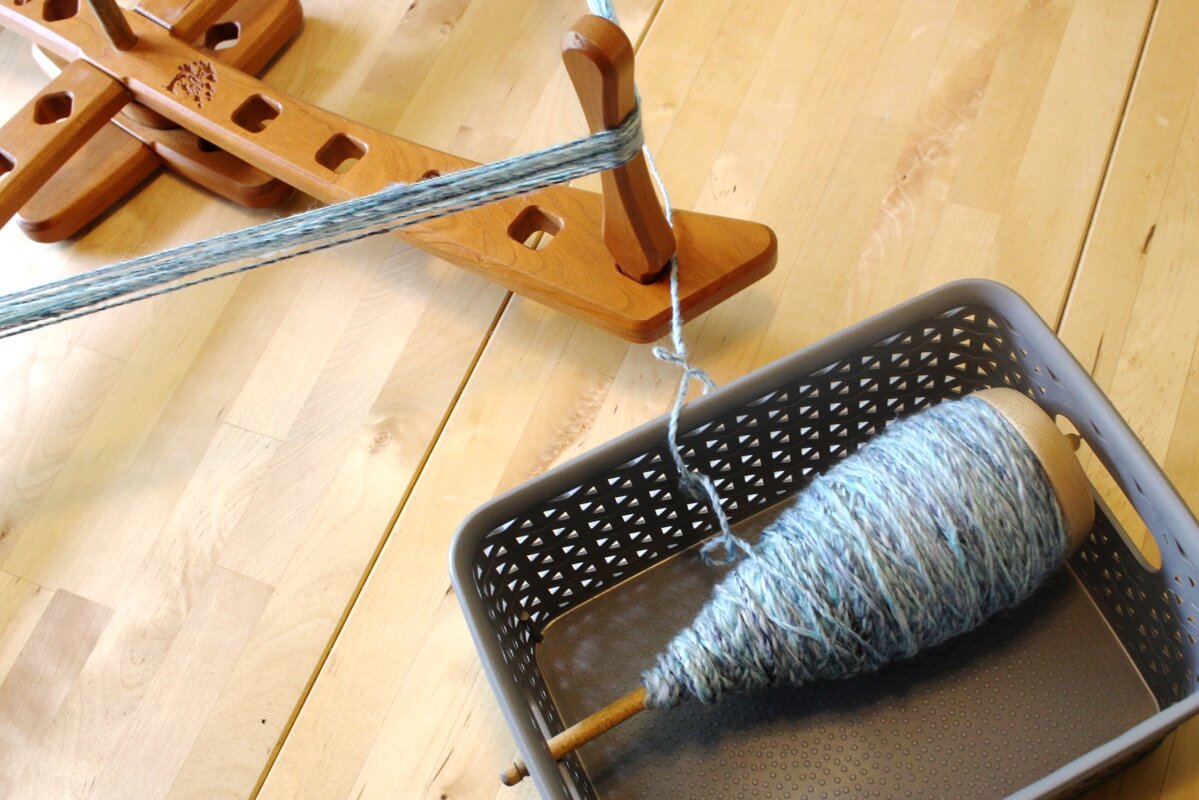
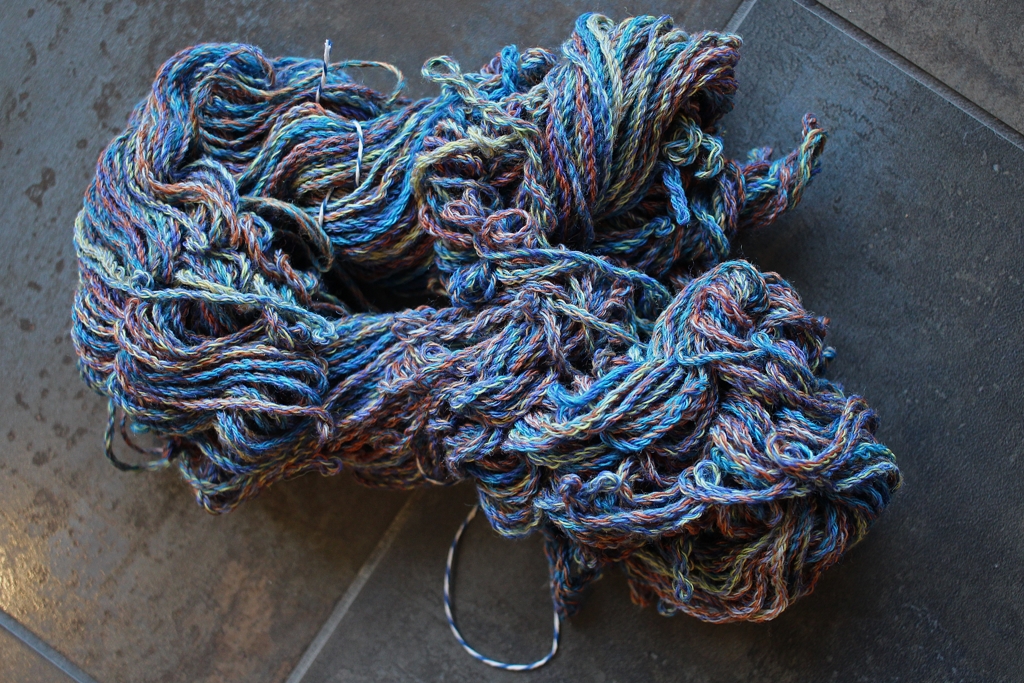
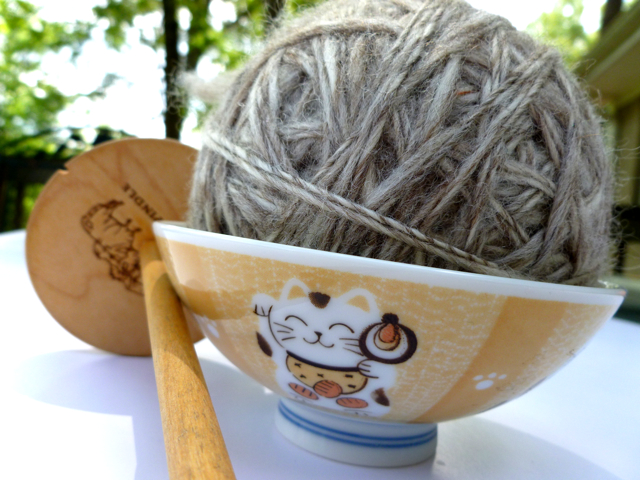
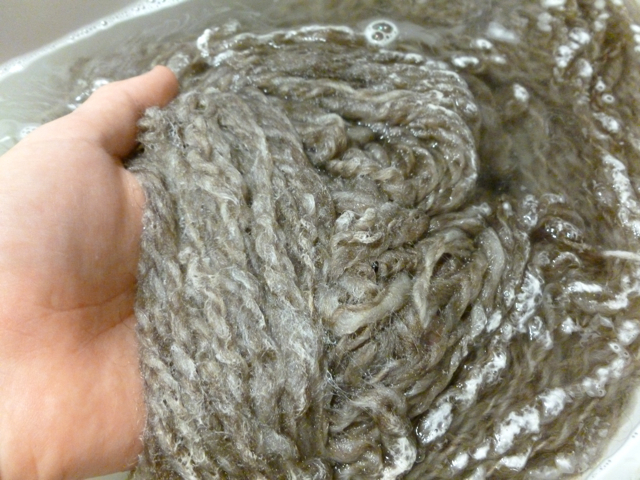
June 17 (Day 71): Set up the swift today and got to work winding yarn. This time I put the spindle between the handles of a basket which worked really well. The spindle was able to turn freely and I only had to pop it back into a place a few times. In the end I ended up with about 259 yds of sport to worsted weight yarn. It’s so pretty.

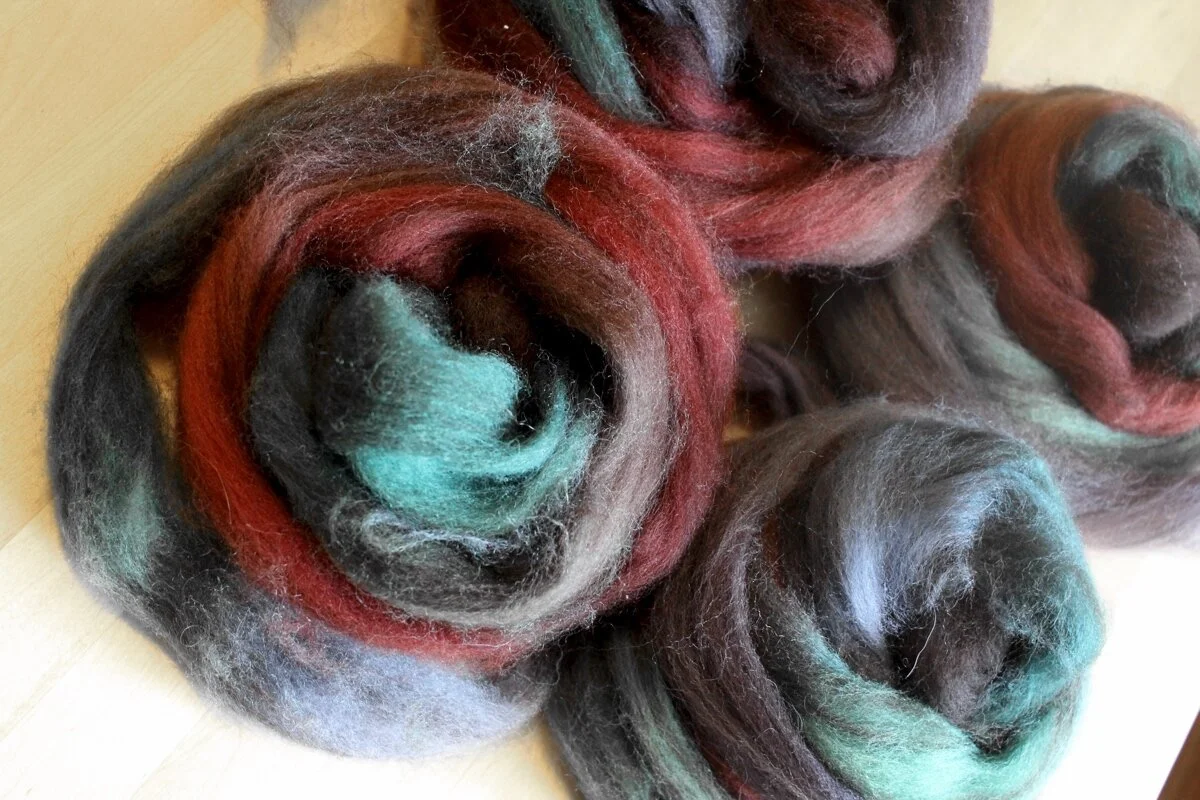
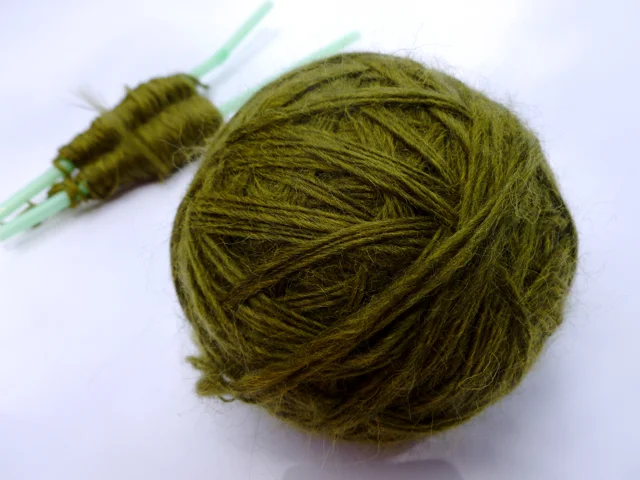
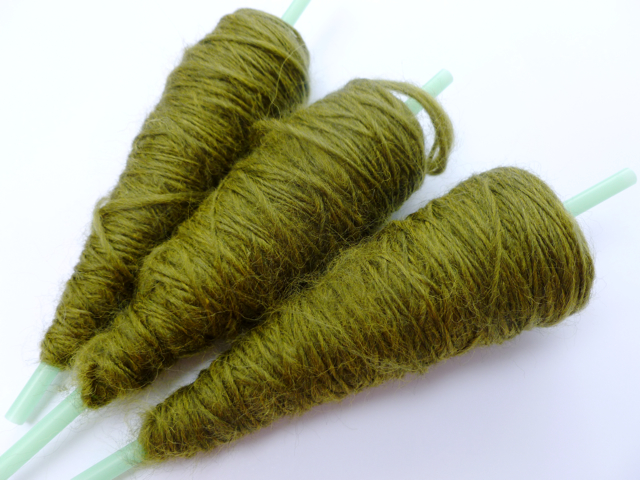
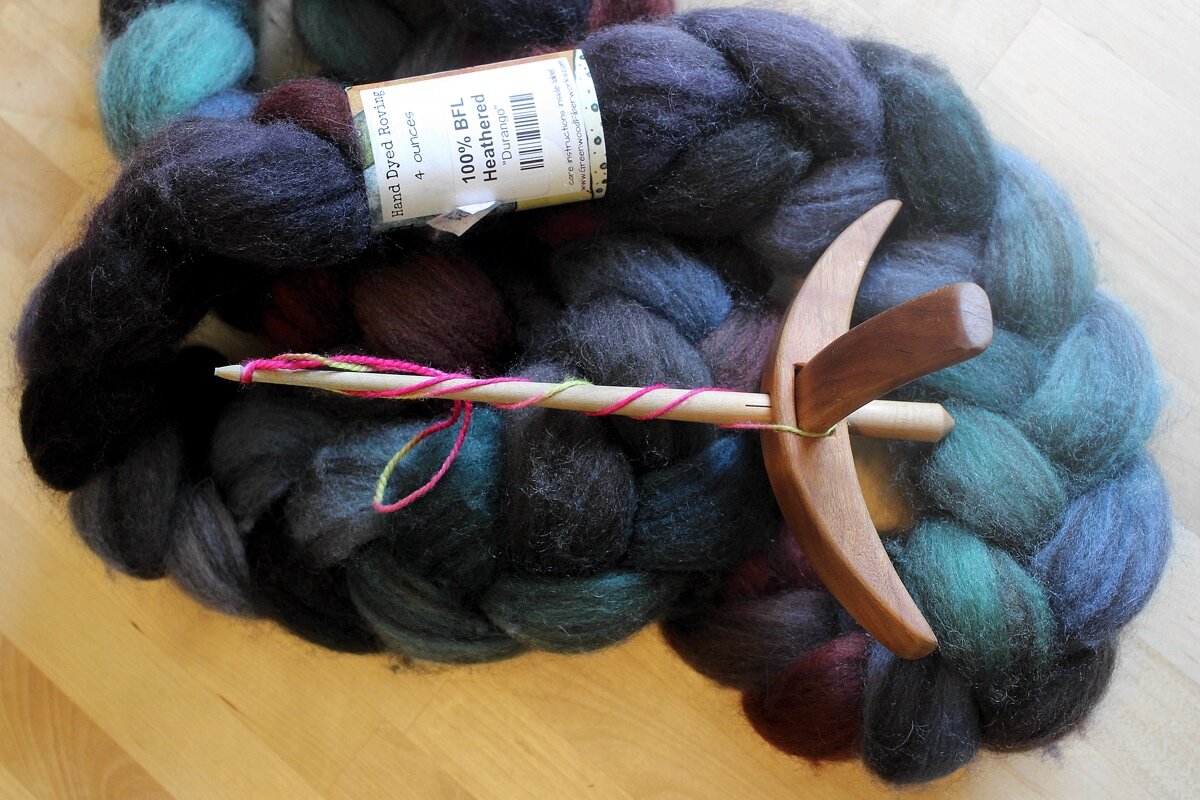
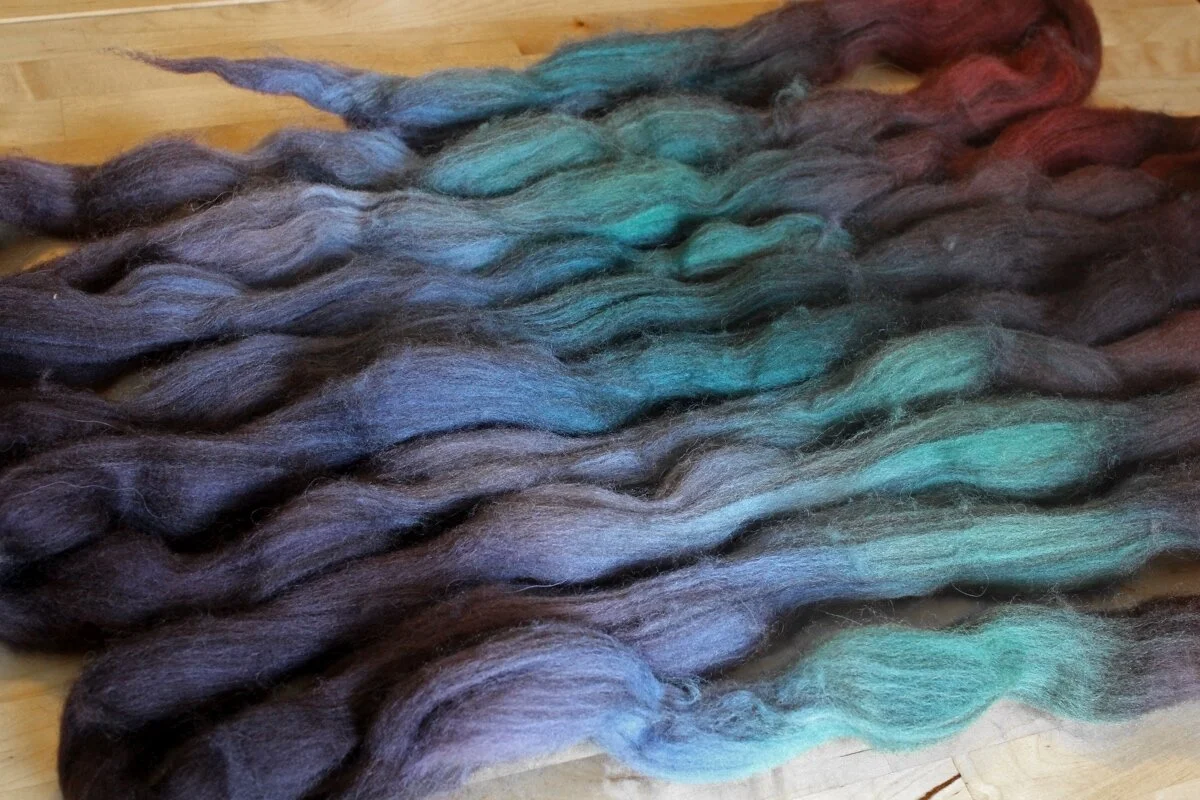
Since I’m not one to let some perfectly good spinning time go to waste, I prepped my next project. The bump of Greenwood Fiber weathered BFL was right next to me, so that’s what I picked. The fiber had a pretty clear repeat that I wasn’t sure what I wanted to do with. Eventually I split in half for a 2-ply yarn and split it again along it’s length. Then I wound up each piece into a nest with the colors running in the same direction. There’s no way the colors will match up perfectly but I’ll still get a cool marled effect.
June 18 (Day 72): After working with the fibers for a bit I decided to aim for a sport weight yarn. Aiming for a weight on the finer side of things means I might not finish it before the end of the #the100DayProject but that is totally okay.
June 19 (Day 73): I keep trying different methods of wrapping the spindle. This time I tried 2 under, 1 over - basically the reverse of 2 over, 1 under. Not a fan. Went back to my usual wrap. The search continues.
June 20 - 21 (Day 74 - 75): A little bit of spinning on both days. I’m finding it harder to drum up the same enthusiasm I had for this project as I did in the beginning. The slog is definitely creeping up on me.